🐬 MySQL Installation Guide (macOS)
macOS • MySQL Community Edition
1. Download MySQL
Select your macOS version
Download:
macOS (.dmg) installer
Click “No thanks, just start my download”
Save the file
2. Install MySQL
Open the downloaded
.dmgfileDouble-click the MySQL installer package (.pkg)
Click Continue → Agree → Install
Enter your Mac password if prompted
3. Configure MySQL
During installation:
Choose Use Strong Password Encryption
Set a root password (remember this!)
👉 Password tips:
At least 8 characters
Use letters, numbers, symbols
4. Complete Installation
After installation, you’ll see a success screen.
✔ MySQL Server is now installed
✔ It usually starts automatically
5. Install MySQL Workbench (GUI)
👉 Unlike Windows FULL setup, Workbench is NOT included by default
Download the macOS version
Install like a normal app
6. Verify Installation
Using Terminal:
mysql -u root -pEnter password → You should see:
mysql>Run:
SHOW DATABASES;Using Workbench:
Open MySQL Workbench
Click on Local Instance
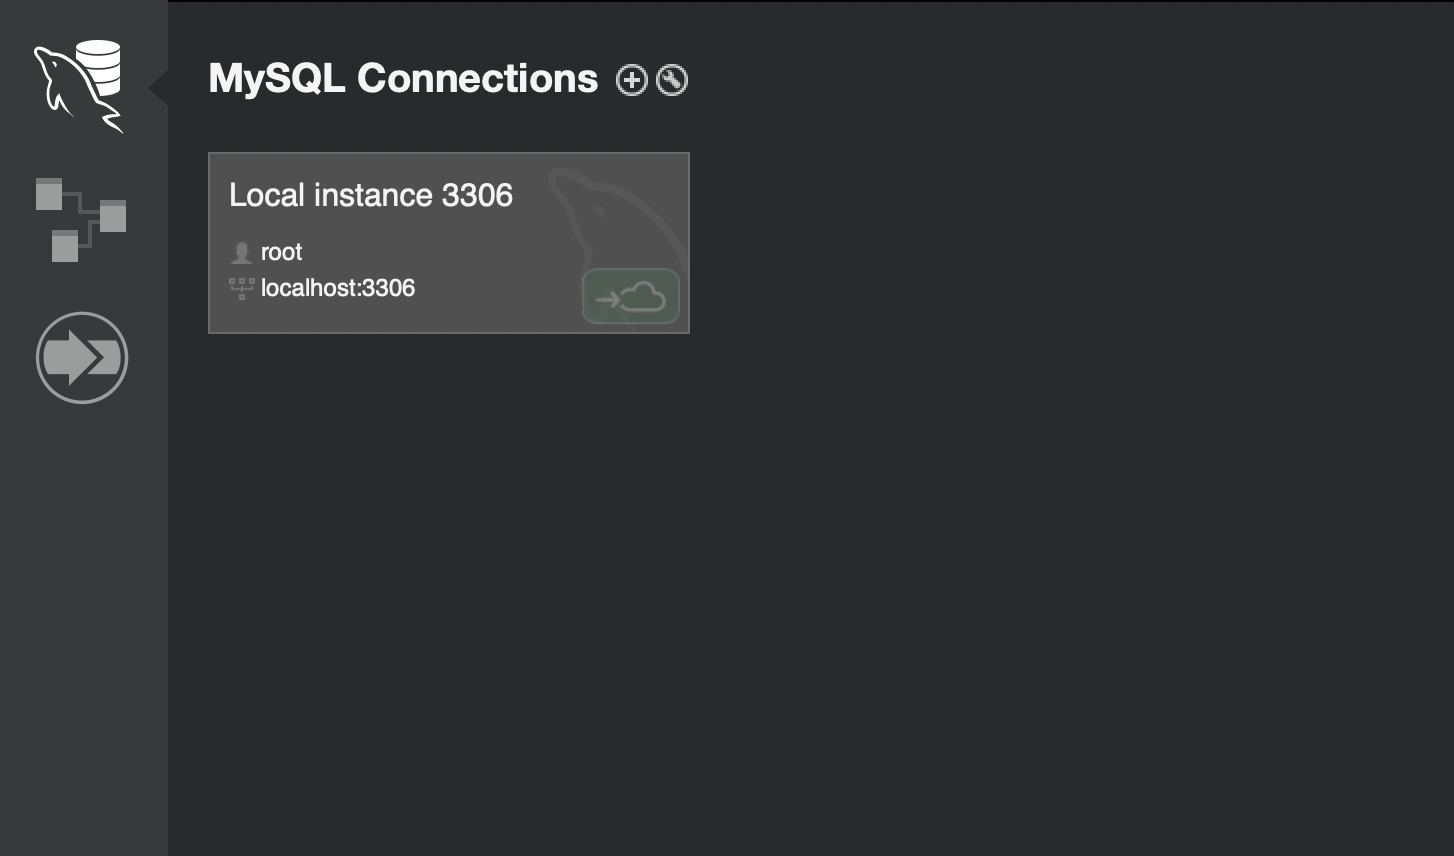
Create connection:
Host:
localhostPort:
3306User:
root
Enter password
7. Start / Stop MySQL
Using System Preferences:
Open System Settings
Find MySQL
Start / Stop server
Using Terminal:
sudo /usr/local/mysql/support-files/mysql.server start
sudo /usr/local/mysql/support-files/mysql.server stop
8. Add MySQL to PATH (Recommended)
Edit your shell config:
For zsh (default):
nano ~/.zshrcAdd:
export PATH="/usr/local/mysql/bin:$PATH"Save and run:
source ~/.zshrcTest:
mysql --version