✅ Prerequsite
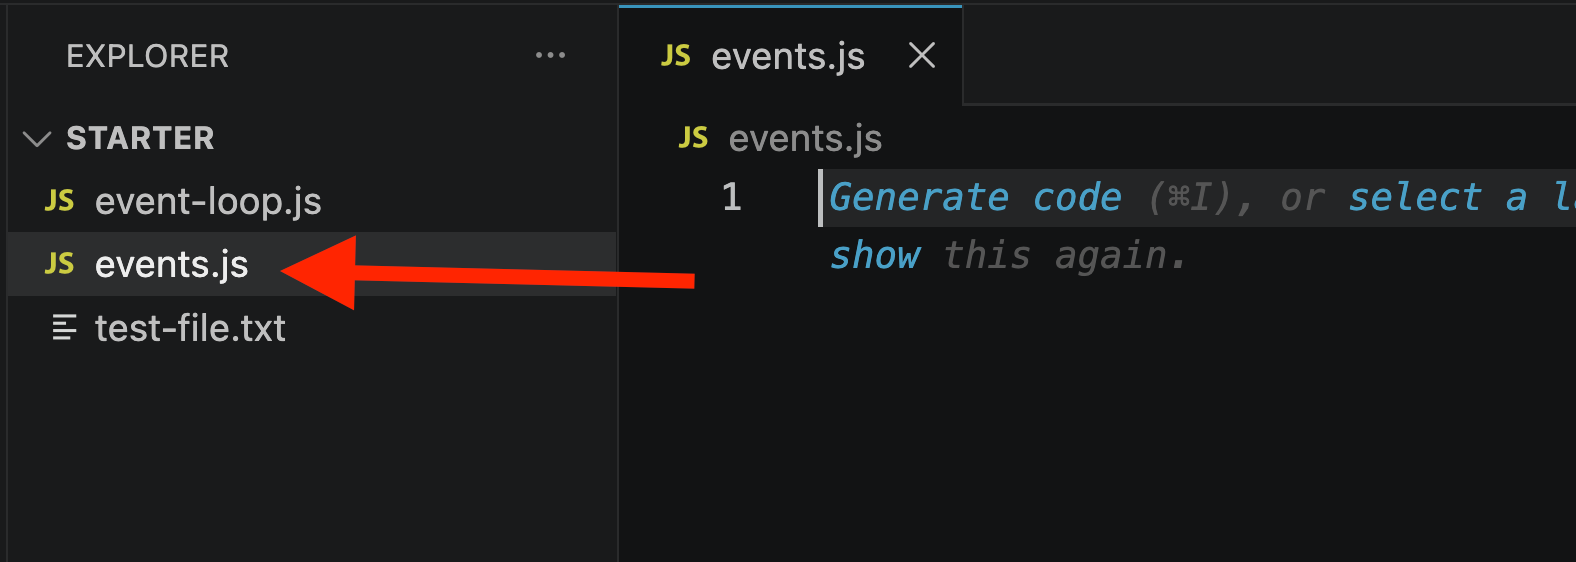
📥 Grab the starter files for this section and open the project folder.
Download the Repo & Open starter Folder : 2-how-node-works
https://github.com/codevedadev/complete-node-bootcamp
If you already have it open, skip this step.
📄 Create File: events.js
🚀 Custom Event
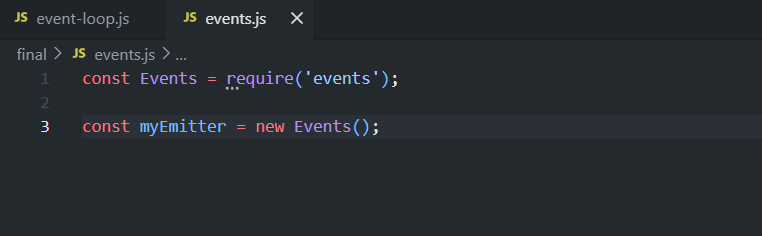
🔹 Step 1: Import the built-in events module
const EventEmitter = require('events');eventsis a built-in Node module — no npm install needed.By convention, the class is imported and named
EventEmitter(capitalized, since it's a class).
🔹 Step 2: Create an emitter instance
const myEmitter = new EventEmitter();⚙️
myEmitteris now an object that can emit events and have listeners attached to it.
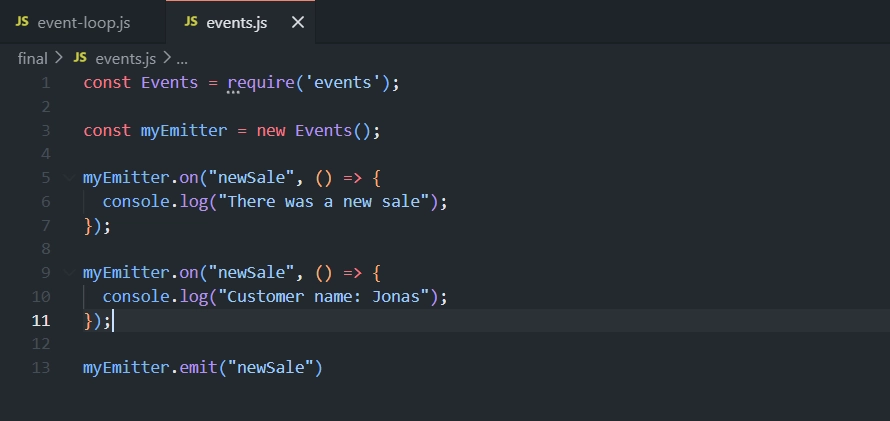
🔹 Step 3: Set up a listener for a custom event
myEmitter.on('newSale', () => {
  console.log('There was a new sale!');
});
👂
.on(eventName, callback)— sets up a listener.🏷️
'newSale'is a made-up event name (could be anything —newOrder,newCustomer, etc.).⏳ The callback only runs once the event is actually emitted.
🔹 Step 4: Add a second listener for the same event
myEmitter.on('newSale', () => {
  console.log('Customer name: Jonas');
});
👥 You can attach as many listeners as you want to the same event.
✅ Both will run when the event fires.
🔹 Step 5: Emit the event
myEmitter.emit('newSale');📤
.emit(eventName)triggers the event — like clicking a button.⚠️ Must come after the listeners are set up in the code, otherwise they won't catch it.
▶️ Run it: node events.js
🖥️ Output:

👥 Both listeners fire, in the order they were declared in the code.
👀 This is the Observer Pattern:
myEmitteris the subject/emitter; the two.on()listeners are the observers, watching and reacting.
🔹 Step 6: Pass data with the emitted event
Update the listener to accept an argument:
myEmitter.on('newSale', (stock) => {
  console.log(`There are now ${stock} items left in stock.`);
});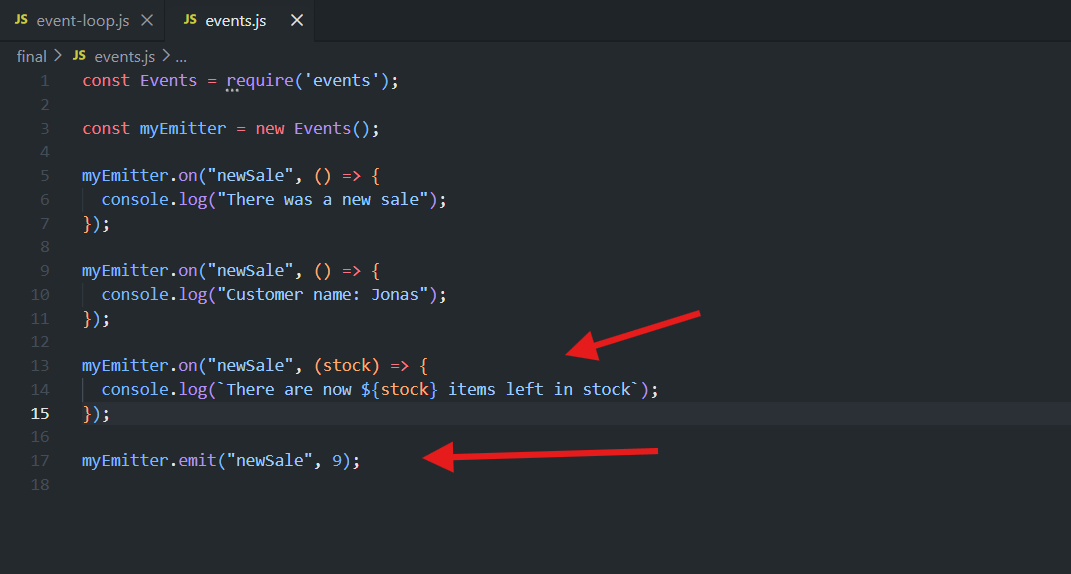
Update the emit call to pass a value:
myEmitter.emit('newSale', 9);🖥️ Output:
There are now 9 items left in stock.
📦 Any extra arguments passed to
.emit()get forwarded to the listener's callback as parameters.🔄 Listeners for the same event fire synchronously, in declaration order — confirmed by seeing all three console logs print in sequence.
💡 HTTP Server
🔹 Step 1: Add a second example lower in the same file — HTTP server events
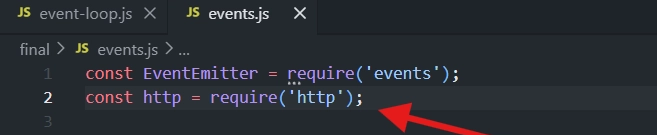
Import the http module at the top of the file:
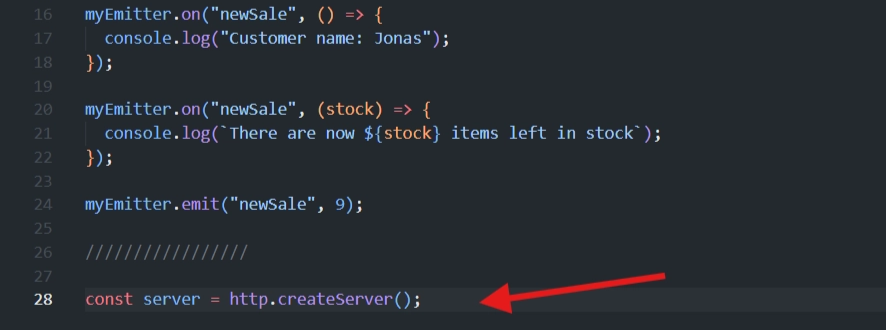
Create the server:
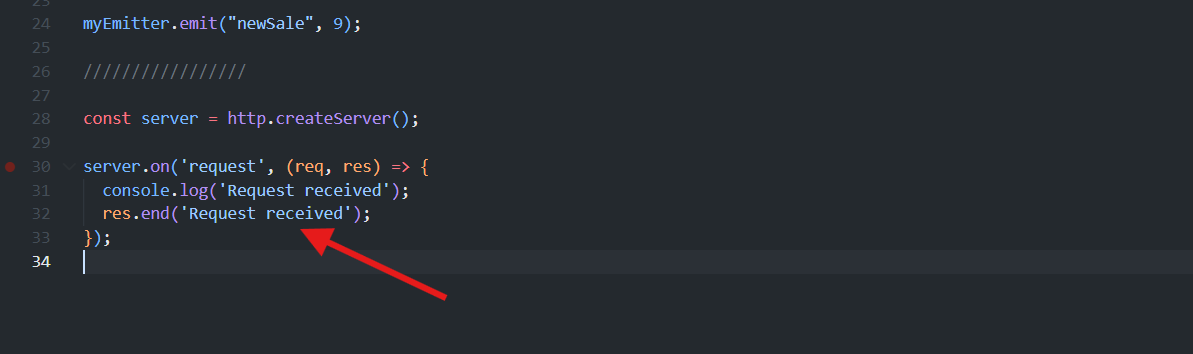
🔹 Step 2: Listen for the request event
server.on('request', (req, res) => {
  console.log('Request received');
  res.end('Request received');
});
👂
serveris itself anEventEmitterinstance (inherited viahttp.ServerextendingEventEmitter).🌐
.on('request', ...)fires every time a request hits the server.📤
res.end(...)sends the response back to the client.
🔹 Step 3: Add a second listener for the same request event
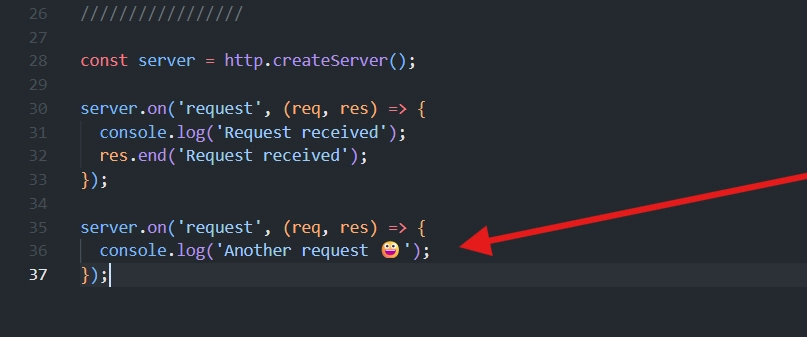
👥 Confirms you can attach multiple listeners to the same built-in event too, same as the custom
newSaleexample.
🔹 Step 4: Listen for the close event
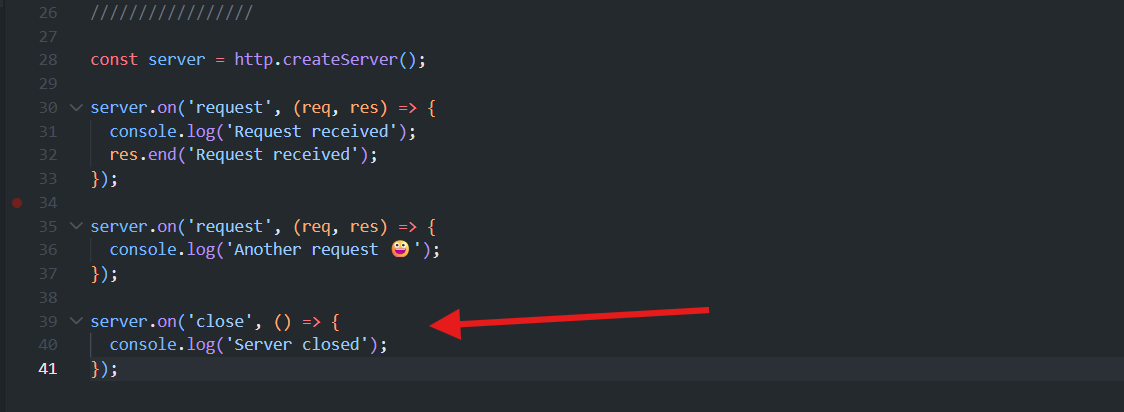
🔒 Fires when the server shuts down.
🔹 Step 5: Start the server
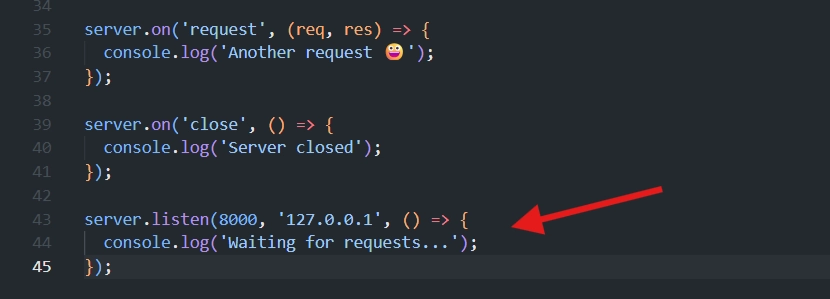
🚀
.listen(port, host, callback)— starts the server on port8000at127.0.0.1(localhost).✅ The callback is optional but useful for confirming startup.
🔄 The process stays running (doesn't exit) because the event loop is still waiting for incoming I/O — this ties back to earlier event-loop concepts.
▶️ Run it: node events.js
🖥️ Output:
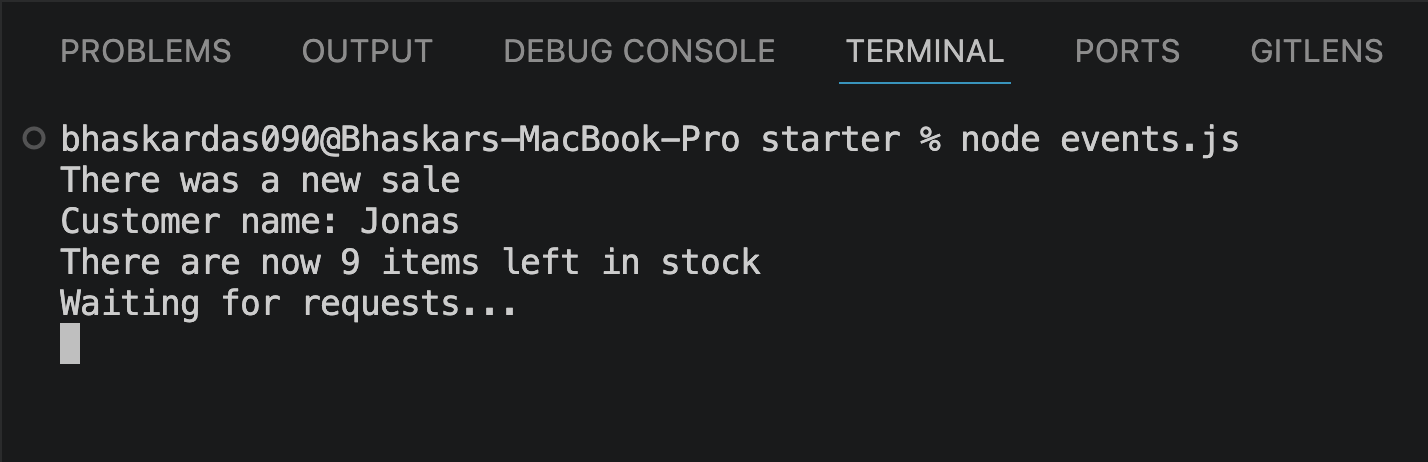
🔹 Step 6: Test by making a request
🌐 Open 127.0.0.1:8000 in the browser.
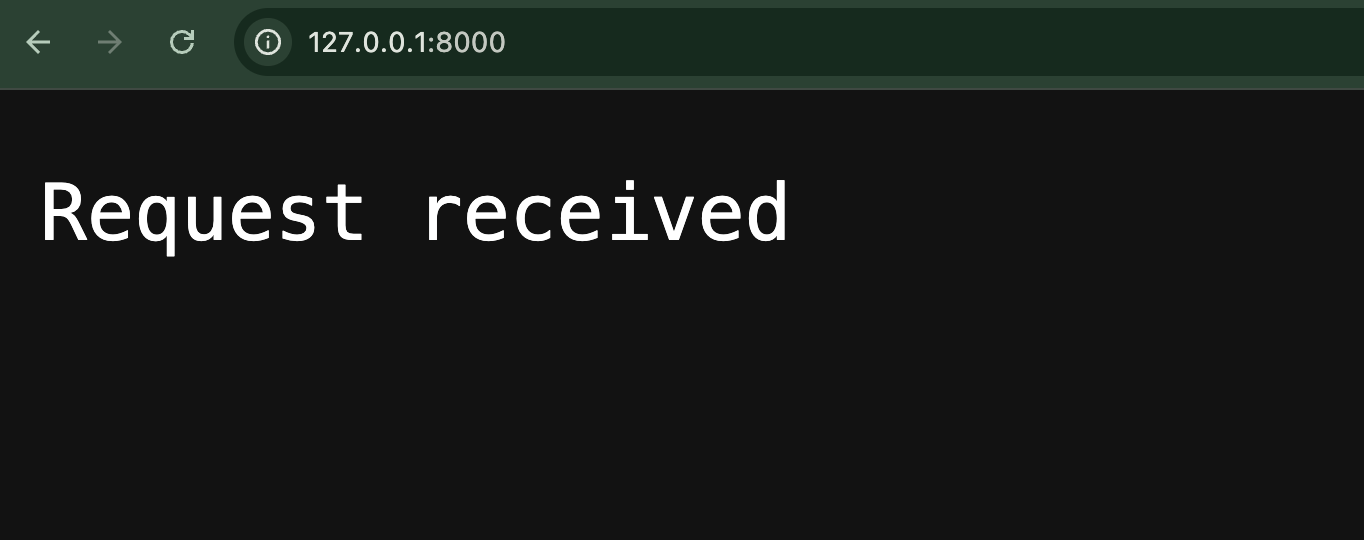
🖥️ Console output:
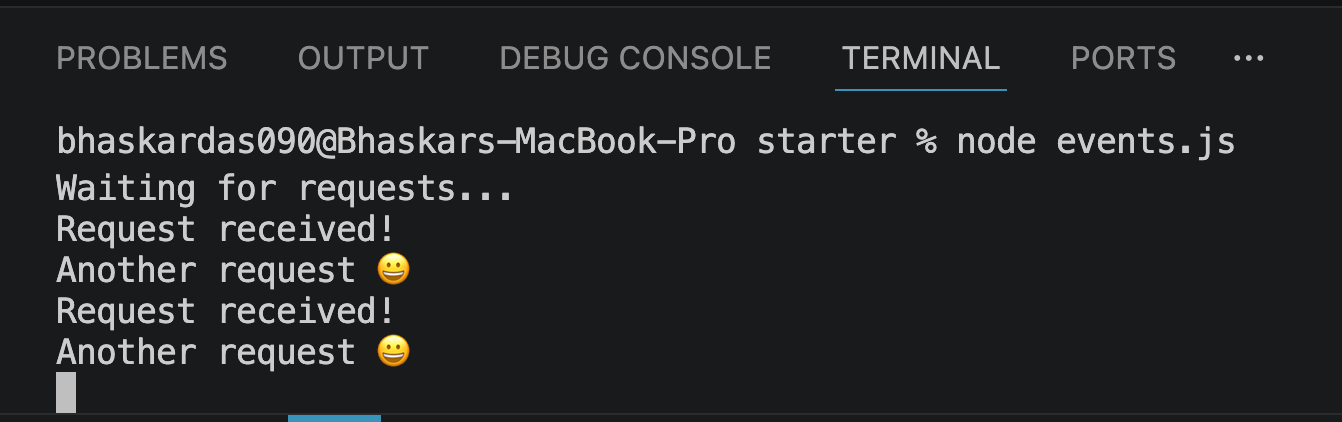
👀 Notice each listener fires twice.
🔹 Step 7: Investigate the duplicate logs
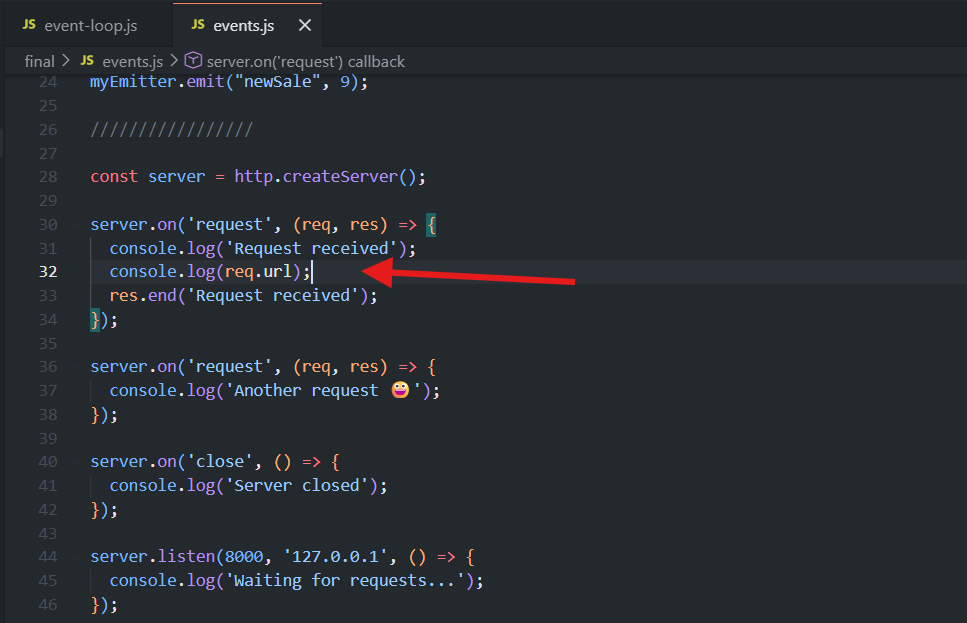
Add logging for the request URL:
server.on('request', (req, res) => {
  console.log(req.url);
});
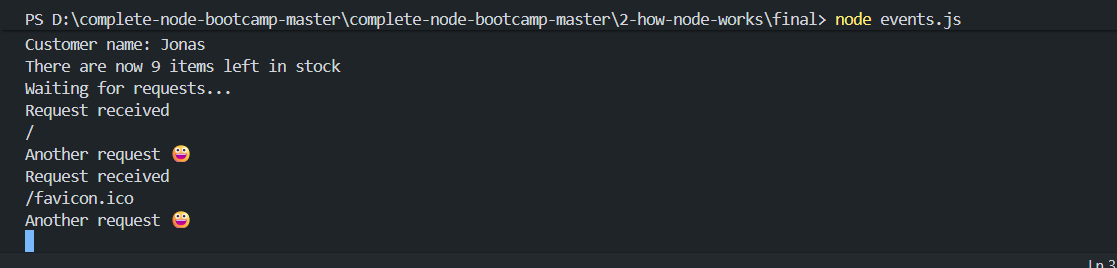
🖥️ Result: one log shows / and the other shows /favicon.ico.
🌐 Browsers automatically send a separate request for
/favicon.ico(trying to fetch a tab icon) alongside your actual page request.💡 That's why the
requestevent fires twice per page load — it's genuinely two separate requests, not a bug.
✅ Key Takeaway
👨💻 For custom events you create yourself (like
newSale), you must call.emit()yourself to trigger them.⚙️ For built-in Node modules (
http,fs, etc.), the module emits its own events internally whenever something relevant happens — you only need to attach.on()listeners to react, never.emit()them yourself.
const EventEmitter = require("events");
const http = require("http");

const myEmitter = new EventEmitter();

myEmitter.on("newSale", () => {
  console.log("There was a new sale");
});

myEmitter.on("newSale", () => {
  console.log("Customer name: Jonas");
});

myEmitter.on("newSale", (stock) => {
  console.log(`There are now ${stock} items left in stock`);
});

myEmitter.emit("newSale", 9);

//////////////////

const server = http.createServer();

server.on("request", (req, res) => {
  console.log("Request received!");
  console.log(req.url);
  res.end("Request received");
});

server.on("request", (req, res) => {
  console.log("Another request 😀");
});

server.on("close", () => {
  console.log("Server closed");
});

server.listen(8000, "127.0.0.1", () => {
  console.log("Waiting for requests...");
});