🔄 Creating a Reusable Layout Template with Jinja in FastAPI
Now that we have both the login and register pages, there are two main issues we need to address:
Pages are not connected to JavaScript yet – so forms don’t actually work.
Repetition of boilerplate HTML – each page currently has its own
<!DOCTYPE html>,<head>,<body>, and CSS links. Copy-pasting this each time is error-prone and makes the project harder to maintain.
To solve this, we can use Jinja templating to create a central layout template. This allows us to:
Reuse common HTML and CSS links across all pages
Keep only the unique content of each page separate
Reduce the chance of mistakes when adding new pages
📁 Creating a Layout Template
In the templates folder, create a new HTML file:
layout.htmlCopy the head section from one of your existing pages (e.g., login.html) including:
<title>CSS links (base.css and bootstrap.css)
Place the common structure inside layout.html:
<!DOCTYPE html>
<html lang="en">
<head>
    <meta charset="UTF-8">
    <title>Todo App</title>
    <link rel="stylesheet" href="{{ url_for('static', path='css/base.css') }}">
    <link rel="stylesheet" href="{{ url_for('static', path='css/bootstrap.css') }}">
</head>
<body>

    {% block content %}
    <!-- Unique page content will be inserted here -->
    {% endblock %}

</body>
</html>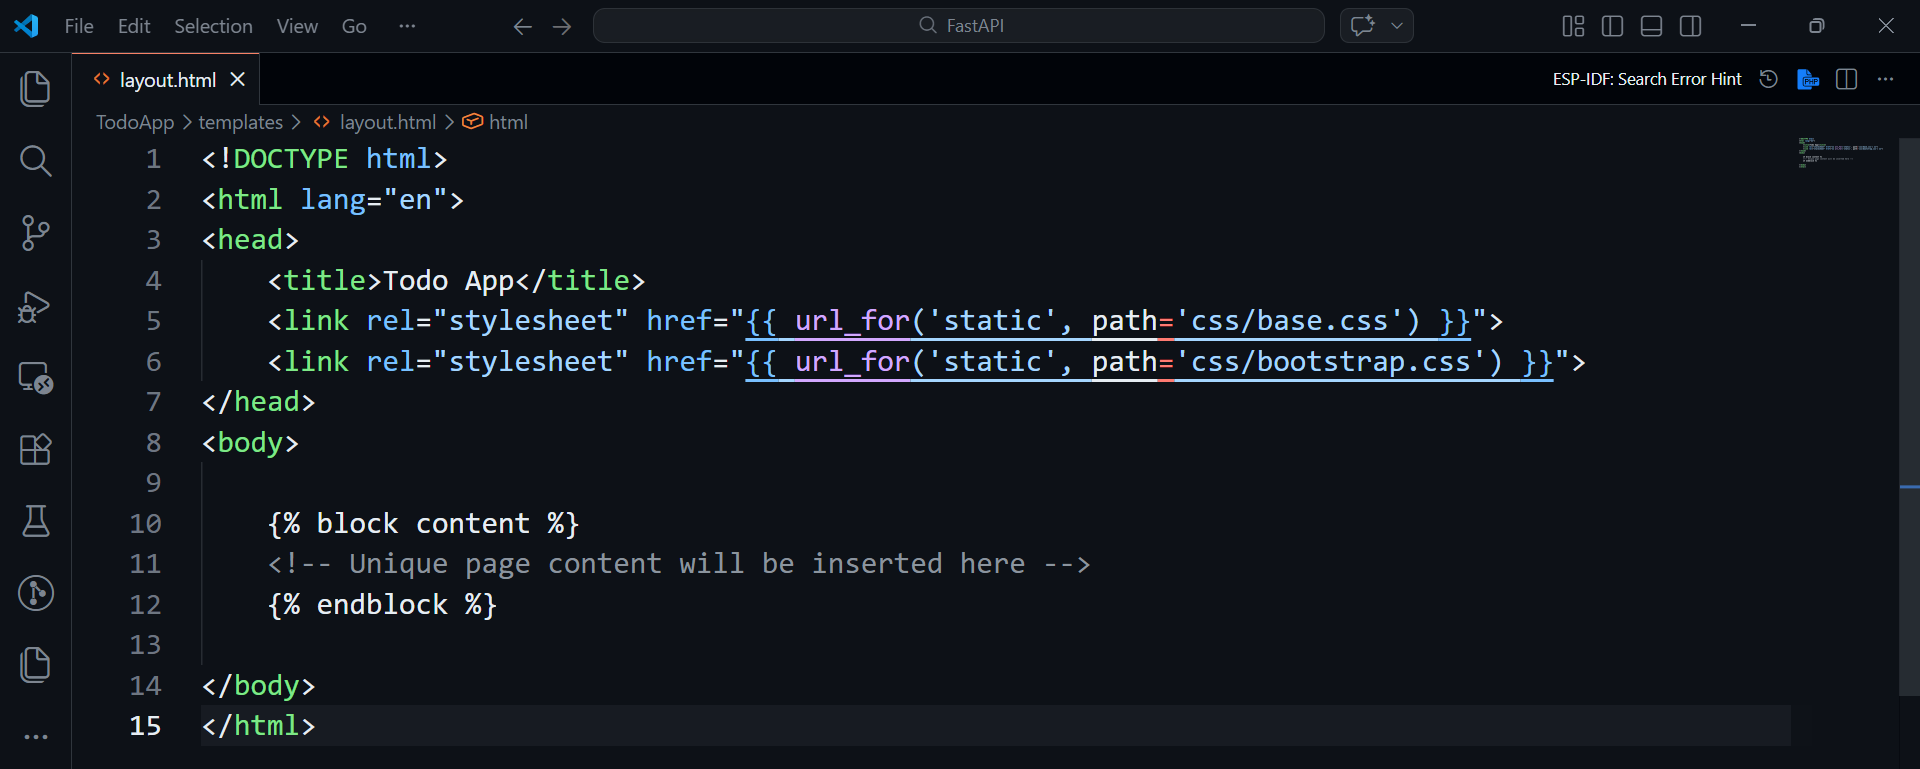
📌 How It Works
{% block content %} ... {% endblock %}is a placeholder.When we render another HTML page (like
login.html), Jinja will insert the page-specific content into this block.This eliminates repeated code and ensures all pages share the same header, stylesheets, and general layout.
🔗 Updating the Login Page
Open
login.html.Remove all code above the
<div class="container">and all code after the closing</div>(this removes<!DOCTYPE html>,<html>,<head>,<body>tags).Wrap the page-specific content in a block content section:
{% extends "layout.html" %}

{% block content %}
<div class="container">
    <div class="card">
        <div class="card-header">Login</div>
        <div class="card-body">
            <form id="loginForm">
                <div class="form-group">
                    <label>Username</label>
                    <input type="text" class="form-control" name="username" autocomplete="username" required>
                </div>
                <div class="form-group">
                    <label>Password</label>
                    <input type="password" class="form-control" name="password" autocomplete="current-password" required>
                </div>
                <button type="submit" class="btn btn-primary">Login</button>
            </form>
        </div>
        <div class="card-footer text-muted">
            <a href="/auth/register-page">Register?</a>
        </div>
    </div>
</div>
{% endblock %}
{% extends "layout.html" %}tells Jinja to use the layout template.Only the content inside
{% block content %}will be inserted intolayout.html.
🔗 Updating the Register Page
Repeat the same steps for register.html:
Remove all code above the first
<div class="container">and below the closing</div>.Wrap the form inside the block content:
{% extends "layout.html" %}

{% block content %}
<div class="container">
    <div class="card">
        <div class="card-header">Register</div>
        <div class="card-body">
            <form id="registerForm">
                <div class="form-row">
                    <div class="form-group col-md-6">
                        <label>Email</label>
                        <input type="text" class="form-control" name="email" required>
                    </div>
                    <div class="form-group col-md-6">
                        <label>Username</label>
                        <input type="text" class="form-control" name="username" required>
                    </div>
                </div>
                <div class="form-row">
                    <div class="form-group col-md-6">
                        <label>First Name</label>
                        <input type="text" class="form-control" name="first_name" required>
                    </div>
                    <div class="form-group col-md-6">
                        <label>Last Name</label>
                        <input type="text" class="form-control" name="last_name" required>
                    </div>
                </div>
                <div class="form-row">
                    <div class="form-group col-md-6">
                        <label>Role</label>
                        <input type="text" class="form-control" name="role" required>
                    </div>
                    <div class="form-group col-md-6">
                        <label>Phone Number</label>
                        <input type="text" class="form-control" name="phone_number" autocomplete="phone-number" required>
                    </div>
                </div>
                <div class="form-group">
                    <label>Password</label>
                    <input type="password" class="form-control" name="password" autocomplete="new-password" required>
                </div>
                <div class="form-group">
                    <label>Verify Password</label>
                    <input type="password" class="form-control" name="password2" autocomplete="new-password" required>
                </div>
                <button type="submit" class="btn btn-primary">Sign In</button>
            </form>
        </div>
        <div class="card-footer text-muted">
            <a href="/auth/login-page">Already have an account?</a>
        </div>
    </div>
</div>
{% endblock %}
✅ Benefits of Using Jinja Layouts
Consistency: All pages share the same header, CSS, and layout structure
Maintainability: Update
layout.htmlonce and all pages reflect the changesLess duplication: Only page-specific content is inside the individual templates
Easy JavaScript integration: Scripts can now be added in one place in the layout
⚠️ Next Steps
The JavaScript for login and registration still needs to be implemented.
Once added, the forms will connect to the FastAPI backend and handle real authentication.
Using this layout structure, adding scripts and other shared features will be much simpler and less error-prone.
📝 Summary
In this lesson, we:
Created a central
layout.htmltemplate using JinjaRefactored login.html and register.html to extend the layout
Used
{% block content %}to insert page-specific contentEliminated repetitive boilerplate HTML across pages
Prepared the project for JavaScript integration and full-stack functionality
This structure now makes adding new pages and features faster, safer, and more consistent.