In this lecture, we’ll set up Alembic for our TodoApp project and learn how to add a new column to an existing table without losing existing data.
🔧 Step 1: Configure alembic.ini
Open your
alembic.inifile.Find the line:
sqlalchemy.url = driver://user:pass@localhost/dbnameReplace it with the path to your current database. For example, with SQLite:
sqlalchemy.url = sqlite:///./todosapp.dbThis ensures Alembic knows which database to apply migrations to.
📝 Step 2: Update env.py
Open
env.pyinside your Alembic directory.Remove the
ifstatement aroundfileconfig(config.config_file_name):
# this is the Alembic Config object, which provides
# access to the values within the .ini file in use.
config = context.config

# Interpret the config file for Python logging.
# This line sets up loggers basically.
if config.config_file_name is not None:
    fileConfig(config.config_file_name)
Import your models so Alembic can access the table metadata:
from logging.config import fileConfig

from sqlalchemy import engine_from_config
from sqlalchemy import pool

from alembic import context
import models
Set
target_metadatato include your models:
target_metadata = None
target_metadata = models.Base.metadata
This allows Alembic to autogenerate migrations based on your SQLAlchemy models.
⚡ Step 3: Create a New Alembic Revision
To add a new column, we first create a revision file:
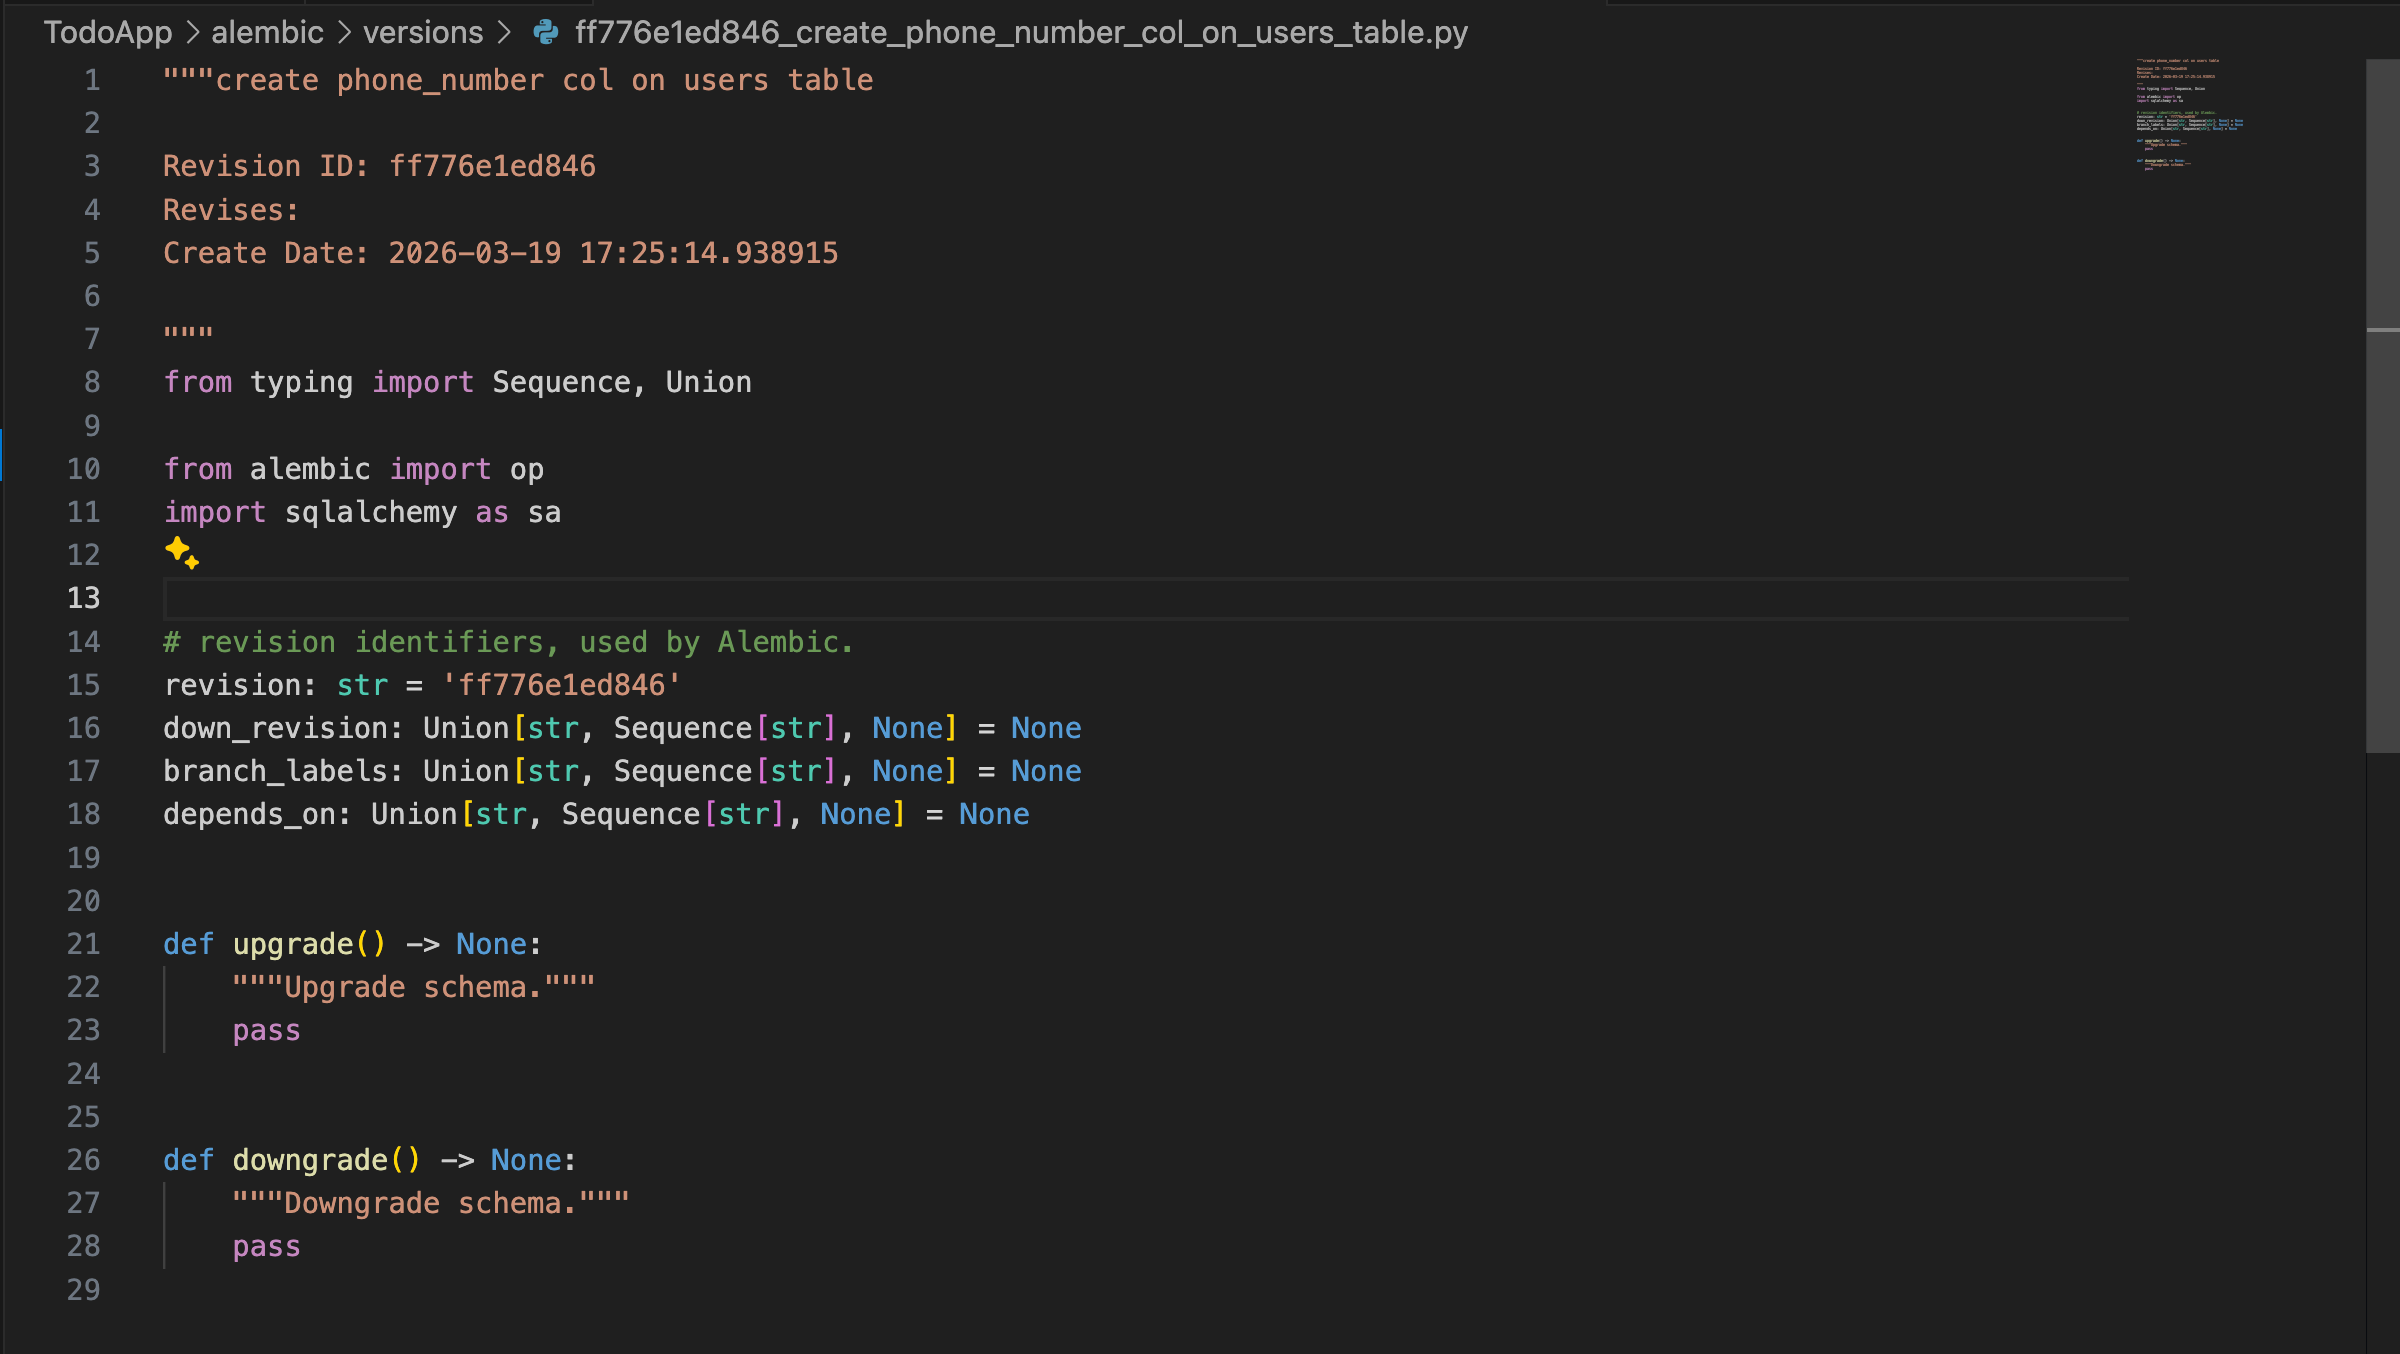
alembic revision -m "create phone_number col on users tableA new Python file appears in
alembic/versions/.The file contains upgrade and downgrade functions where we define the migration.
👉 Generated File
🛠️ Step 4: Write the Upgrade Function
To add a phone_number column to the users table:
def upgrade() -> None:
    op.add_column(
        'users',
        sa.Column('phone_number', sa.String(), nullable=True)
    )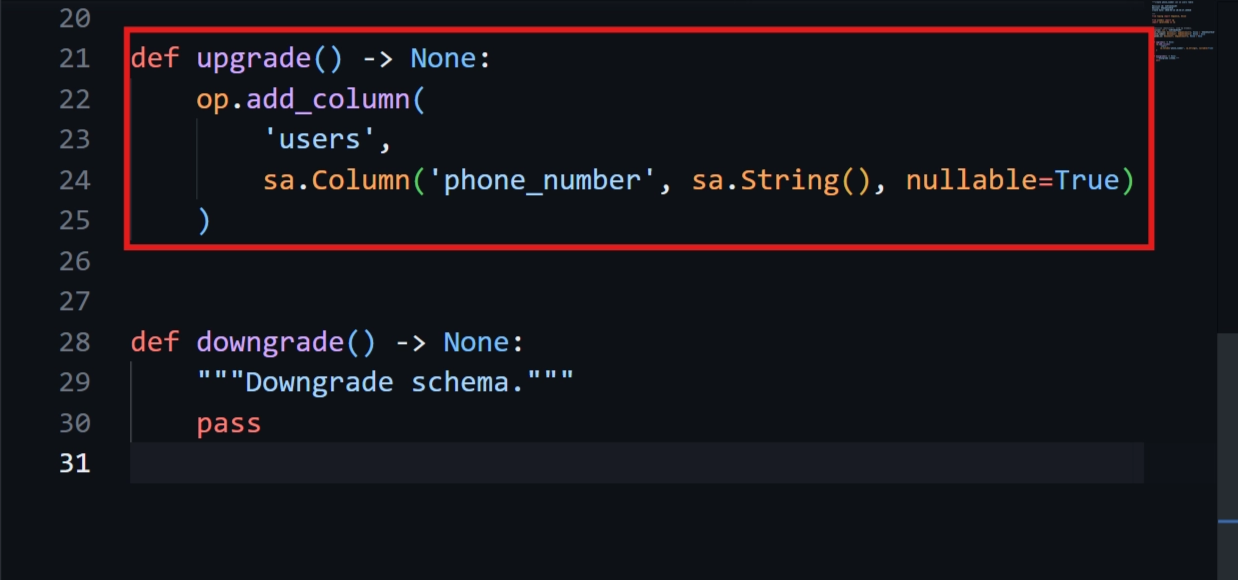
nullable=Trueensures existing rows remain valid.This does not delete or modify existing data.
🛠️ Step 5: Run the Upgrade Migration
Execute the migration in your terminal:
alembic upgrade <revision_id>Replace
<revision_id>with the ID generated for your revision.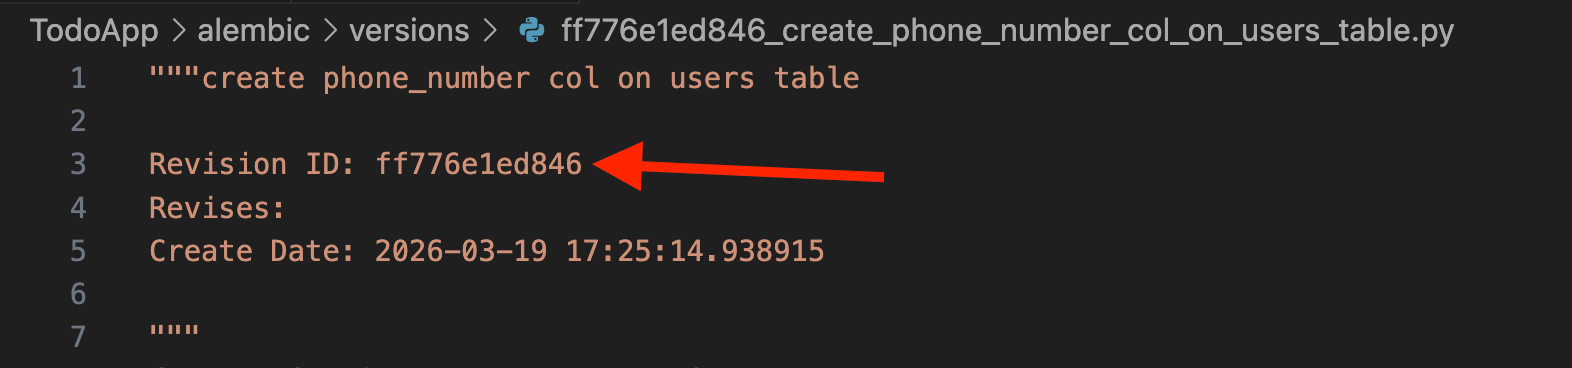
Alembic will apply the changes and add the
phone_numbercolumn to the database.
🔁 Step 6: Update Your SQLAlchemy Model
After migrating the database, update your models.py so the ORM knows about the new column:
🗂️ models.py
class Users(Base):
    __tablename__ = 'users'

    id = Column(Integer, primary_key=True, index=True)
    email = Column(String, unique=True)
    username = Column(String, unique=True)
    first_name = Column(String)
    last_name = Column(String)
    hashed_password = Column(String)
    is_active = Column(Boolean, default=True)
    role = Column(String)
    phone_number = Column(String)  # New column
✅ Step 7: Verify the Changes
Start your FastAPI application:
uvicorn main:app --reloadOpen the browser or API client and fetch a user.
You will see the new column
phone_numberin the response (initiallynull).
Congratulations! You’ve successfully added a new column to your users table using Alembic without losing any existing data.