🔌 Connecting FastAPI to MySQL
Now that our database is fully set up, it’s time to connect our FastAPI backend to MySQL.
This is a major backend milestone — we’re officially moving from SQLite (development) to a production-style MySQL database.
📦 Step 1: Install the Required Dependency
<aside> 💡
Make sure Virtual Environment is active and You are in TodoApp
</aside>
To connect FastAPI (via SQLAlchemy) to MySQL, we need a driver.
Run:
pip install pymysql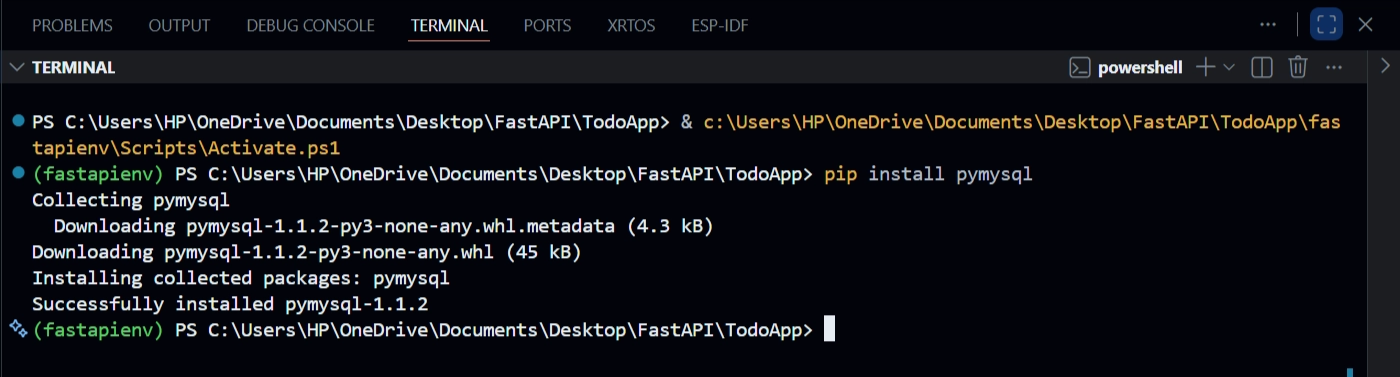
We are installing PyMySQL, which allows Python to communicate with MySQL.
Once installed, you're ready to update your configuration.
🗂️ Step 2: Update database.py
Open your database.py file.
We are replacing SQLite with MySQL.
🔄 Change the Database URL
From (SQLite):
SQLALCHEMY_DATABASE_URL = 'sqlite:///./todosapp.db'To (MySQL):
SQLALCHEMY_DATABASE_URL = 'mysql+pymysql://root:test1234!@127.0.0.1:3306/TodoApplicationDatabase'Let’s break this down:
mysql+pymysql→ Database type + driverroot→ Usernametest1234!→ Password (your passoword)127.0.0.1:3306→ Local machine + default MySQL portTodoApplicationDatabase→ Our schema name
This tells SQLAlchemy to connect to our MySQL database instead of SQLite.
⚙️ Step 3: Update create_engine
Previously (for SQLite), we had:
engine = create_engine(SQLALCHEMY_DATABASE_URL, connect_args={'check_same_thread': False})The check_same_thread argument is required only for SQLite.
Since we are now using MySQL, remove it:
engine = create_engine(SQLALCHEMY_DATABASE_URL)Much cleaner. ✅
🚀 Step 4: Start the Application
Open your terminal and run:
uvicorn main:app --reload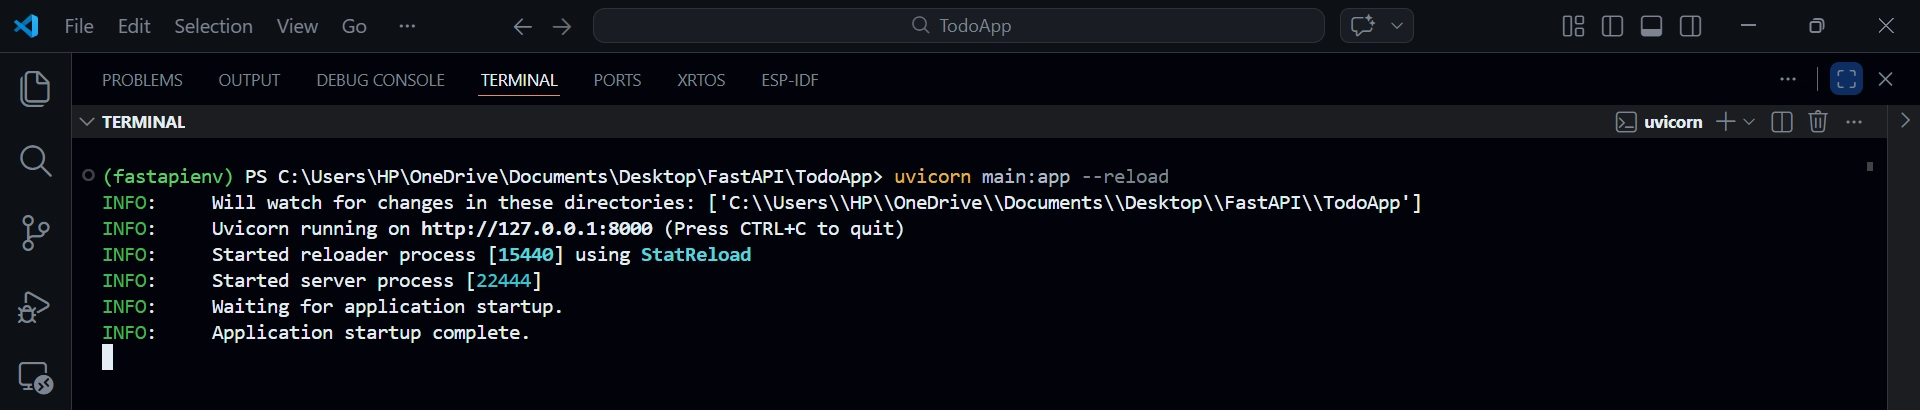
Now your FastAPI backend is connected to MySQL.
🧪 Step 5: Test the Connection
👤 Create two User
Go to your browser → Swagger UI → Create a user.
Click Execute.
You should see:
Status Code → 201
Response Body →
null
This means the request succeeded.
{
	"username": "codeveda",
	"email": "codeveda@gmail.com",
	"first_name": "code",
	"last_name": "veda",
	"password": "test123",
	"role": ""
}
{
	"username": "testuser",
	"email": "test@gmail.com",
	"first_name": "test",
	"last_name": "user",
	"password": "test123",
	"role": ""
}
🔎 Verify Users
Open MySQL Workbench and run:
SELECT * FROM users;You should now see two records inside your MySQL database.
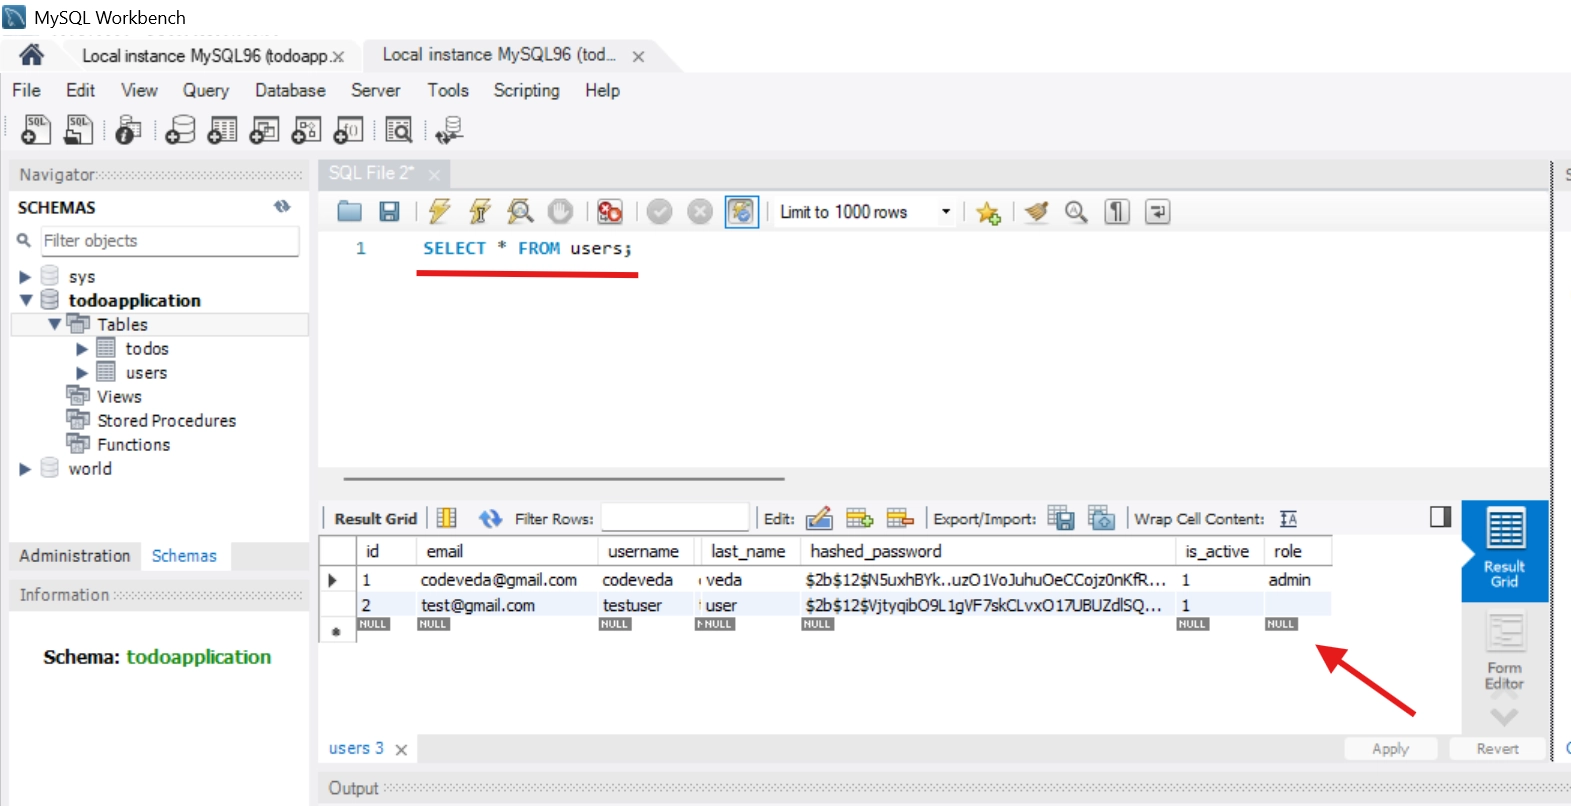
🎉 That confirms FastAPI is writing directly to MySQL.
📝 Verify Todos
Now check todos:
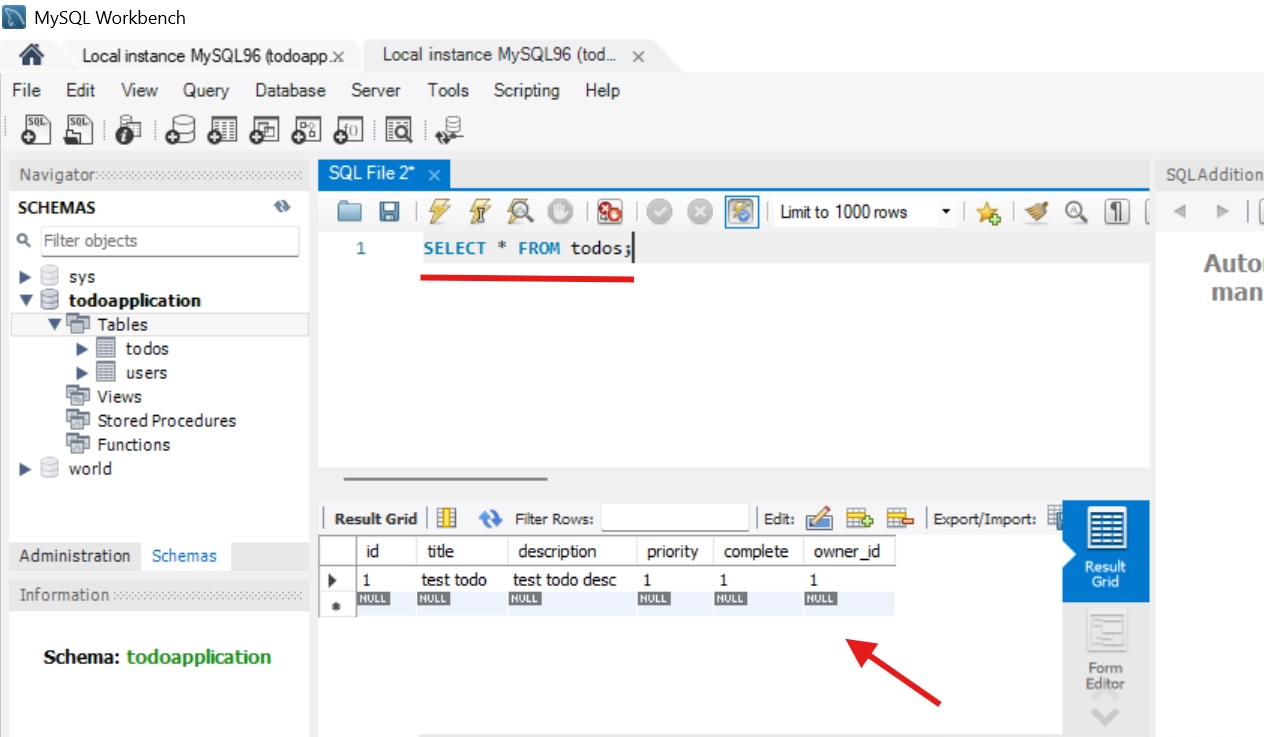
SELECT * FROM todos;You’ll see:
No records yet.
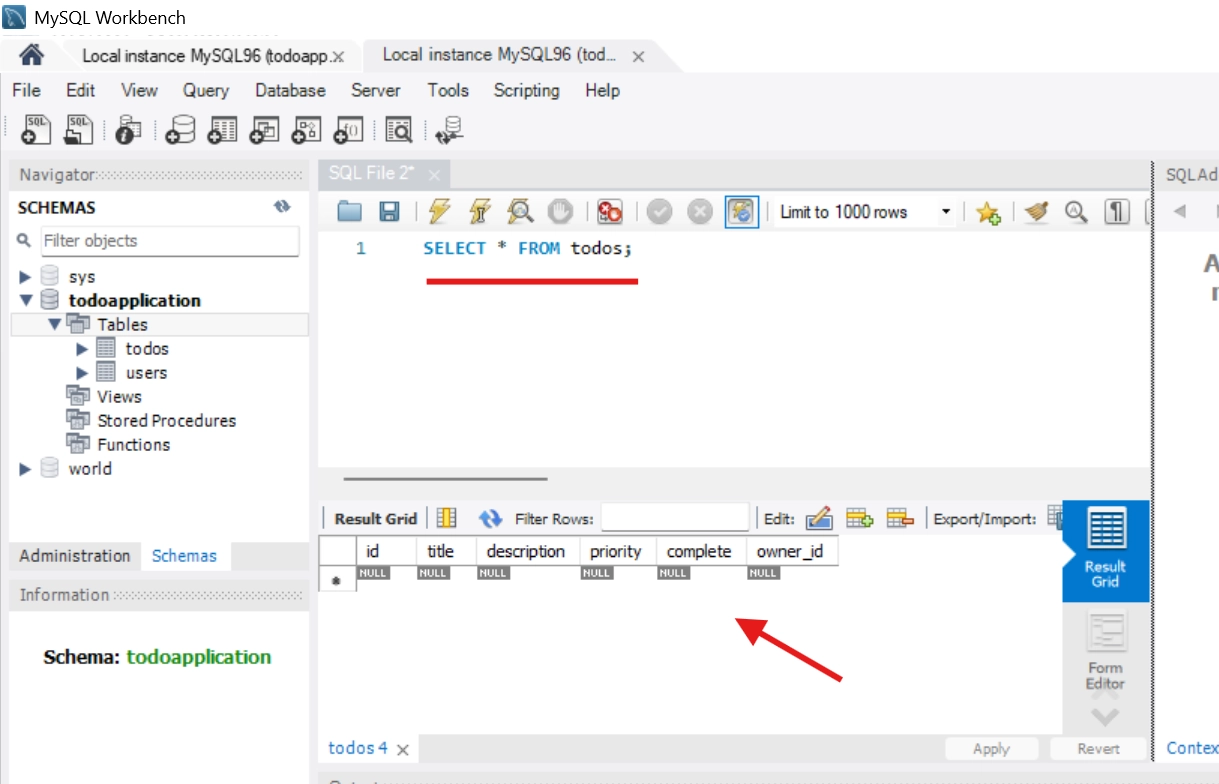
Perfect.
✅ Create a Todo
Go back to your browser and create a todo.
Click Execute → You’ll get:
Status Code → 201
Response Body →
null
Now return to MySQL and run:
SELECT * FROM todos;You should now see your new todo record.