🎯 Hands-On Objective
In this hands-on, you'll learn how to:
Upload an object using a specific storage class.
Change the storage class of an existing object.
Create a Lifecycle Rule to automatically move objects between storage classes over time.
⚠️ Warning
This hands-on may incur small AWS charges, especially if you use Glacier storage classes or keep resources after completing the lab.
Remember to delete any resources you no longer need.
🚀 Step 1: Create an Amazon S3 Bucket
Sign in to the AWS Management Console.
In the search bar, search for S3 and open the Amazon S3 Console.
Click Create bucket.
Enter a unique bucket name, for example:
s3-storage-classes-yourname-demoChoose any AWS Region e.g,
Asia Pacific (Mumbai), ap-south-1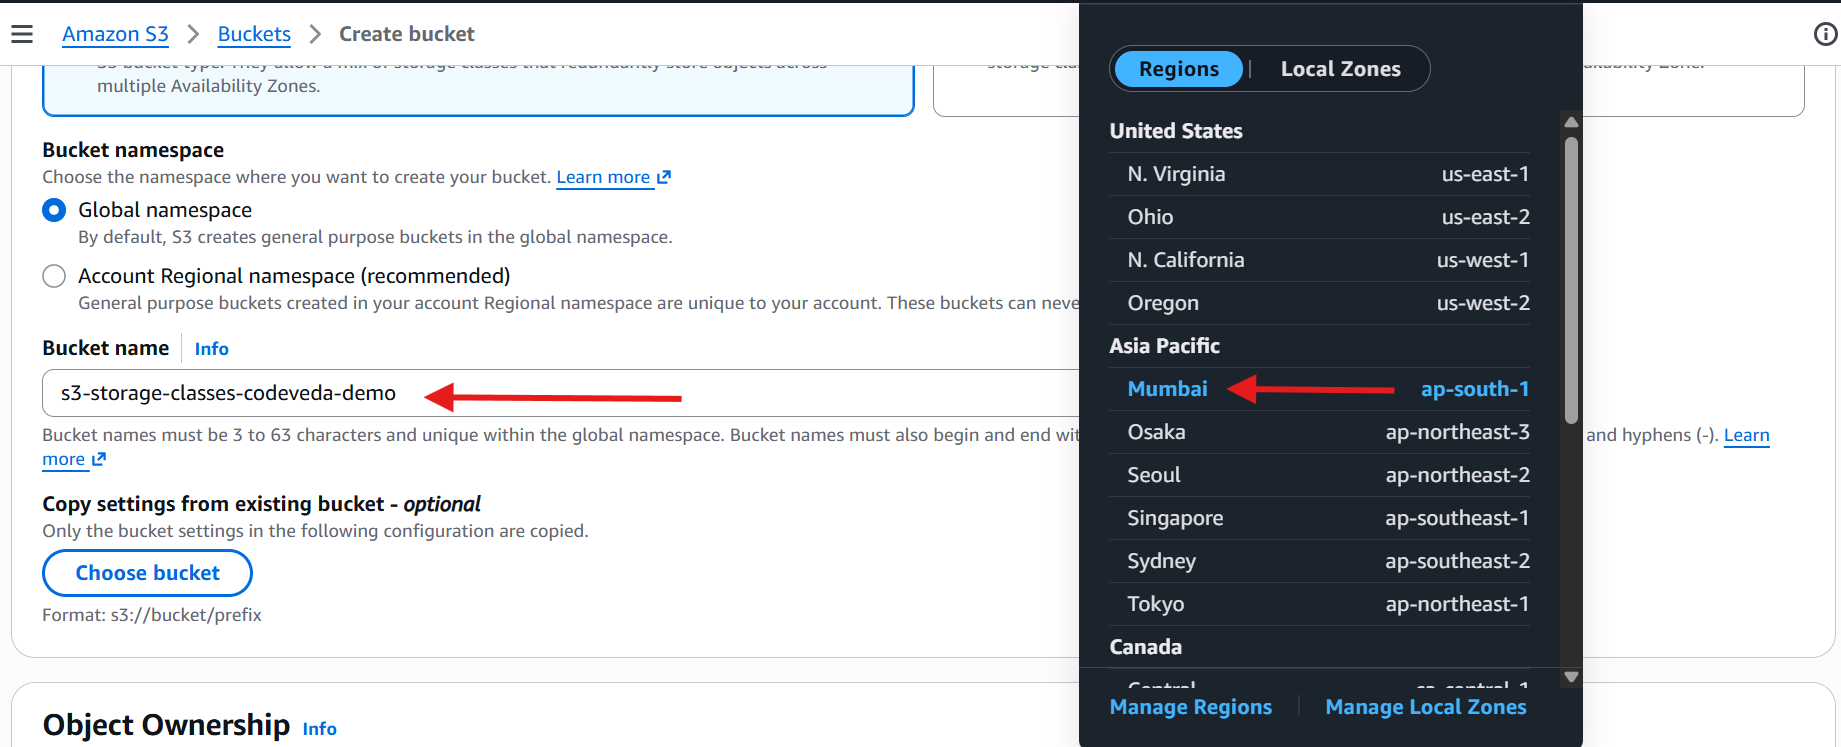
Leave the remaining settings at their defaults.
Click Create bucket.
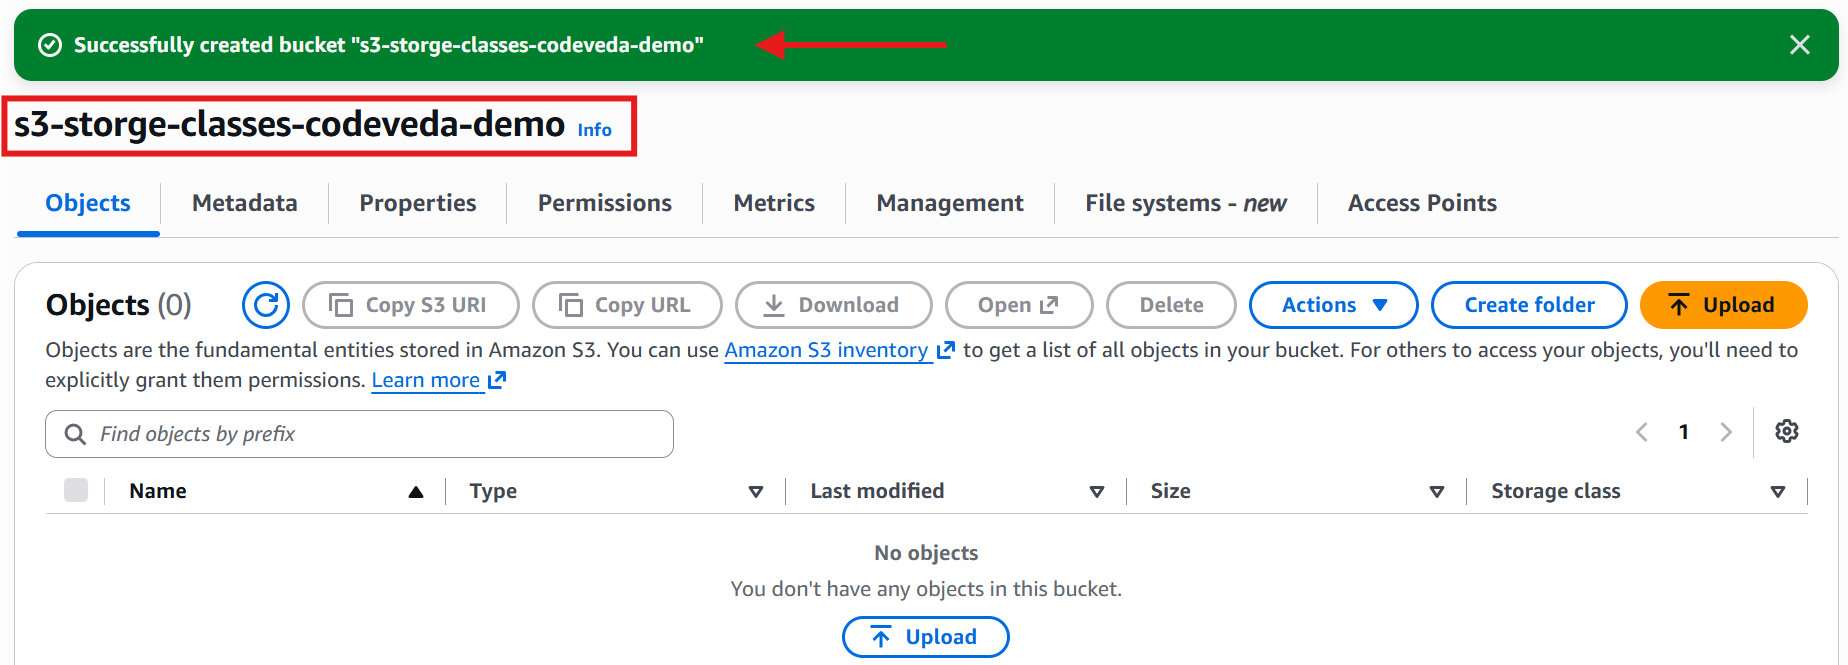
📤 Step 2: Upload an Object
📂 Open the bucket you just created
Click Upload
Click Add files
Select an image or any file from your computer (e.g.,
coffee.jpg)
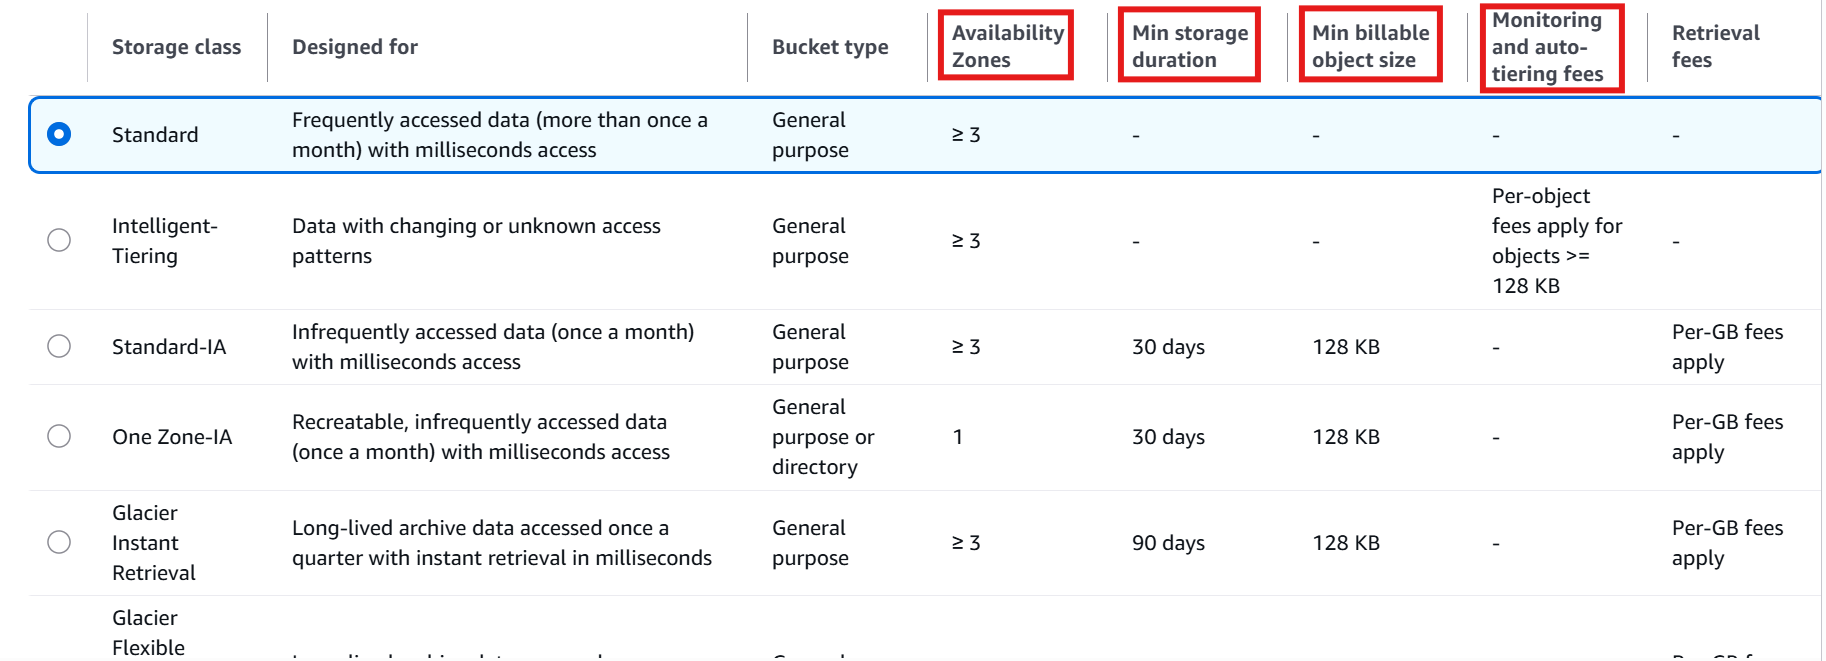
Before hitting upload, scroll down to the Properties section. Under Storage class, you'll find a dropdown listing all the available classes:
These include:
📂 S3 Standard
🤖 S3 Intelligent-Tiering
📁 S3 Standard-IA
🏢 S3 One Zone-IA
⚡ Glacier Instant Retrieval
🧊 Glacier Flexible Retrieval
❄️ Glacier Deep Archive
🔍 AWS also shows helpful details for each class right there, like:
Number of Availability Zones used
Minimum storage duration
Minimum billable object size
Monitoring/auto-tiering fees (where applicable)
📤 Step 3: Upload Using Standard-IA
Under Storage class, select:
Standard-IA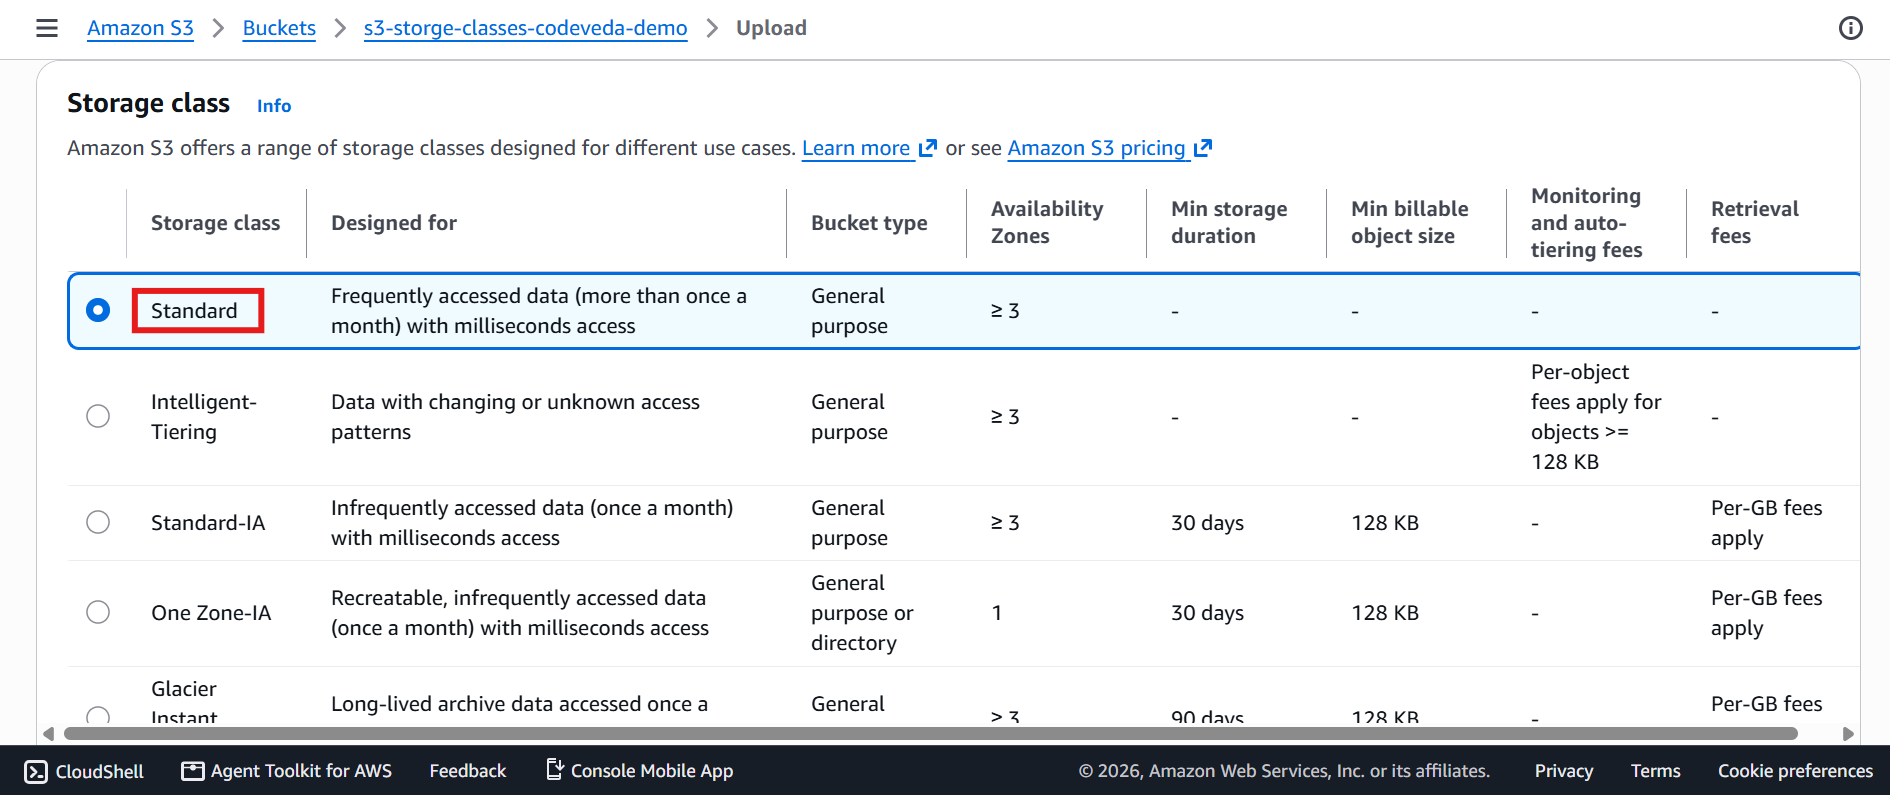
Click Upload.
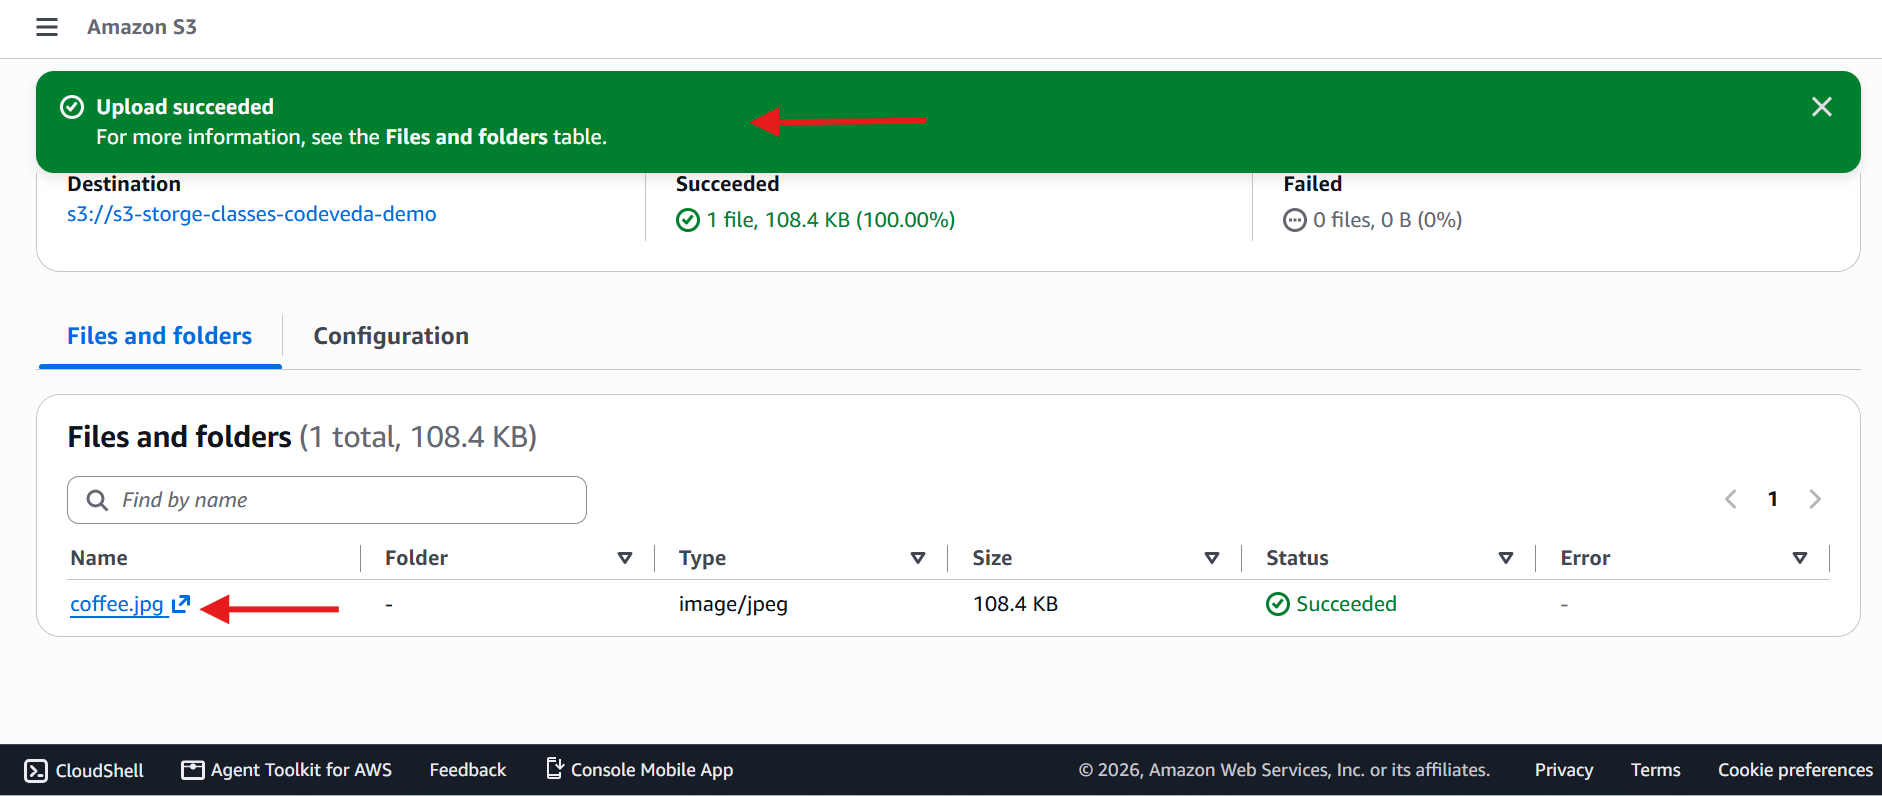
Once the upload finishes, you'll return to your bucket.
Click the Object to open it in a new tab
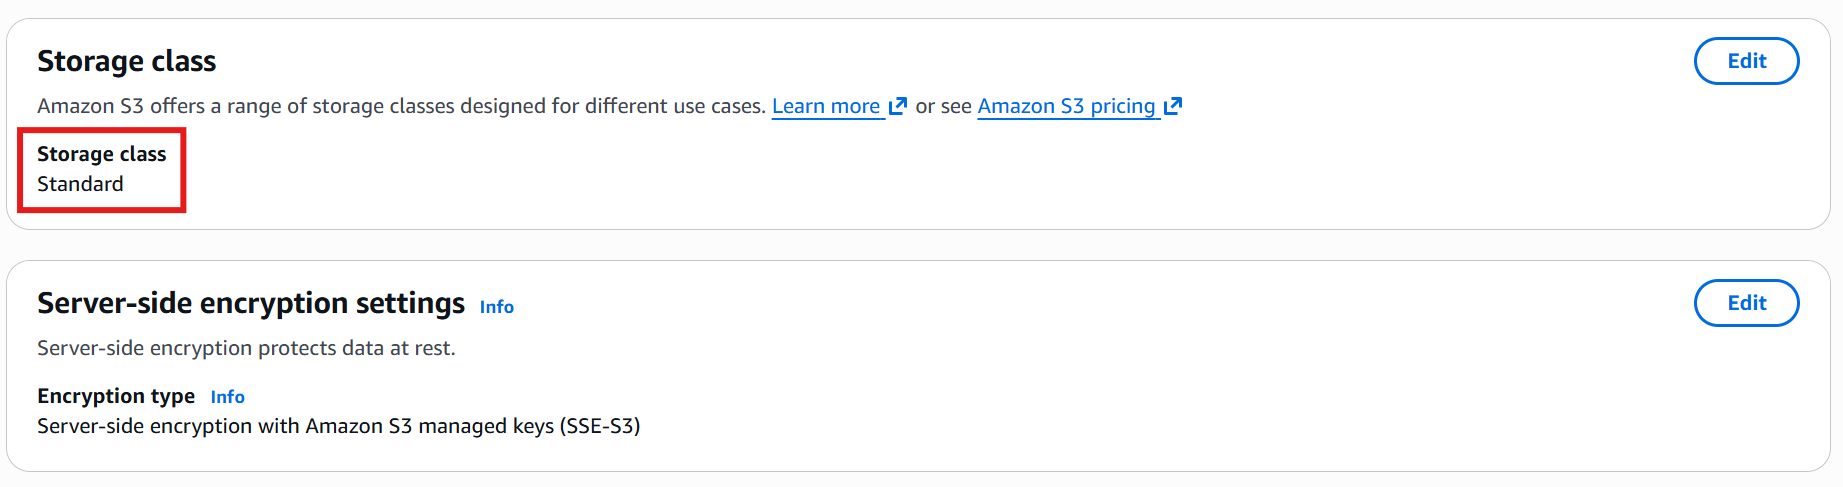
Scroll down till you get to Storage Class
Notice that the uploaded object now shows its storage class as Standard-IA.
✏️ Step 4: Change the Storage Class
You can also switch an object's storage class after it's already been uploaded:
Select the object → go to Storage class
Click Edit
Choose the new class — e.g., One Zone-IA
Click Save changes
⏳ Give it a moment (refresh the page if needed) — the object will now show One Zone-IA as its storage class.
💡 Repeat the same steps anytime to move the object to other classes, like:
⚡ Glacier Instant Retrieval
🧊 Glacier Flexible Retrieval
❄️ Glacier Deep Archive
🤖 Intelligent-Tiering
⚙️ Step 5: Create a Lifecycle Rule
Instead of changing storage classes manually, AWS can do it automatically.
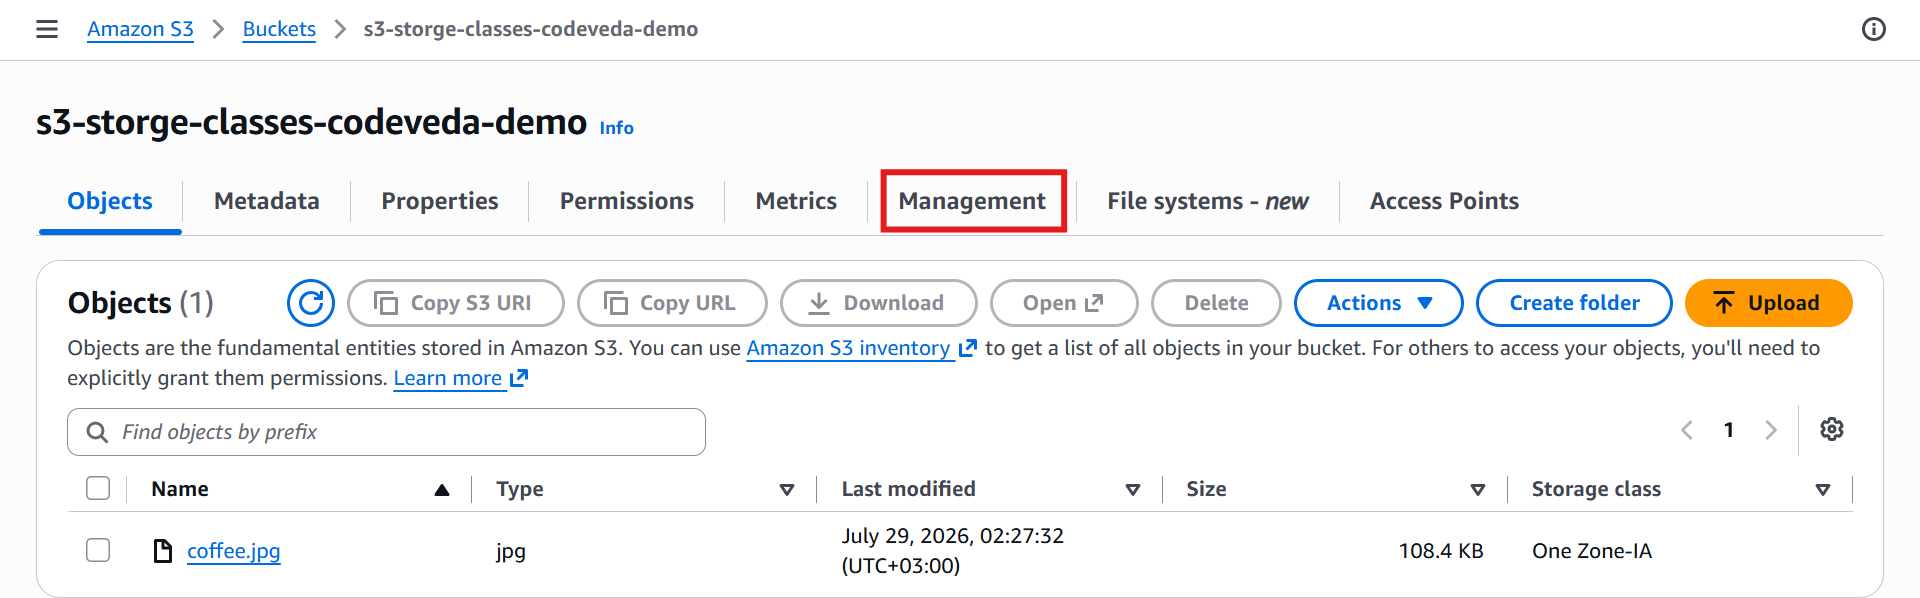
Return to your S3 bucket.
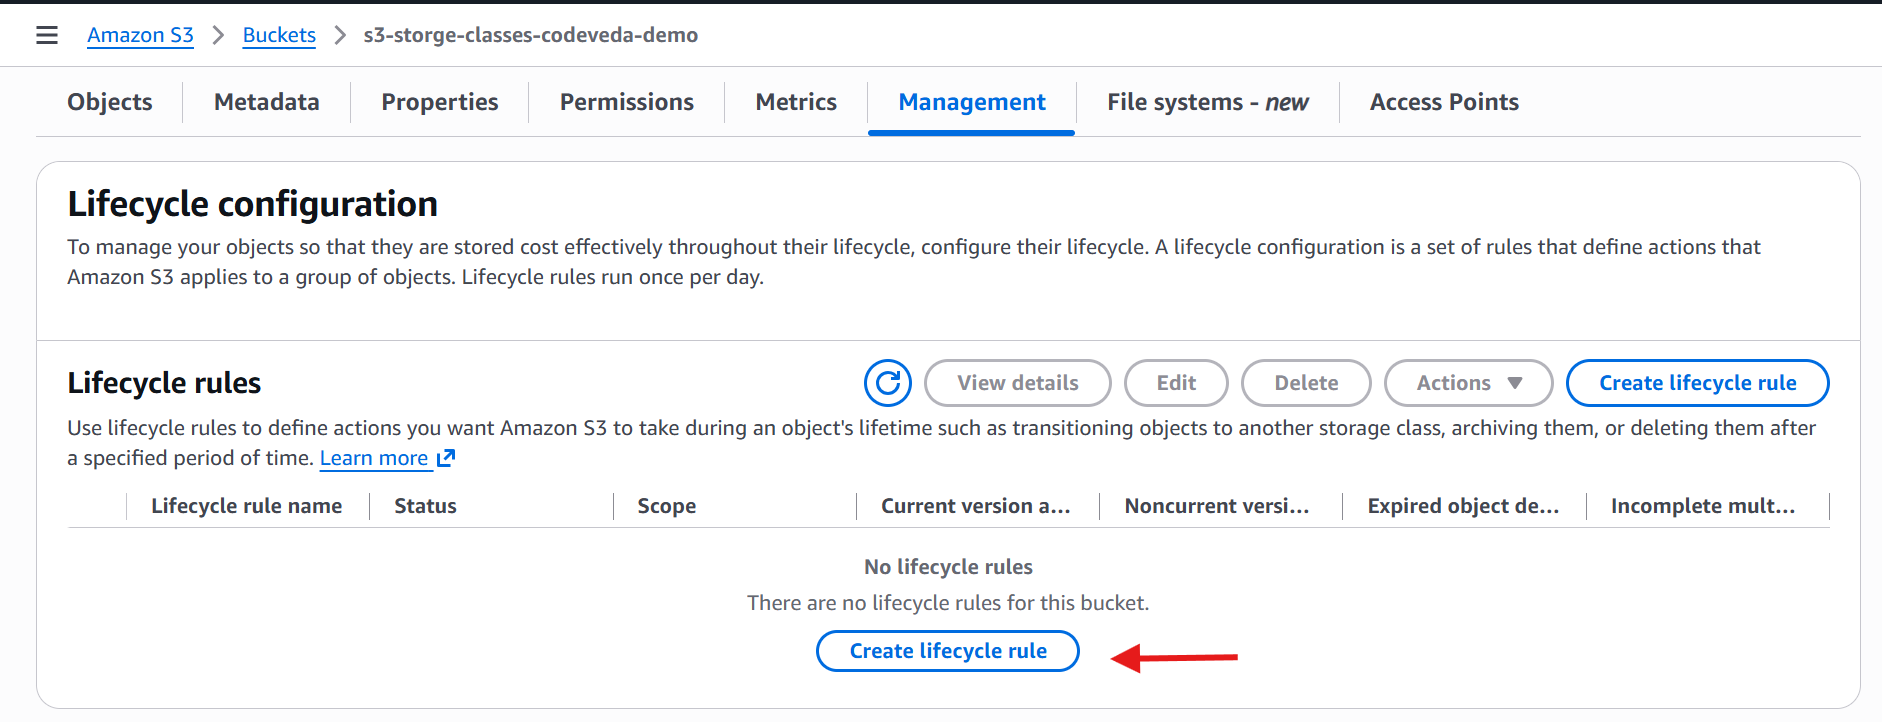
Open the Management tab.
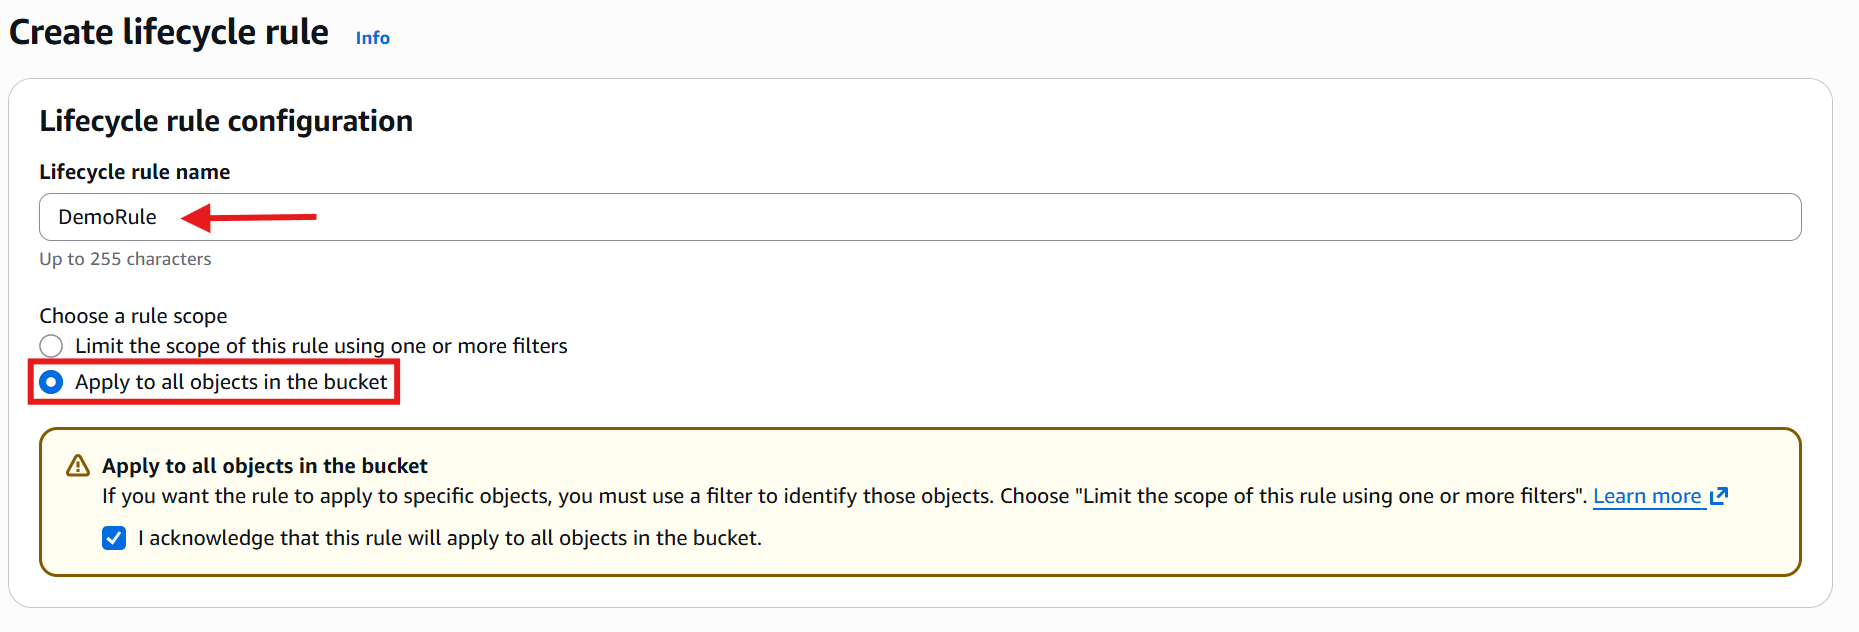
Under Lifecycle rules, click Create lifecycle rule.
Enter a rule name, for example:
DemoRuleChoose to apply the rule to all objects in the bucket.
Acknowledge the warning by selecting the confirmation checkbox.
🔄 Step 6: Configure Automatic Transitions
Enable Transition current versions of objects between storage classes.
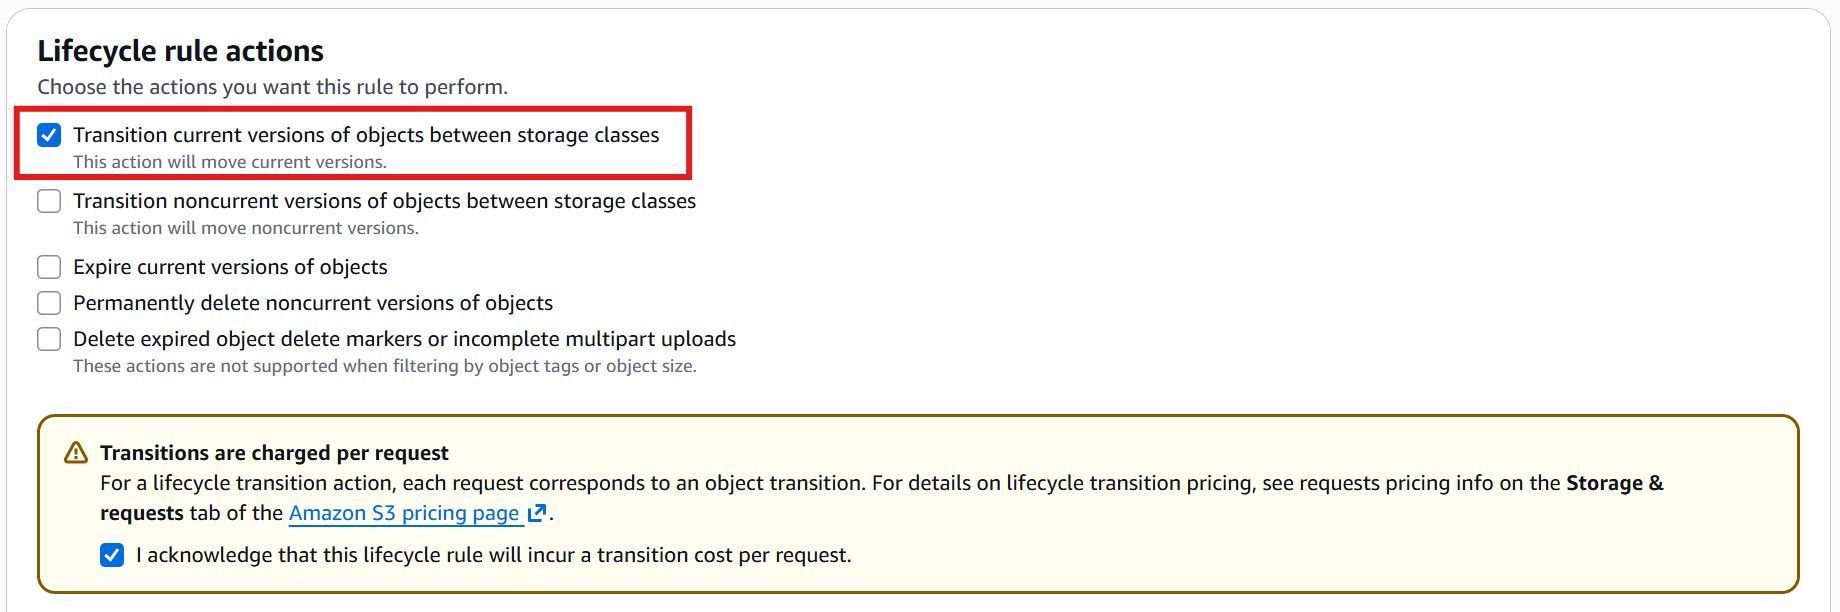
Now configure the following transitions:
After | Move To |
|---|---|
30 Days | 📁 Standard-IA |
60 Days | 🤖 Intelligent-Tiering |
180 Days | 🧊 Glacier Flexible Retrieval |
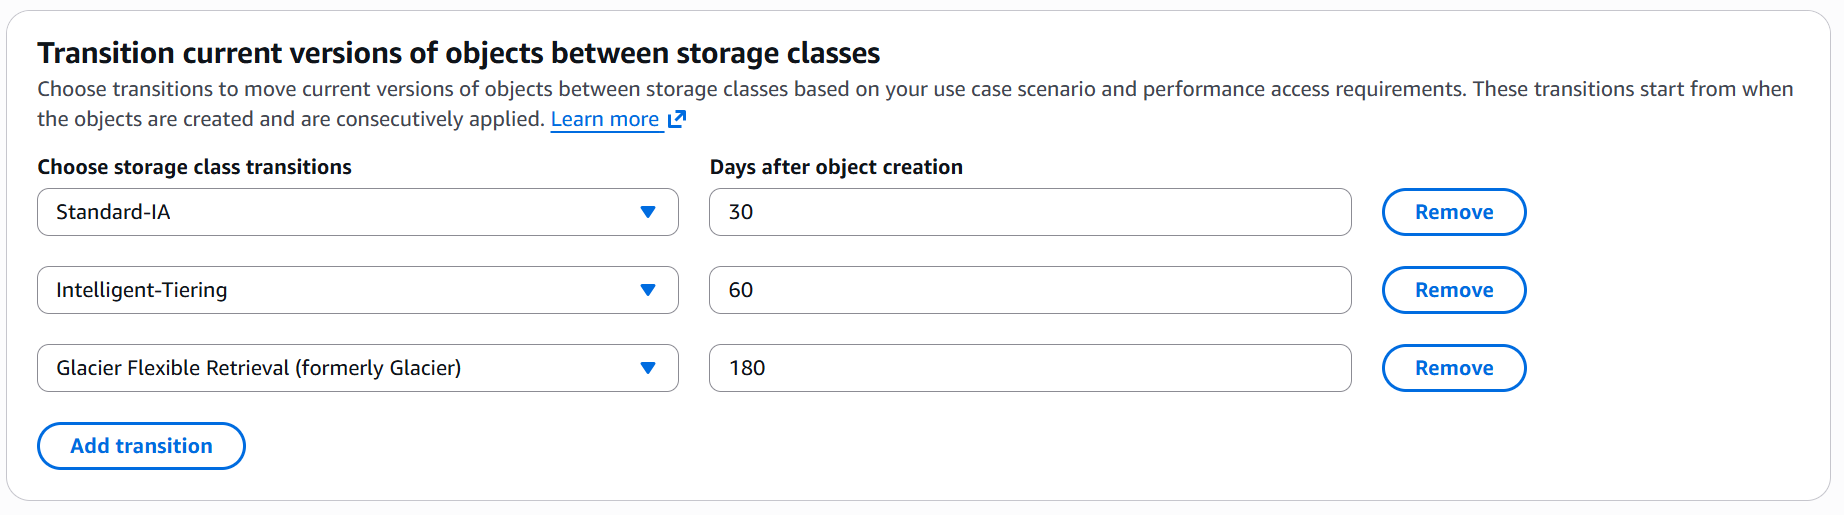
As you add each transition, AWS displays the transition schedule so you can review it before saving.
When you're satisfied with the configuration:
Review the settings.
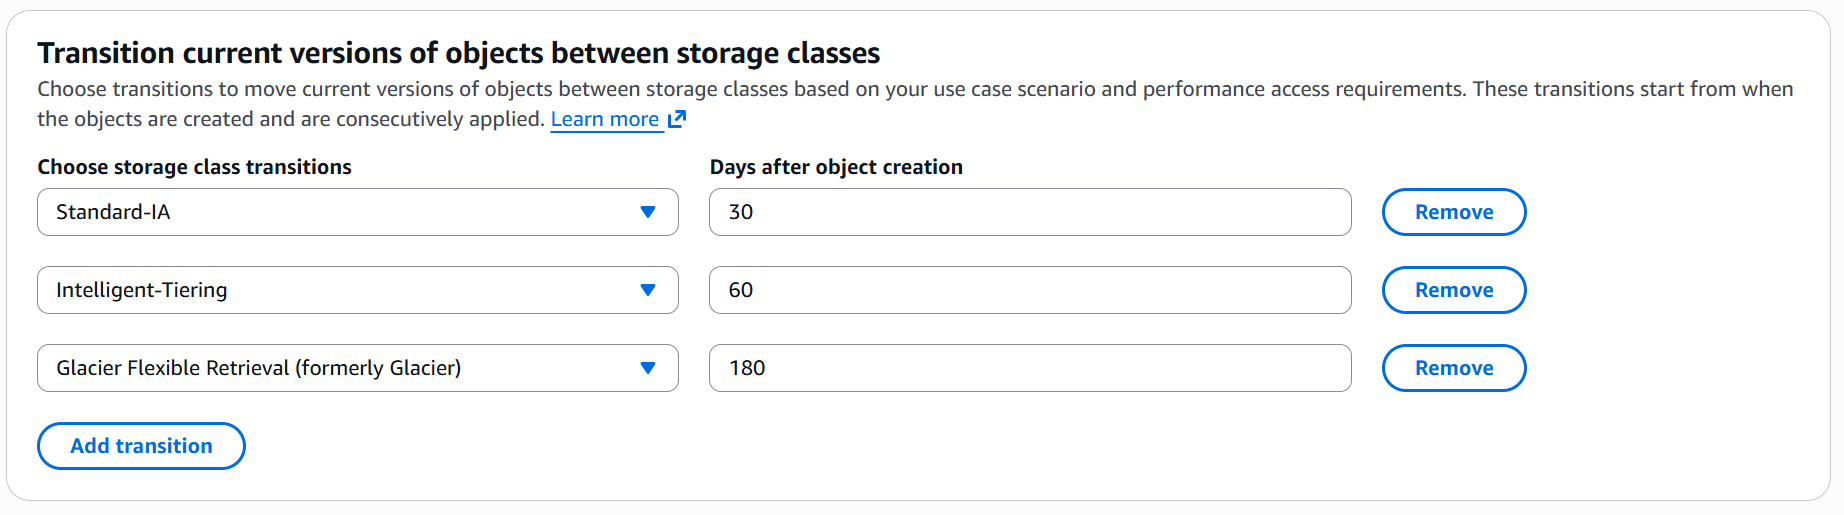
Click Create rule.
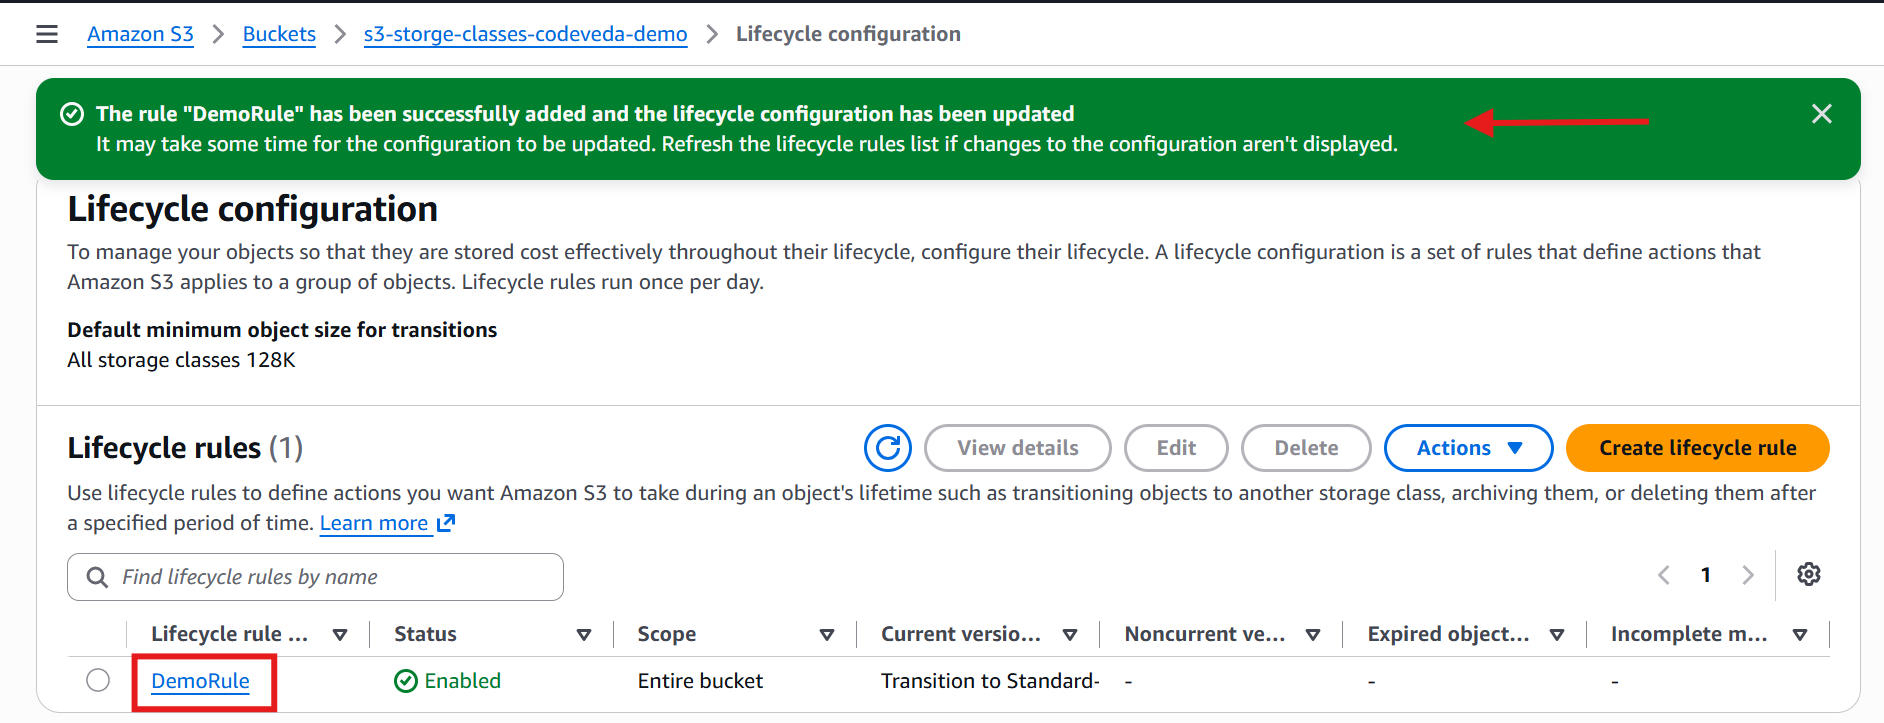
✅ Your Lifecycle Rule is now active.
🔍 What's Happening Behind the Scenes?
Without Lifecycle Rules:
You would have to manually move every object to a different storage class.
With Lifecycle Rules:
AWS continuously monitors the age of each object.
Once an object reaches the specified number of days, AWS automatically transitions it to the next storage class.
No manual work is required.
This automation helps reduce storage costs while ensuring objects are stored in the most appropriate storage class.
⚠️ Warning
This hands-on may incur small AWS charges, especially if you use Glacier storage classes or keep resources after completing the lab.
Remember to delete any resources you no longer need.