Step 1 — Open Terminal or PowerShell and navigate to your desired location
cd DesktopStep 2 — Install uv
Follow the official installation guide based on your OS:
Mac/Linux: https://docs.astral.sh/uv/getting-started/installation/#__tabbed_1_1
Windows: https://docs.astral.sh/uv/getting-started/installation/#__tabbed_1_2
Once installed, verify it works:
uv --versionIf you see a version number, you're good to go. If not, revisit the installation steps.
Step 3 — Create and initialize a new project (terminal)
mkdir llm_engineering
cd llm_engineering
uv init
uv init creates a pyproject.toml, .python-version, and main.py.
Then open the folder in your code editor (VS Code or Cursor).
Step 4 — Create a requirements.txt file in the project root
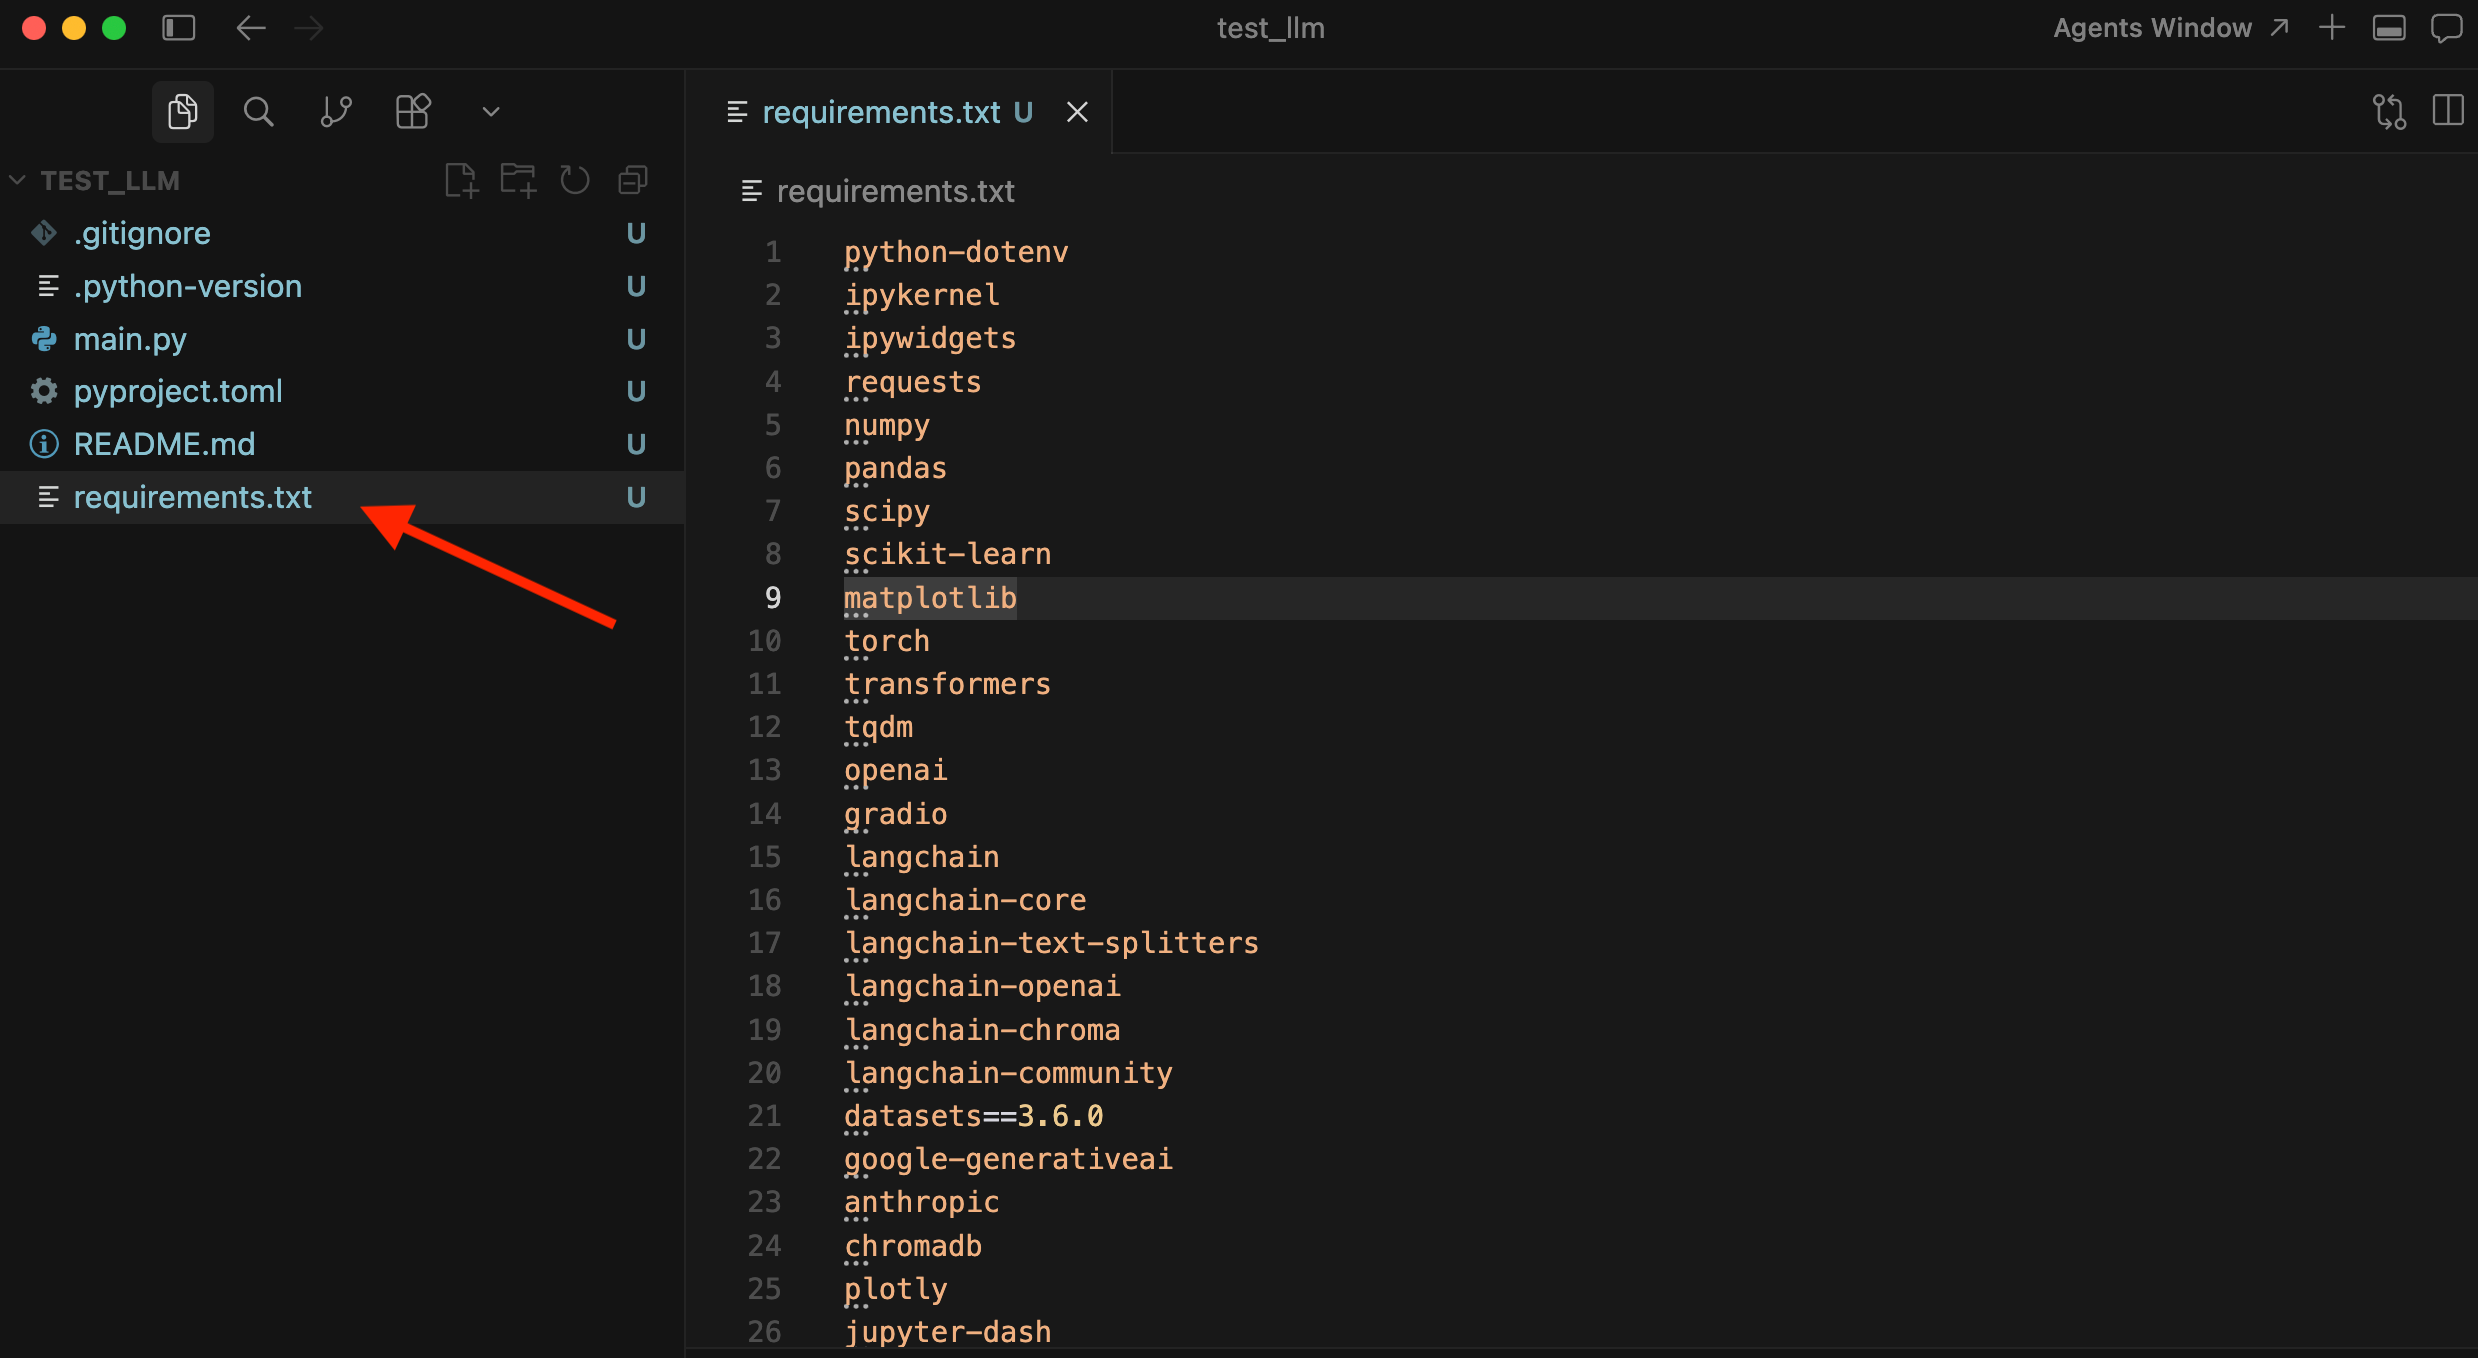
Paste the following into it:
python-dotenv
ipykernel
ipywidgets
requests
numpy
pandas
scipy
scikit-learn
matplotlib
torch
transformers
tqdm
openai
gradio
langchain
langchain-core
langchain-text-splitters
langchain-openai
langchain-chroma
langchain-community
datasets==3.6.0
google-generativeai
anthropic
chromadb
plotly
jupyter-dash
beautifulsoup4
pydub
modal
ollama
psutil
setuptools
speedtest-cli
sentence_transformers
feedparser
protobuf==3.20.2
wandb
jupyterlab
Step 5 — Open the integrated terminal in your editor
Press Ctrl + ~ or enable it from the top menu bar.
Step 6 — Create a virtual environment
In terminal:
uv venv
# or pin a specific Python version:
uv venv --python 3.11
This creates a .venv/ folder in your project directory.
Step 7 — Activate the virtual environment
macOS / Linux:
source .venv/bin/activateWindows (CMD):
.venv\Scripts\activate.batWindows (PowerShell):
.venv\Scripts\Activate.ps1Step 8 — Install all packages from requirements.txt
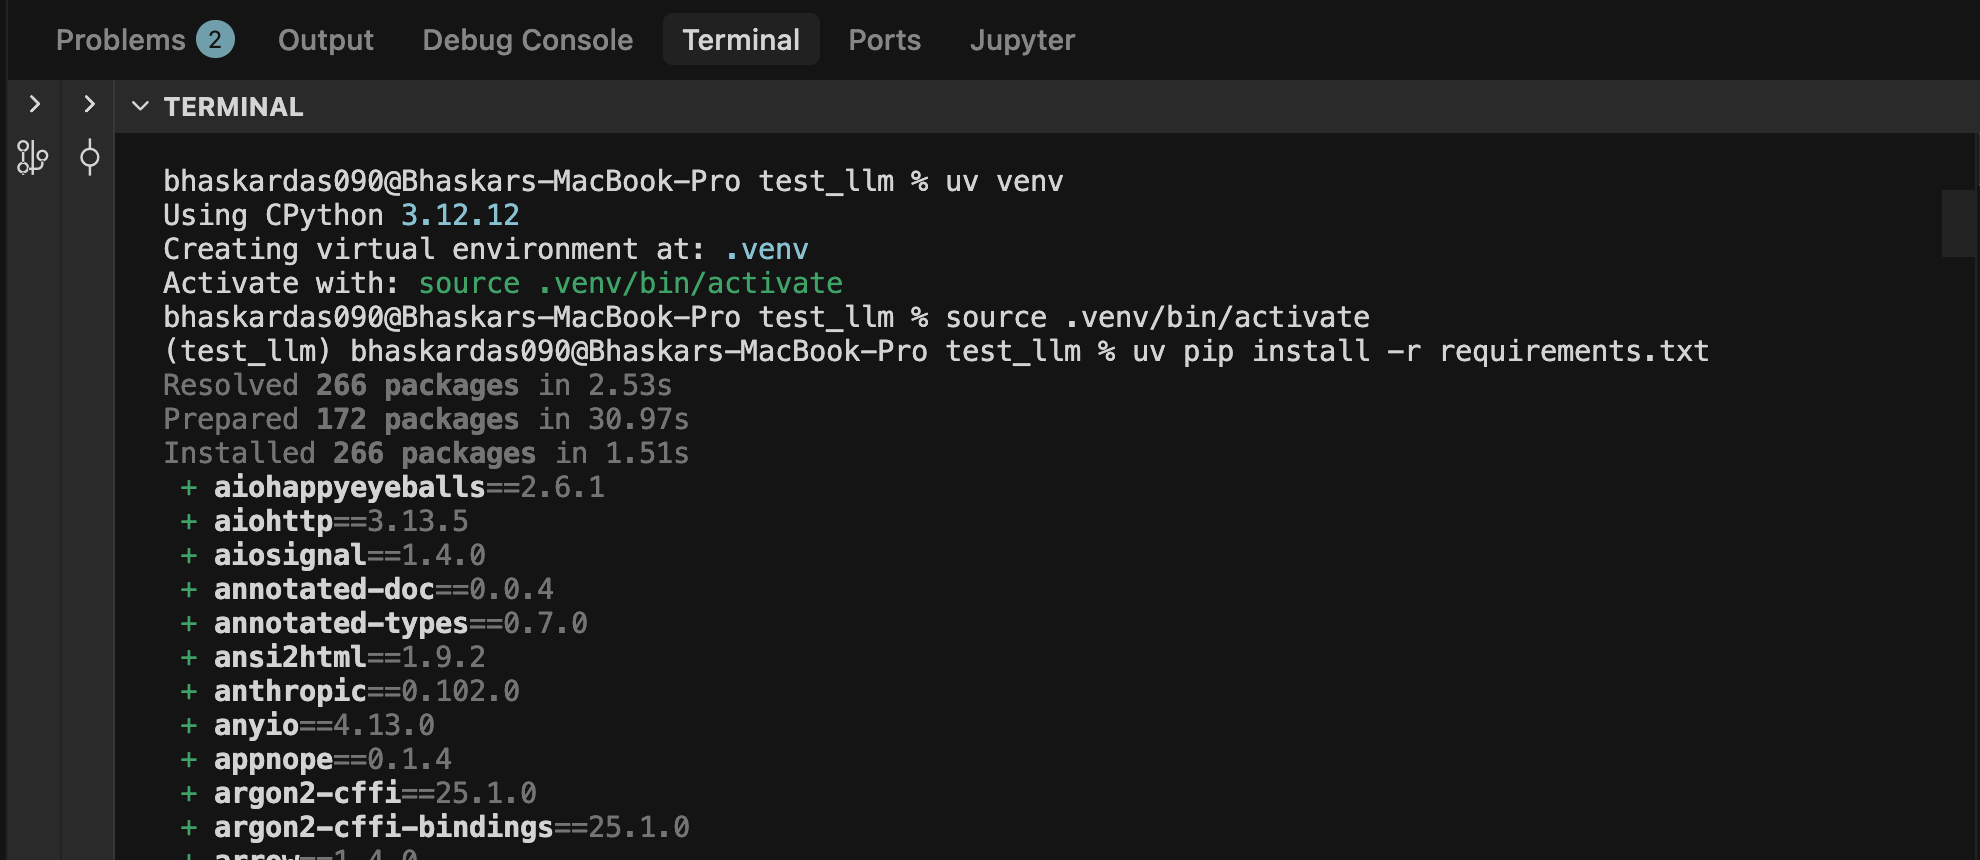
uv pip install -r requirements.txtStep 9 — Install the Jupyter and Python Extensions in Your Editor
Open the Extensions panel (Ctrl + Shift + X) and install the following:
Search "Jupyter" → install the one by Microsoft
Search "Python" → install the one by ms-python
Step 10 — Create Your First Notebook
Create a new file named
demo.ipynbAdd a code cell and type:
print("Hello World")
Step 11 — Select the Kernel
Click "Select Kernel" in the top-right corner of the notebook
Choose "Python Environments"
Select the
.venvvirtual environment we created earlier
Step 12 — Run the Code
Click the ▶ Run button on the left side of the code cell. You should see the output printed directly below it.
That's it — your environment is fully set up and ready to go! 🎉
✅ Special Note
What are .ipynb files?
.ipynb stands for Interactive Python Notebook. It's the file format used by Jupyter Notebook.
Instead of a plain .py script that runs top to bottom, a notebook is made up of cells that you can run individually — making it perfect for experimenting, visualizing data, and documenting your work all in one place.
Each .ipynb file stores:
Code cells — Python code you can run
Output — results, charts, printed values
Markdown cells — notes, explanations, headings
Under the hood it's just a JSON file, but Jupyter renders it as an interactive document in your editor.
Think of it as a mix between a Python script and a Word document — code and explanation, side by side.