💰 Important: Read this before proceeding
This hands-on may create AWS resources that incur charges if left running. Delete all resources after completing the exercise.
🚀 Step 1: Open Amazon Lightsail
Sign in to the AWS Management Console.
Search for Lightsail.
Open the Amazon Lightsail console.
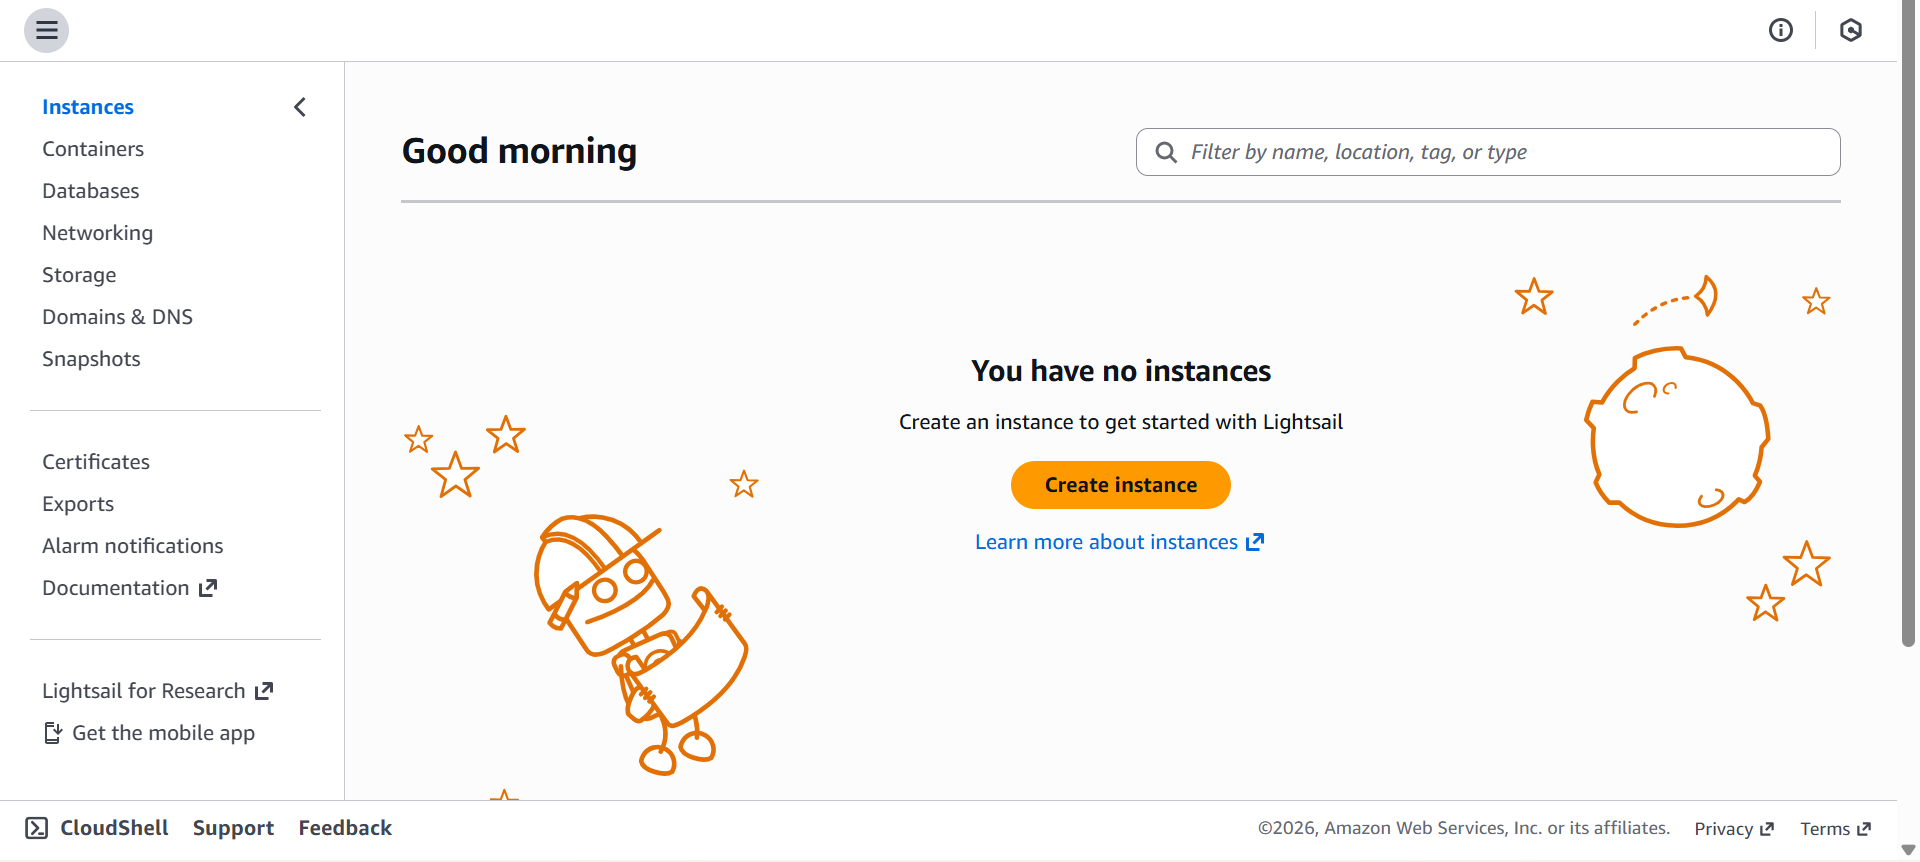
You'll immediately notice a much simpler interface than the standard AWS console — Lightsail is built for deploying fast without juggling many AWS services.
🌍 Step 2: Create a New Instance
Click Create instance.
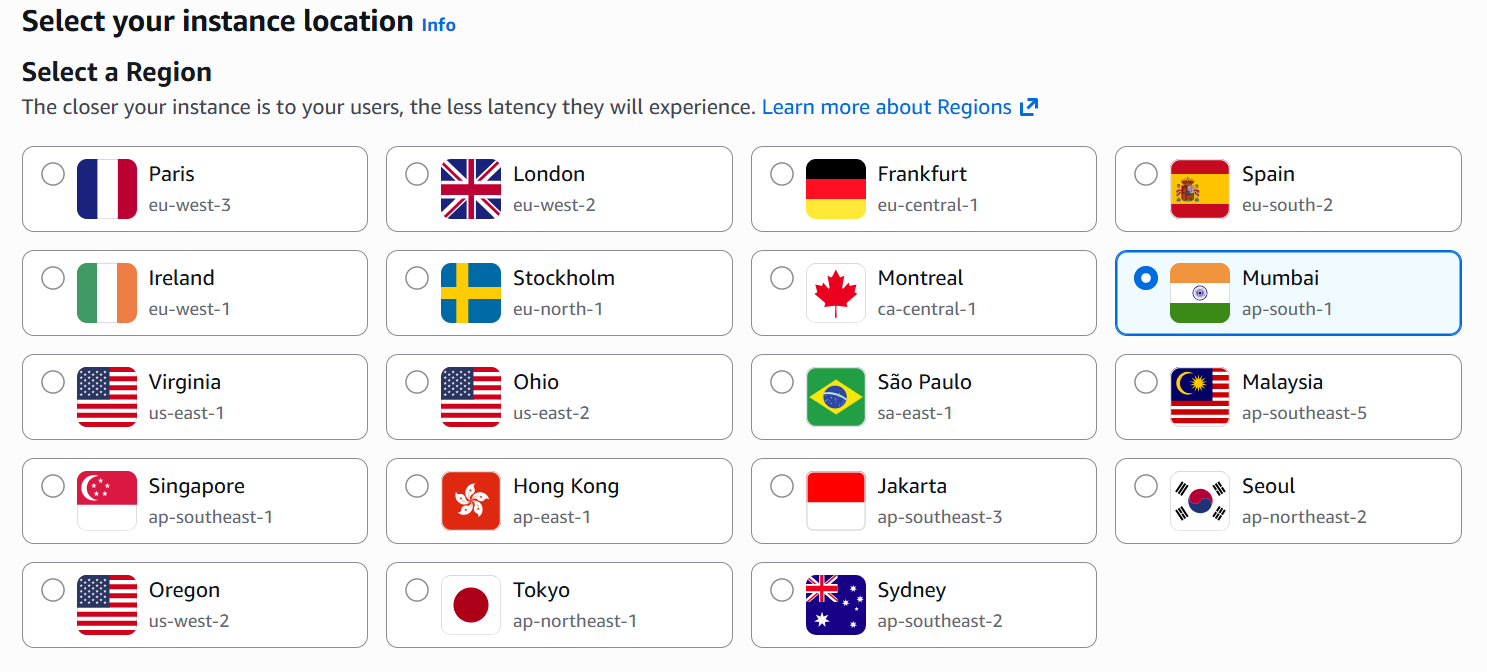
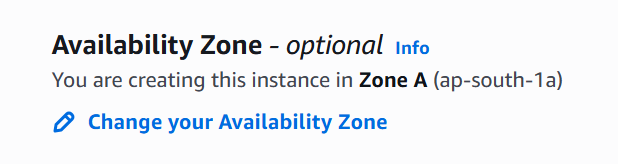
Choose an AWS Region (and Availability Zone if desired) — Lightsail offers a limited, simplified selection compared to EC2.
Choose an image type:
Linux apps (pre-configured blueprints)
Linux OS (OS-only)
Microsoft Windows
Select Linux apps → WordPress.
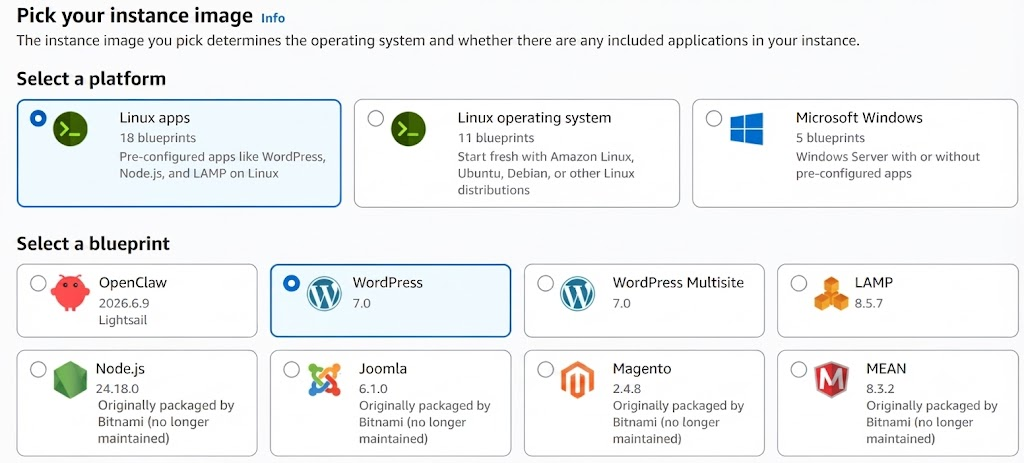
WordPress installs and configures itself automatically — no manual OS setup or app configuration needed, unlike EC2.
⚙️ Step 3: Settings & Instance Plan
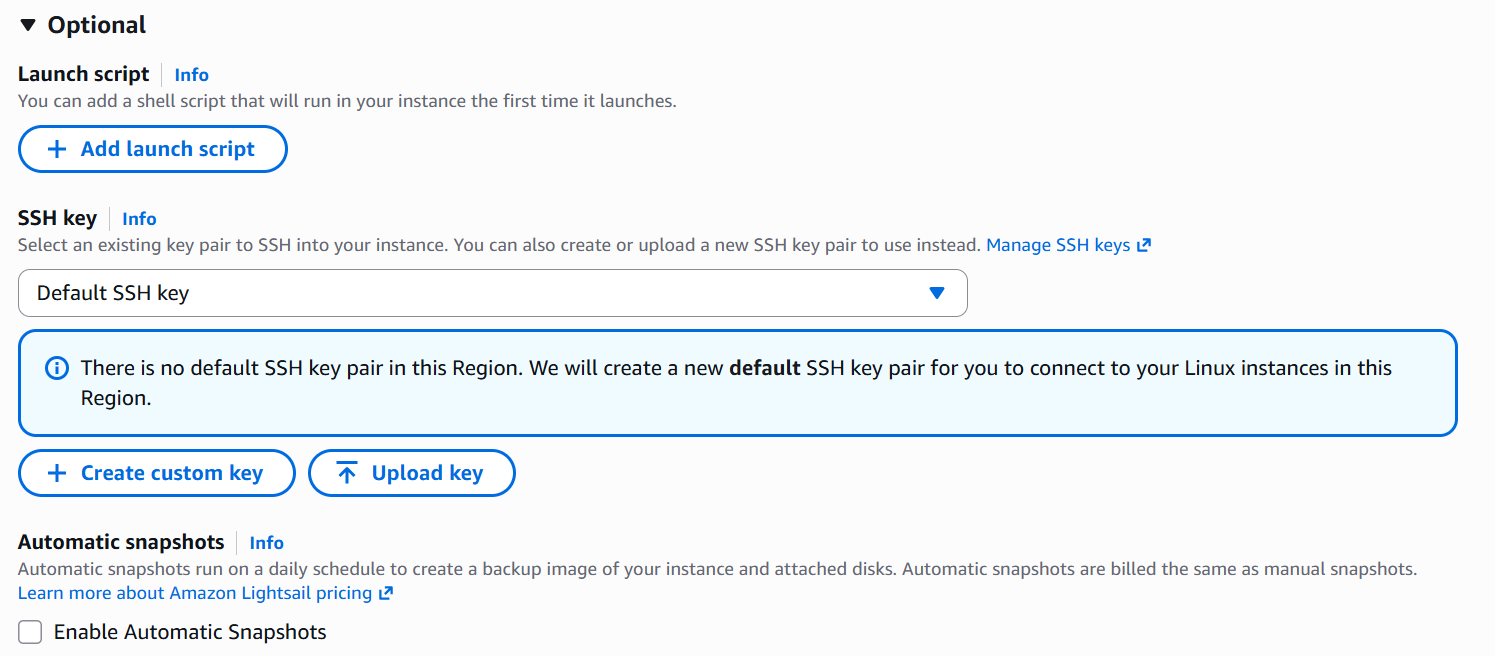
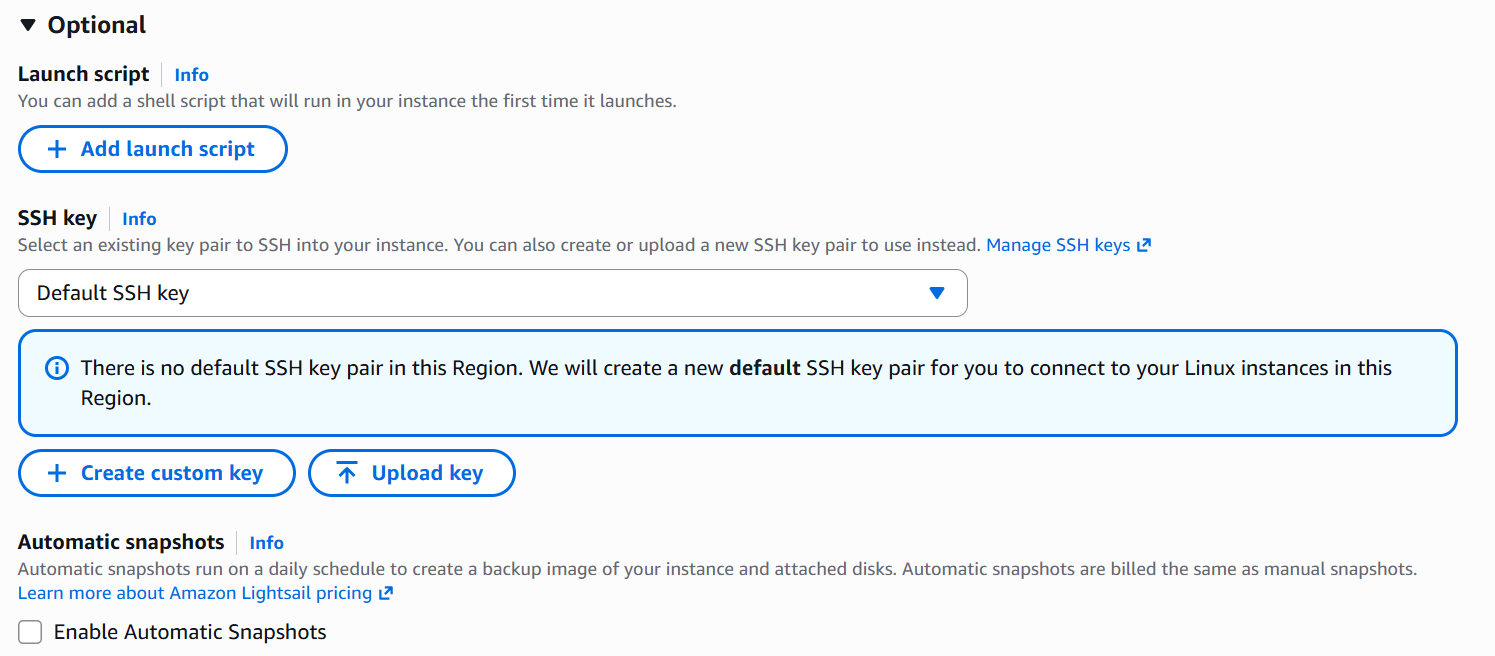
Review the few optional settings available — a launch script (like EC2 User Data) and SSH key pair selection. Most advanced infrastructure settings are hidden by design.
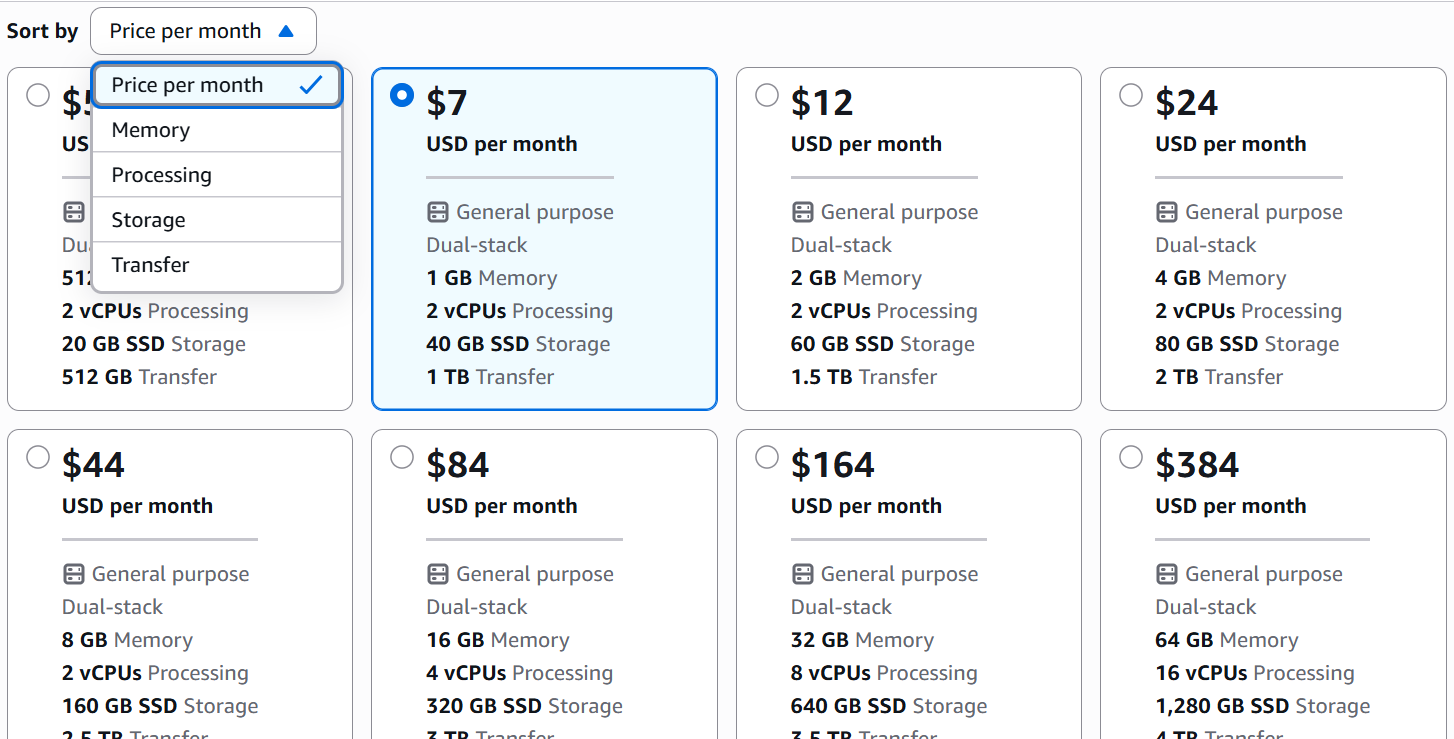
Scroll to Instance Plan. Instead of EC2 instance types (t3.micro, etc.), Lightsail shows simple fixed-price plans.
Each listing monthly cost, RAM, vCPUs, SSD storage, and network transfer. Pick a Free Tier–eligible plan if applicable.
📝 Step 4: Name and Launch
Name the instance (e.g. WordPress-1) and click Create Instance.
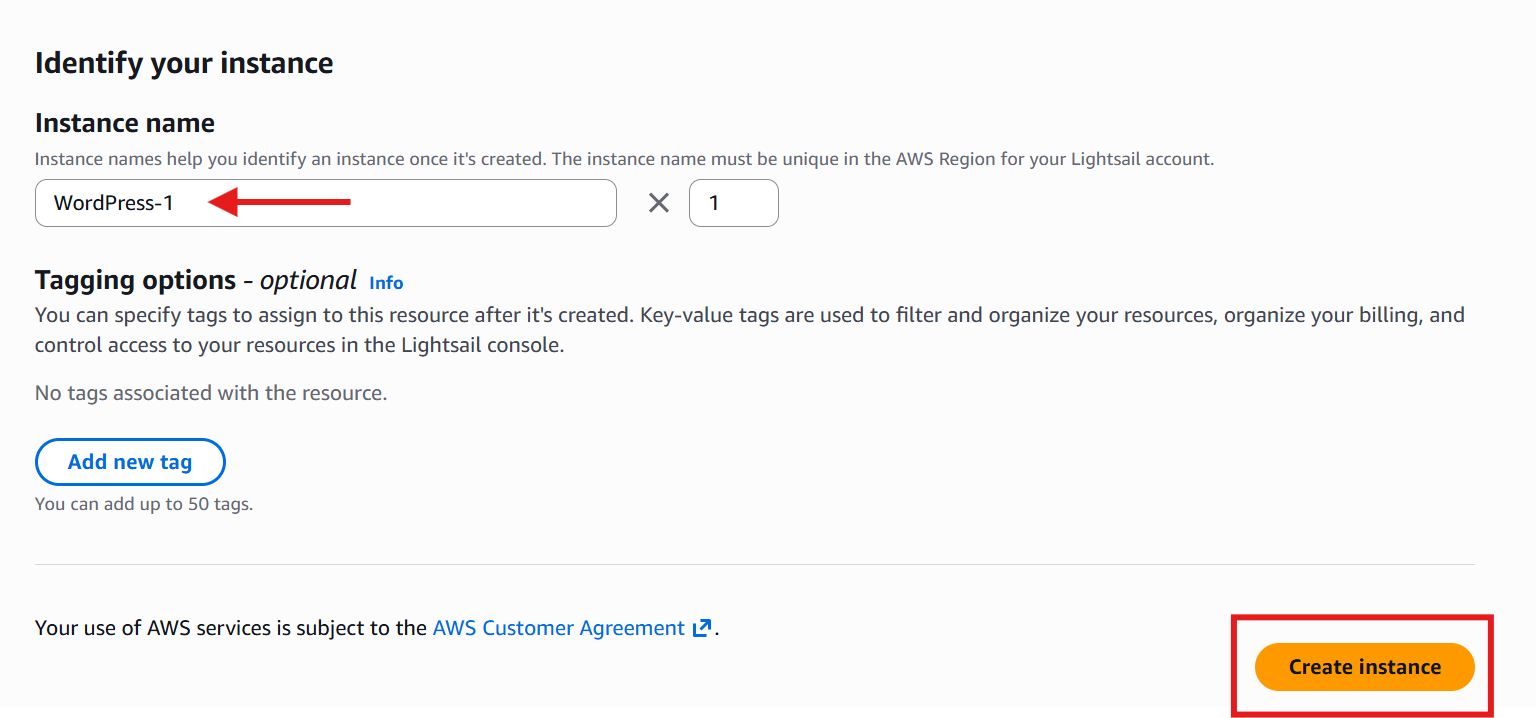
Lightsail will begin provisioning your virtual server.
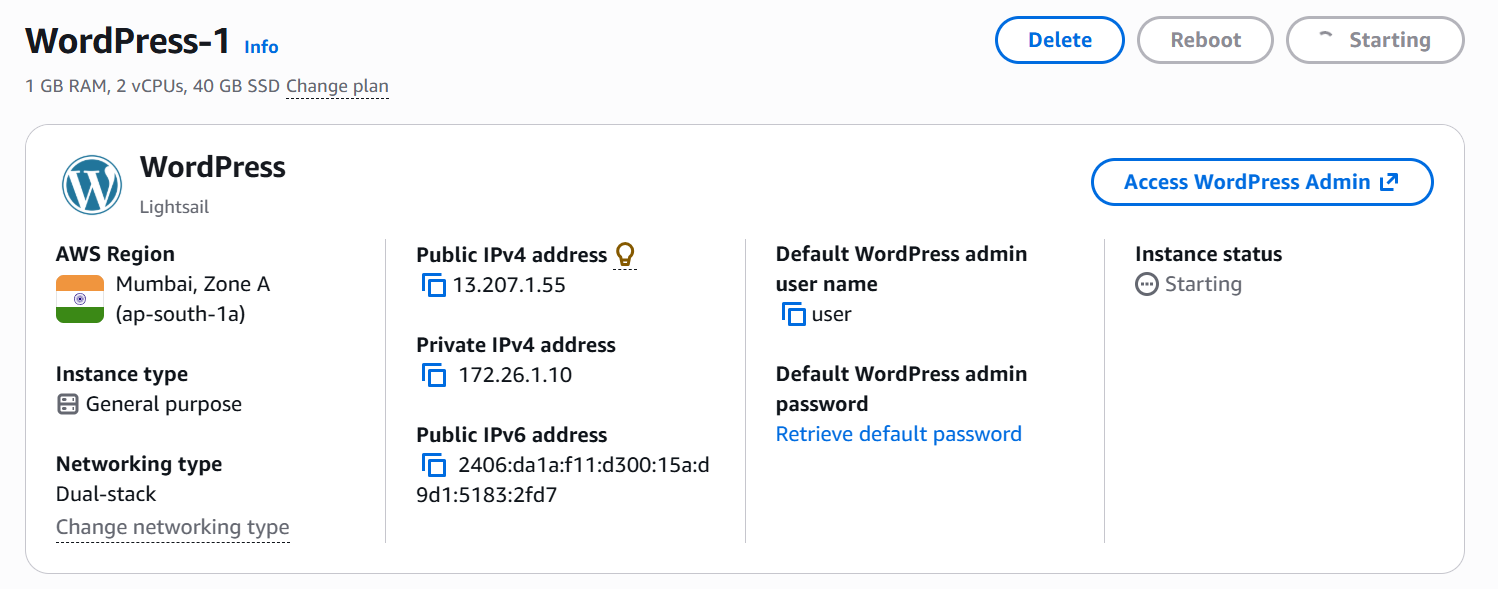
While it provisions, notice what you're not configuring: Security Groups, VPC networking, Elastic IPs, EBS volumes, Route Tables, or Internet Gateways — Lightsail handles all of that behind the scenes.
🗄️ Step 5: Explore Databases, Networking & Storage
Databases — Create Database, choosing region, AZ, engine, credentials, Standard or High Availability, and a pricing plan
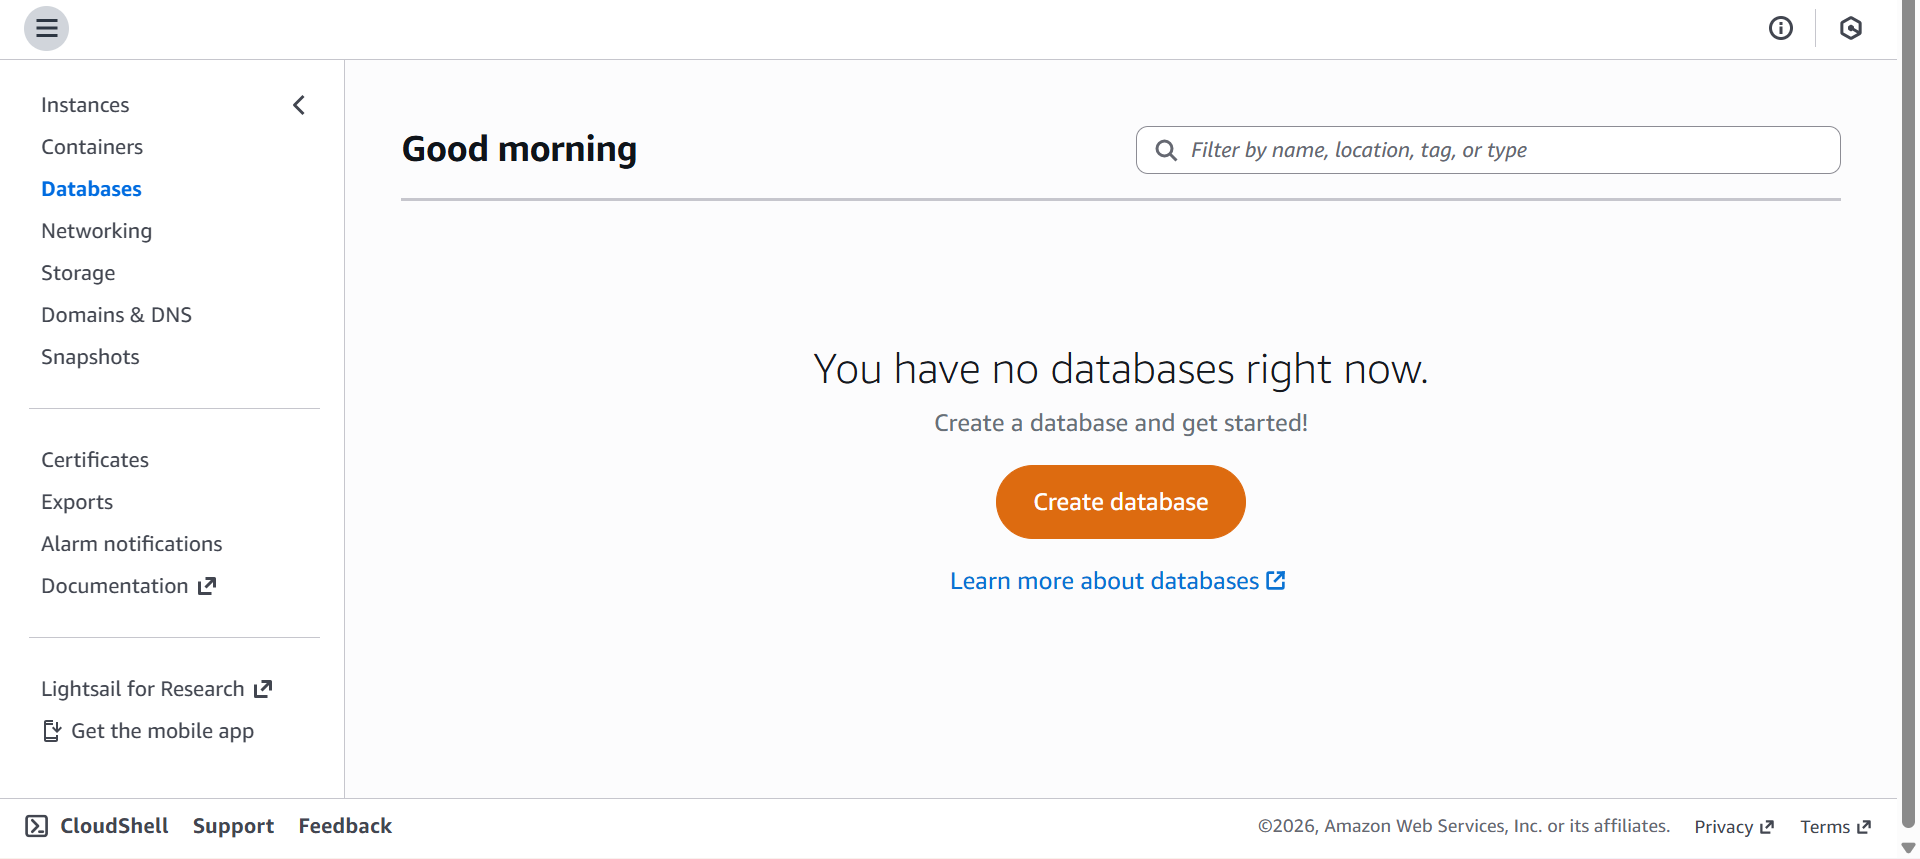
You'll notice a similar simplified setup process:
Choose Region
Choose Availability Zone
Select database engine
Configure login credentials
Choose either:
Standard Database
High Availability Database
Select a pricing plan
Networking — Create Static IPs or Load Balancers, a much simpler setup than Amazon VPC
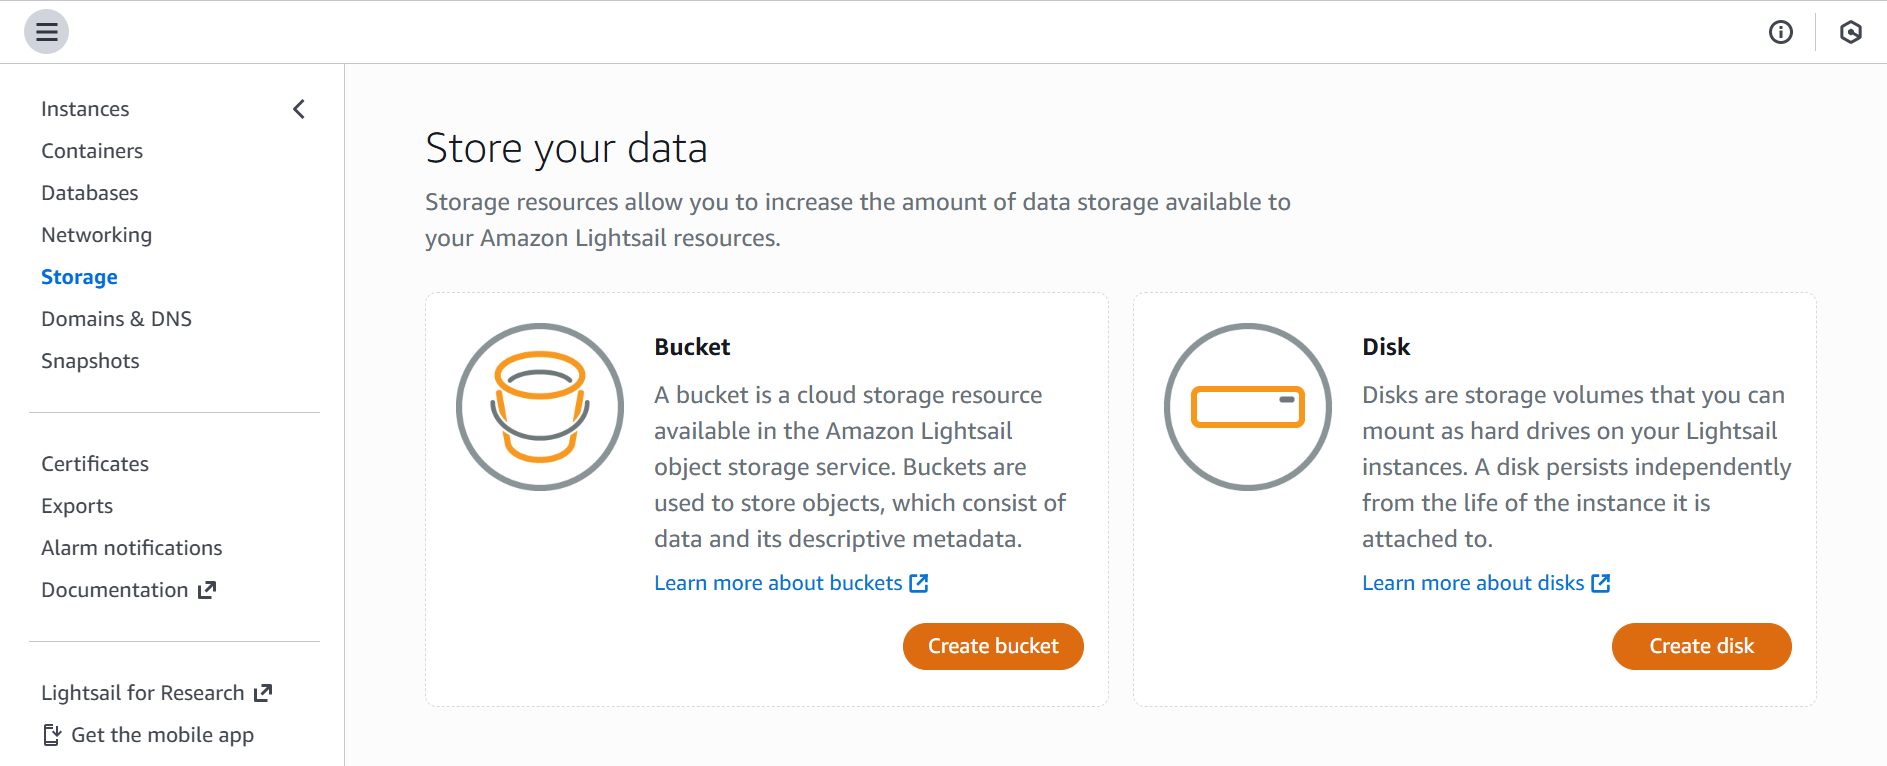
Storage — Add extra disks or snapshots for backups, without exposing EBS-level complexity
💻 Step 6: Connect & View Your Site
Once the instance shows Running:
Click the instance → Connect using SSH. Lightsail opens a browser-based terminal — no SSH key download needed, unlike EC2.
Grab the instance's Public IP and open it in your browser to see the default WordPress site — deployed automatically at instance creation.
🧹 Clean Up
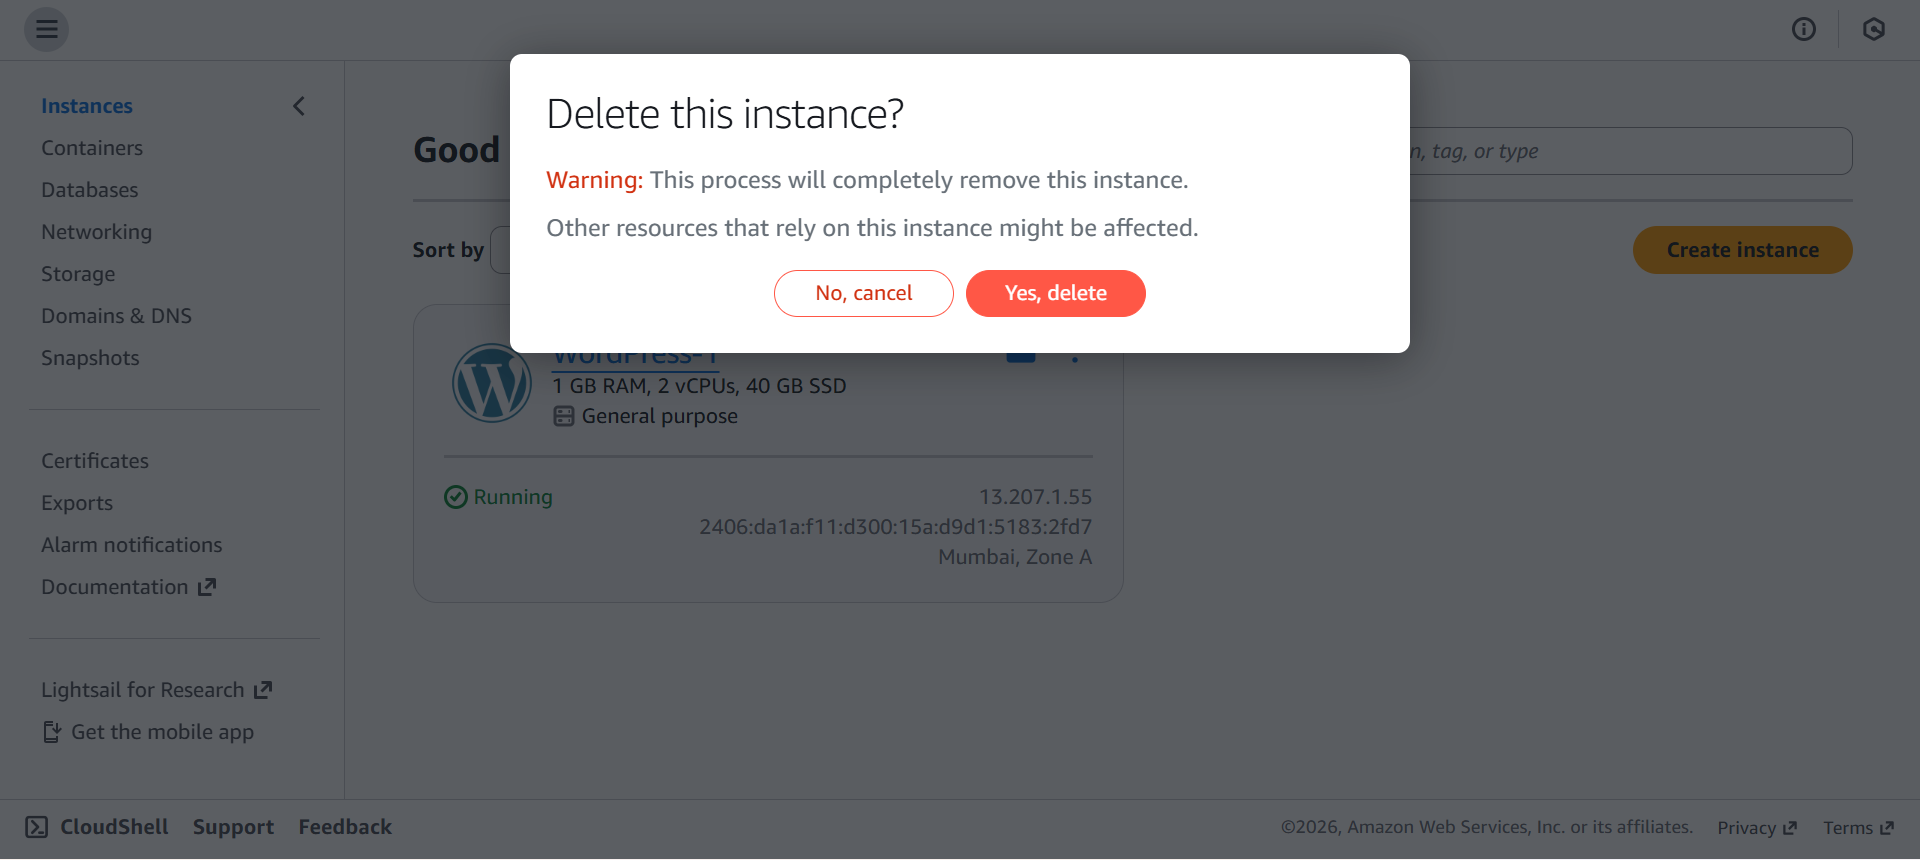
Return to the Lightsail console.
Select your instance → Delete → confirm.
Delete any other resources you created (databases, storage disks, snapshots) to avoid ongoing charges.
🎓 Exam Tips
Lightsail is for users with little or no cloud experience
Simple, all-in-one platform with predictable monthly pricing
Deploys apps like WordPress, LAMP, Node.js, Magento, Joomla, MEAN Stack via blueprints
Limited AWS integrations, no Auto Scaling, fewer networking options than EC2
Common exam distractor: "simple deployment," "predictable pricing," "minimal configuration" → Lightsail
✅ Hands-On Summary
You:
Launched a Lightsail instance and deployed WordPress via blueprint
Explored Lightsail's simplified pricing, databases, networking, and storage
Connected via browser-based SSH
Viewed the deployed site through its public IP
Cleaned up resources to avoid charges