🔹 1. Launch a Base EC2 Instance
Choose Amazon Linux 2
Select instance type:
t3.microPick any key pair
Use an existing security group
🔹 2. Add User Data (Install Apache Only)
Paste this script — skip the last line that creates the HTML page:
#!/bin/bash
# Install httpd (Amazon Linux 2)
yum update -y
yum install -y httpd
systemctl start httpd
systemctl enable httpd
echo "<h1>Hello World from $(hostname -f)</h1>" > /var/www/html/index.html What it does:
Installs Apache (HTTPD)
Starts and enables the service on boot
🔹 3. Wait for Initialization ⏳
Instance status = Running ≠ ready.
User data still runs in the background
Takes ~1–2 minutes to finish
Then visit:
http://<Public IPv4 address>
✅ You should see the Apache default test page
🧱 4. Create Your Custom AMI
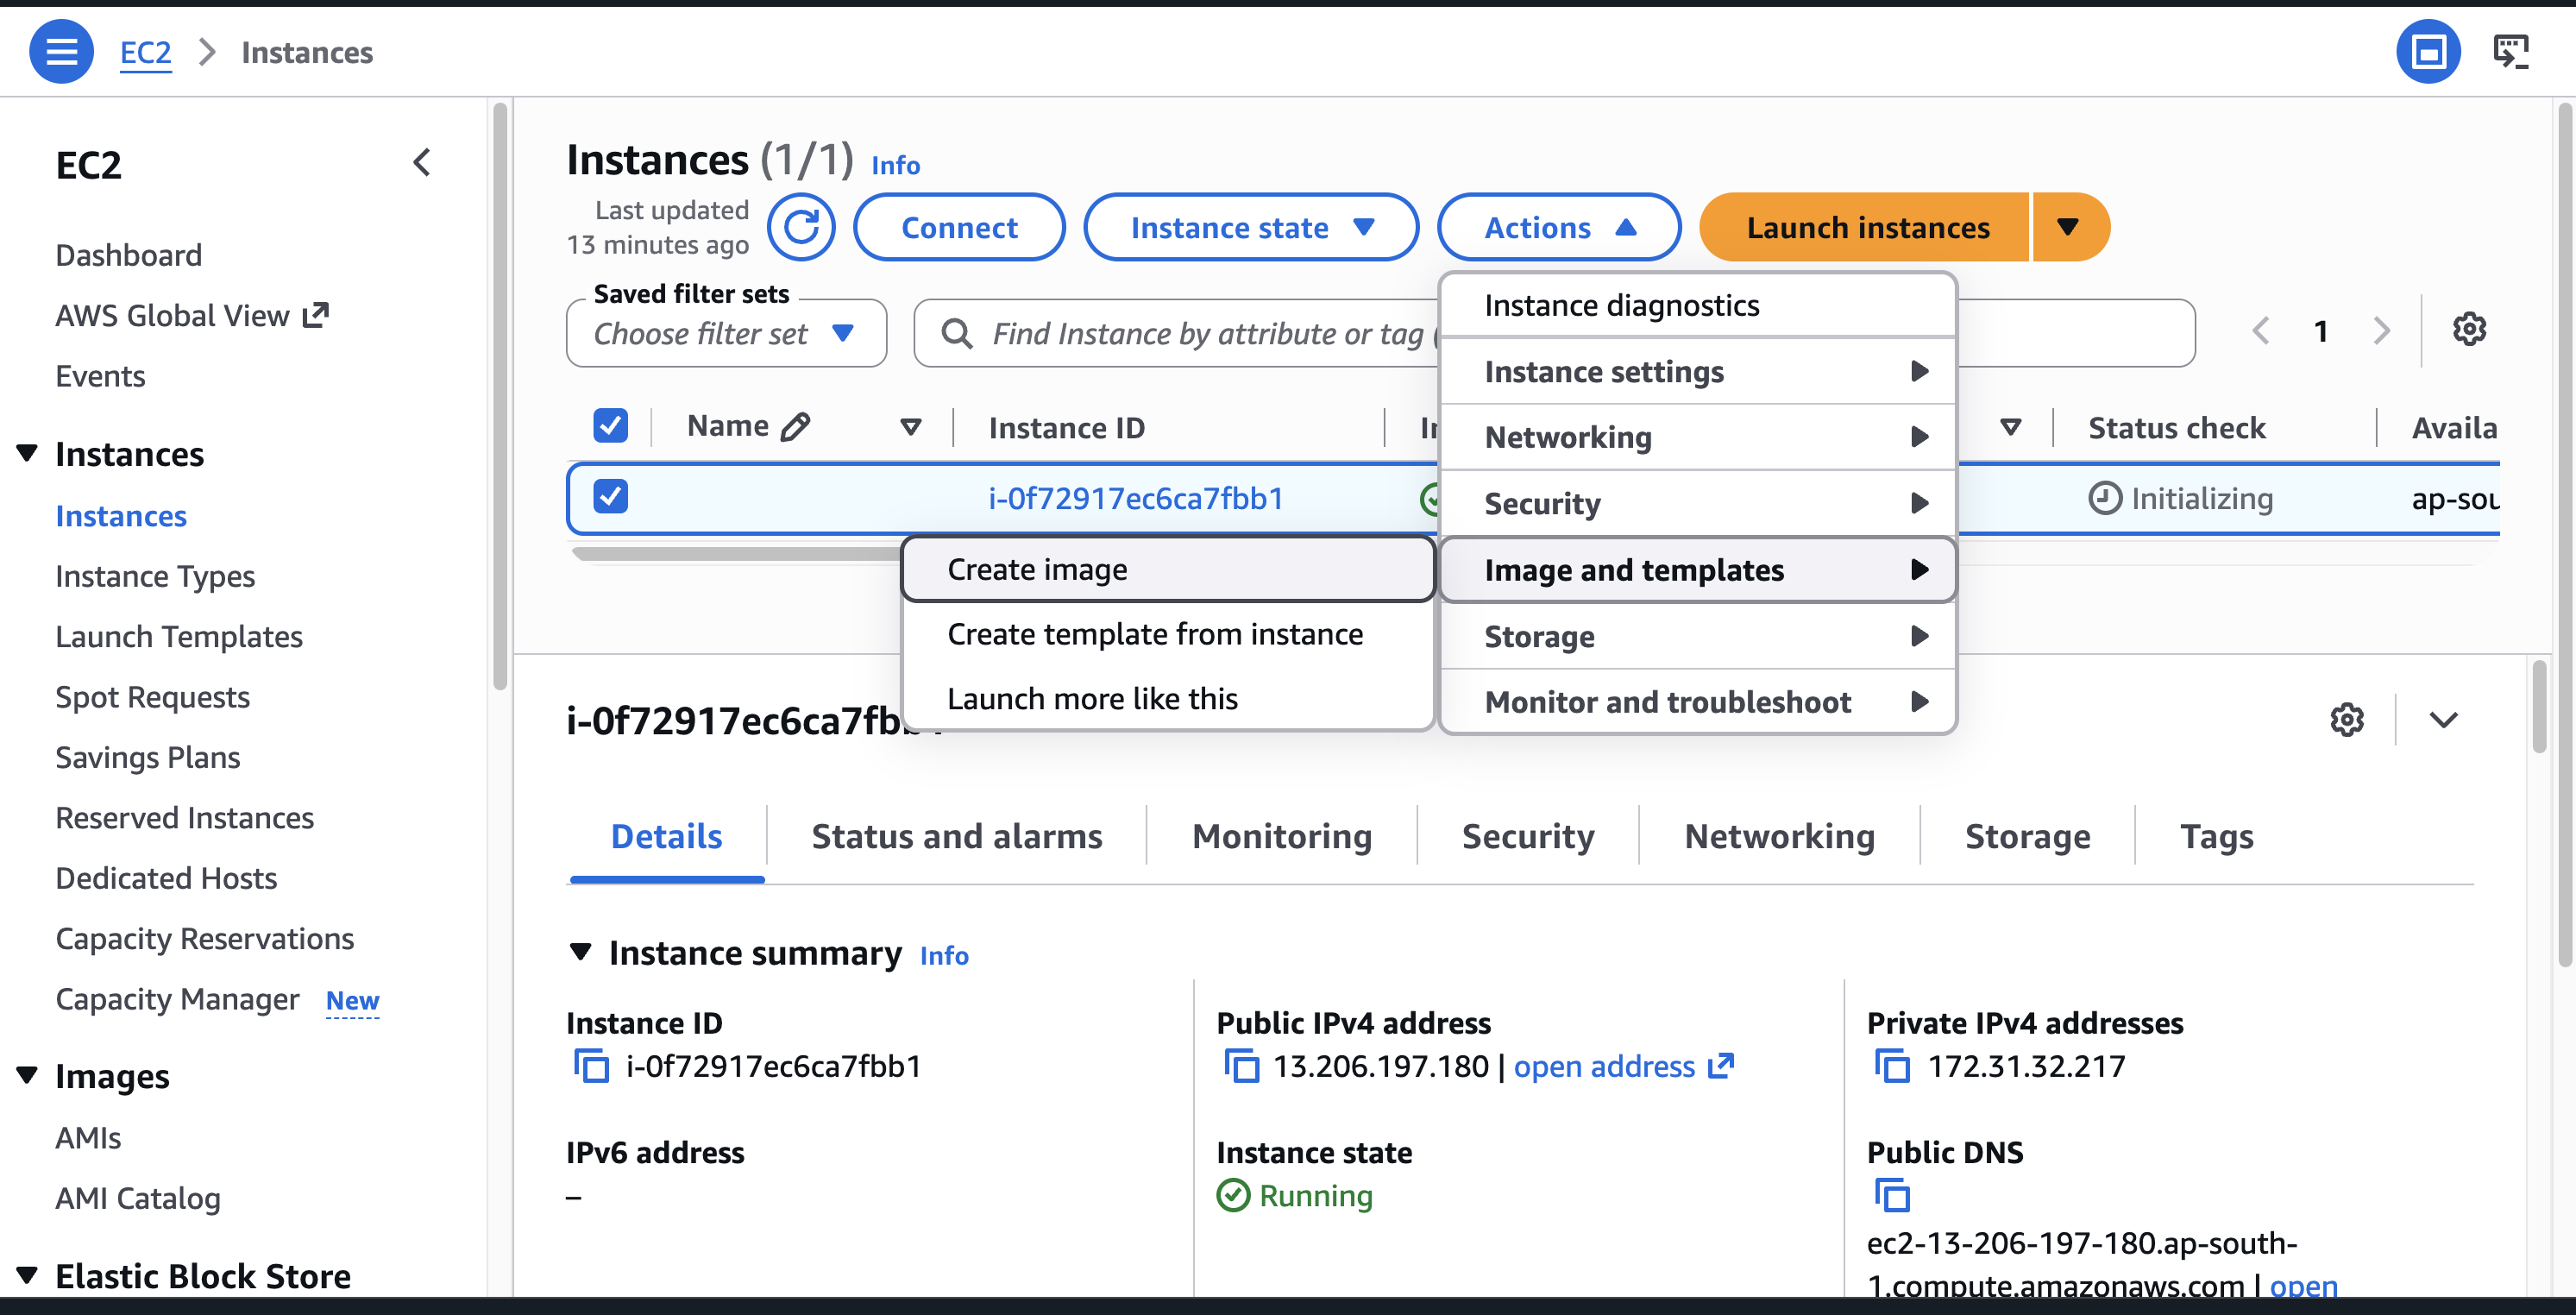
Right-click the instance or Select Instance and Click Actions
Go to Image and templates → Create Image
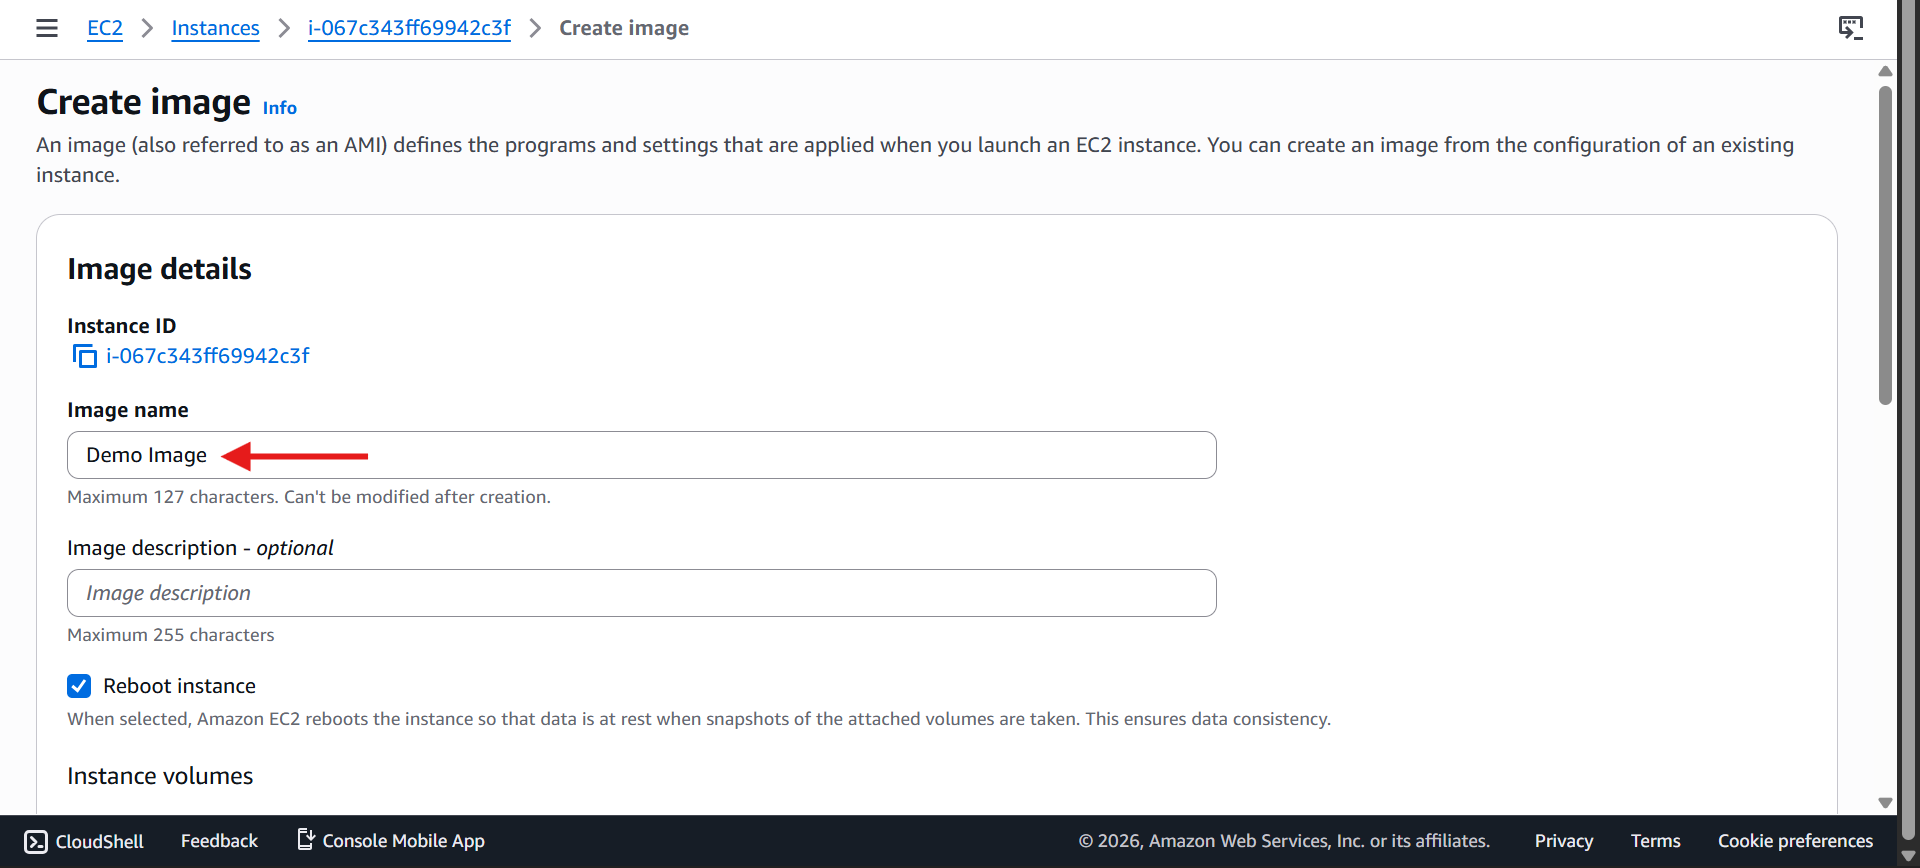
Name it
demo-image
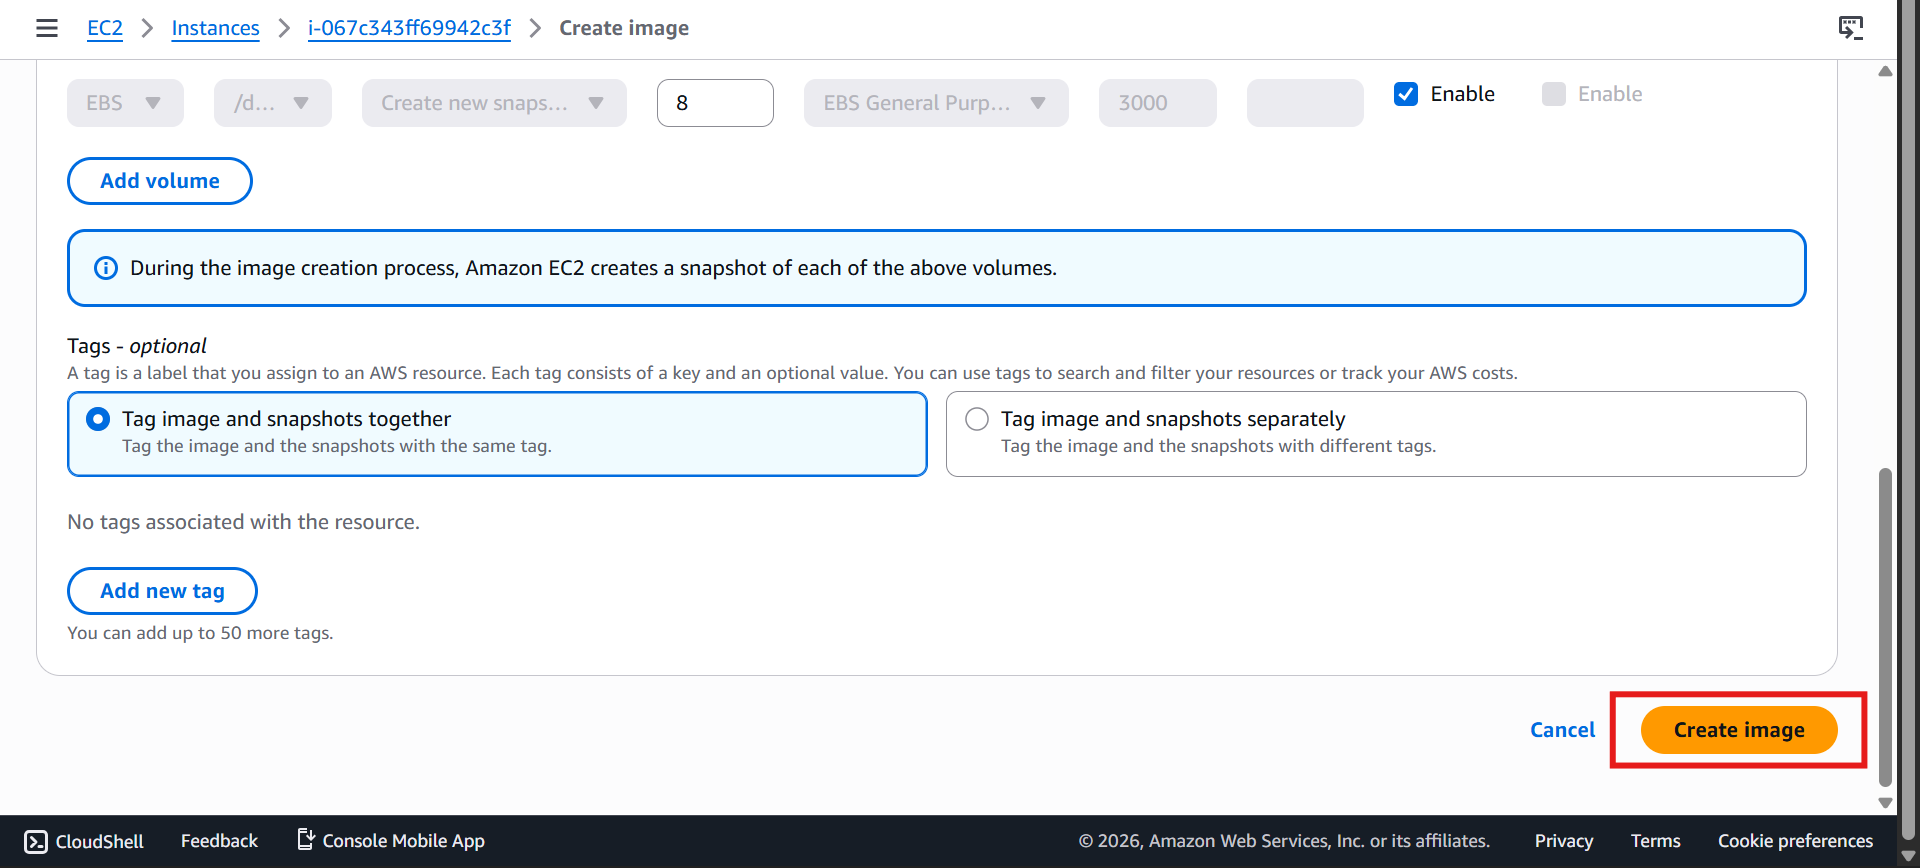
Keep everything as Default and Click Create Image
Behind the scenes: AWS creates an AMI and an EBS snapshot automatically.
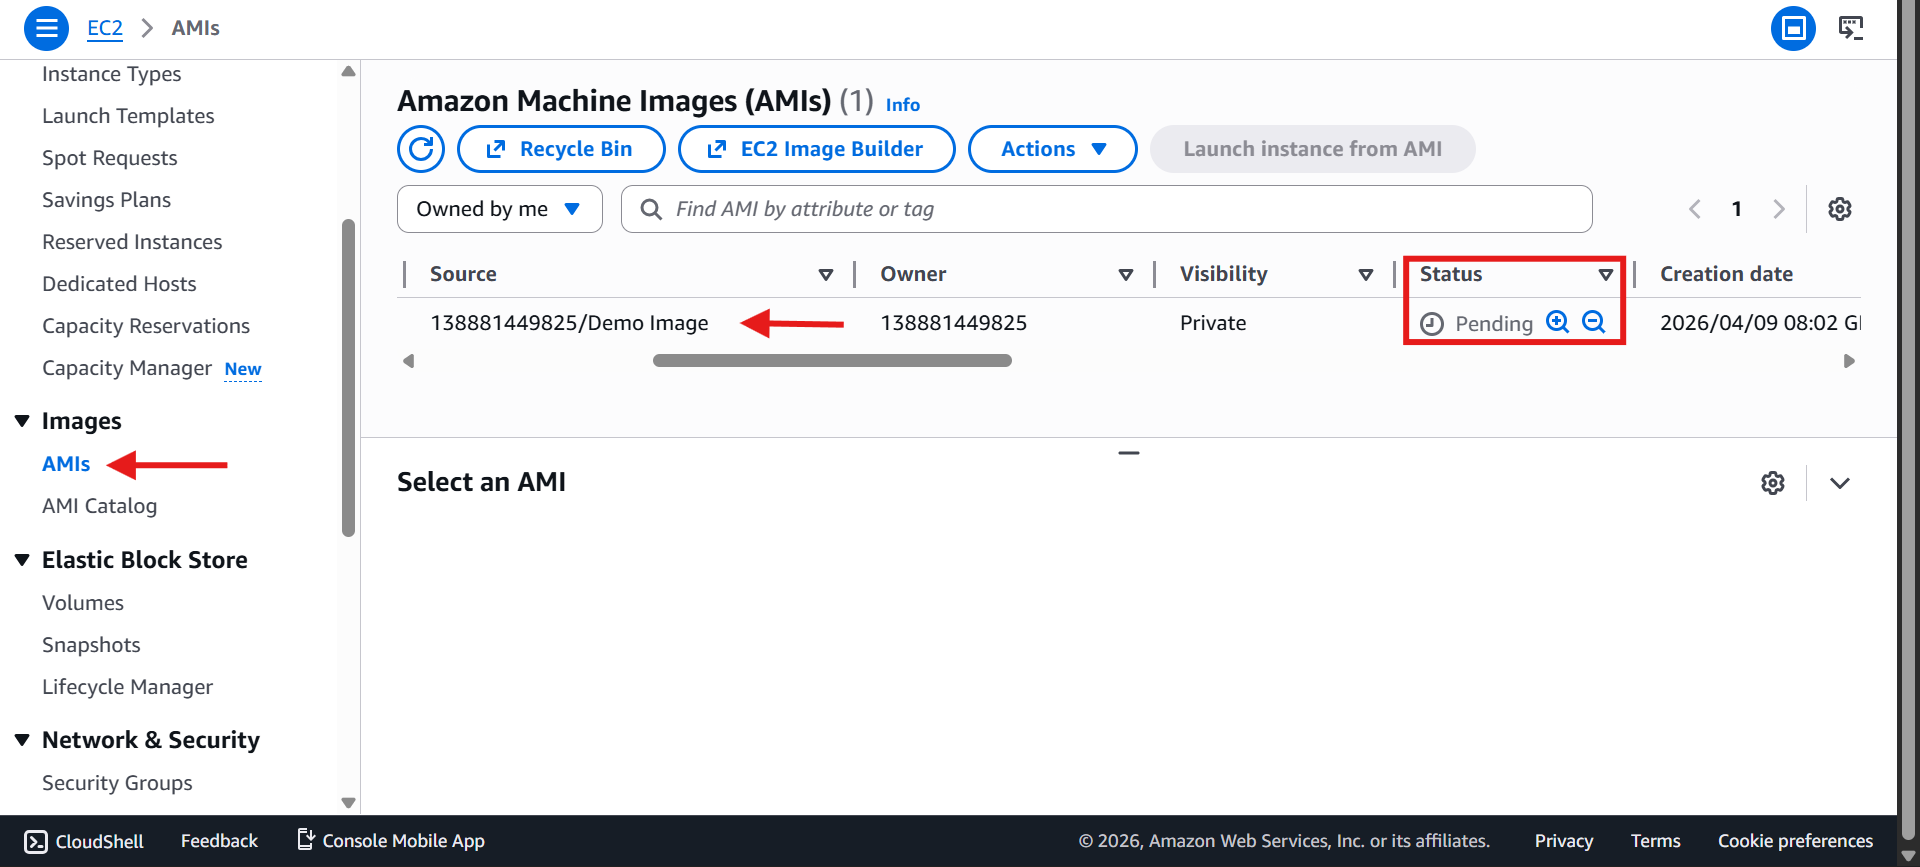
Wait for it:
Go to AMIs
Status moves from ⏳ Pending → ✅ Available
⚡ 5. Launch a New Instance from the AMI
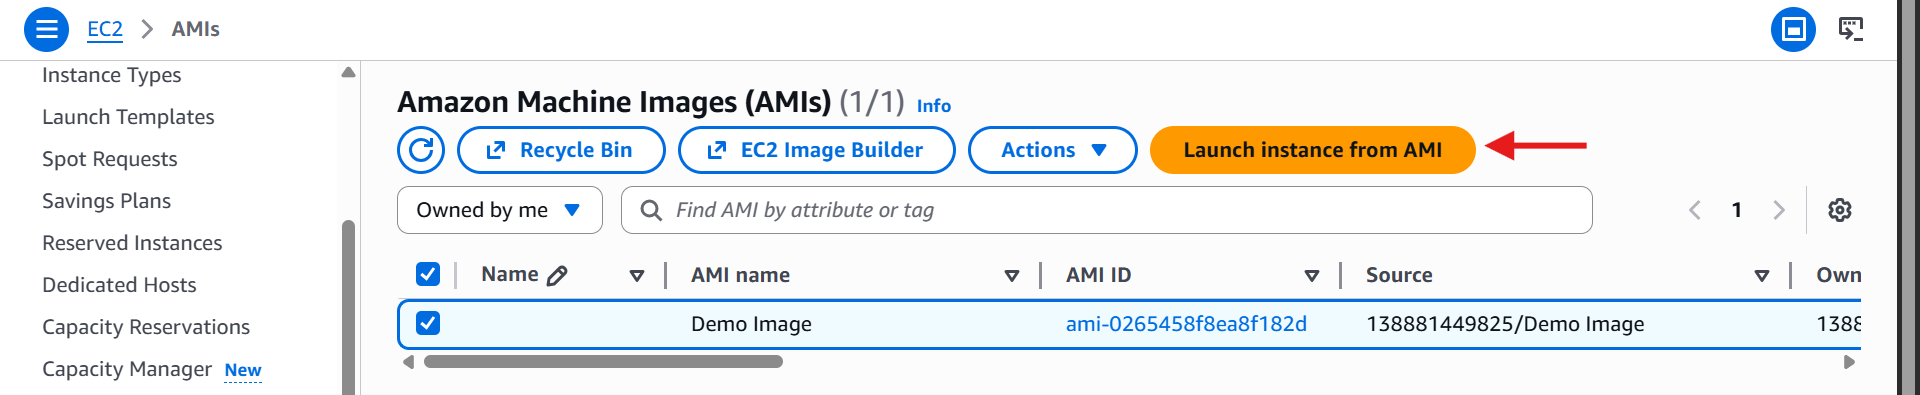
Click Launch Instance from AMI
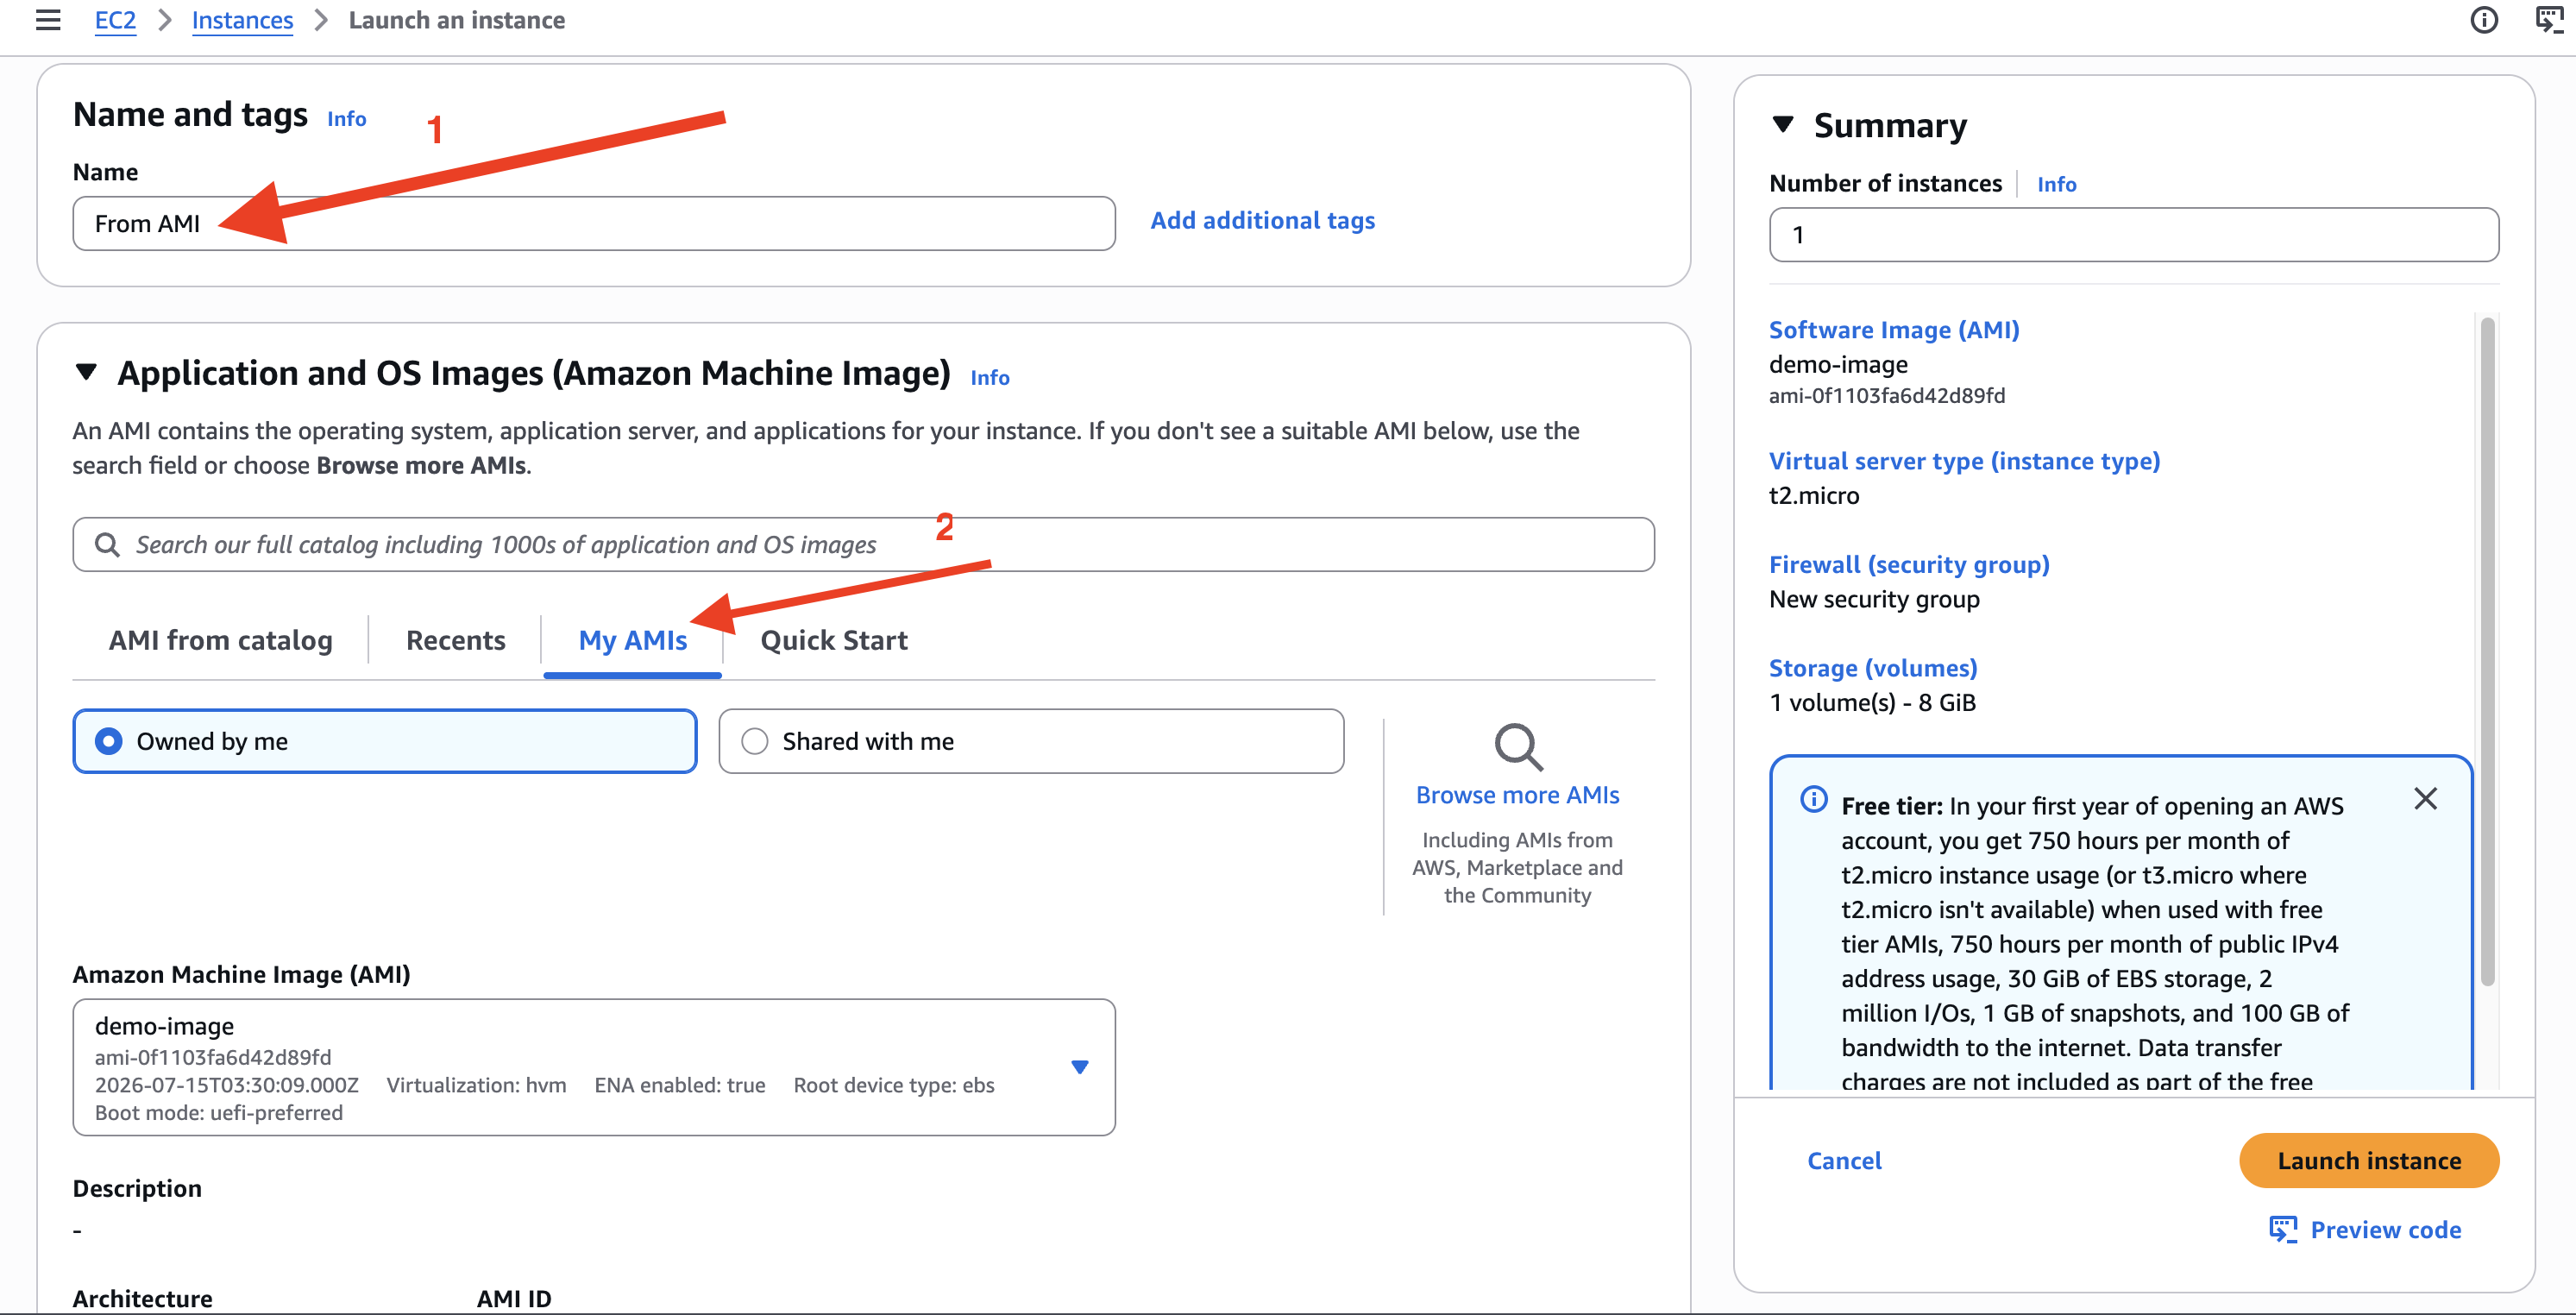
Name it From AMI
Go to My AMIs - Owned by me
Select
demo-image
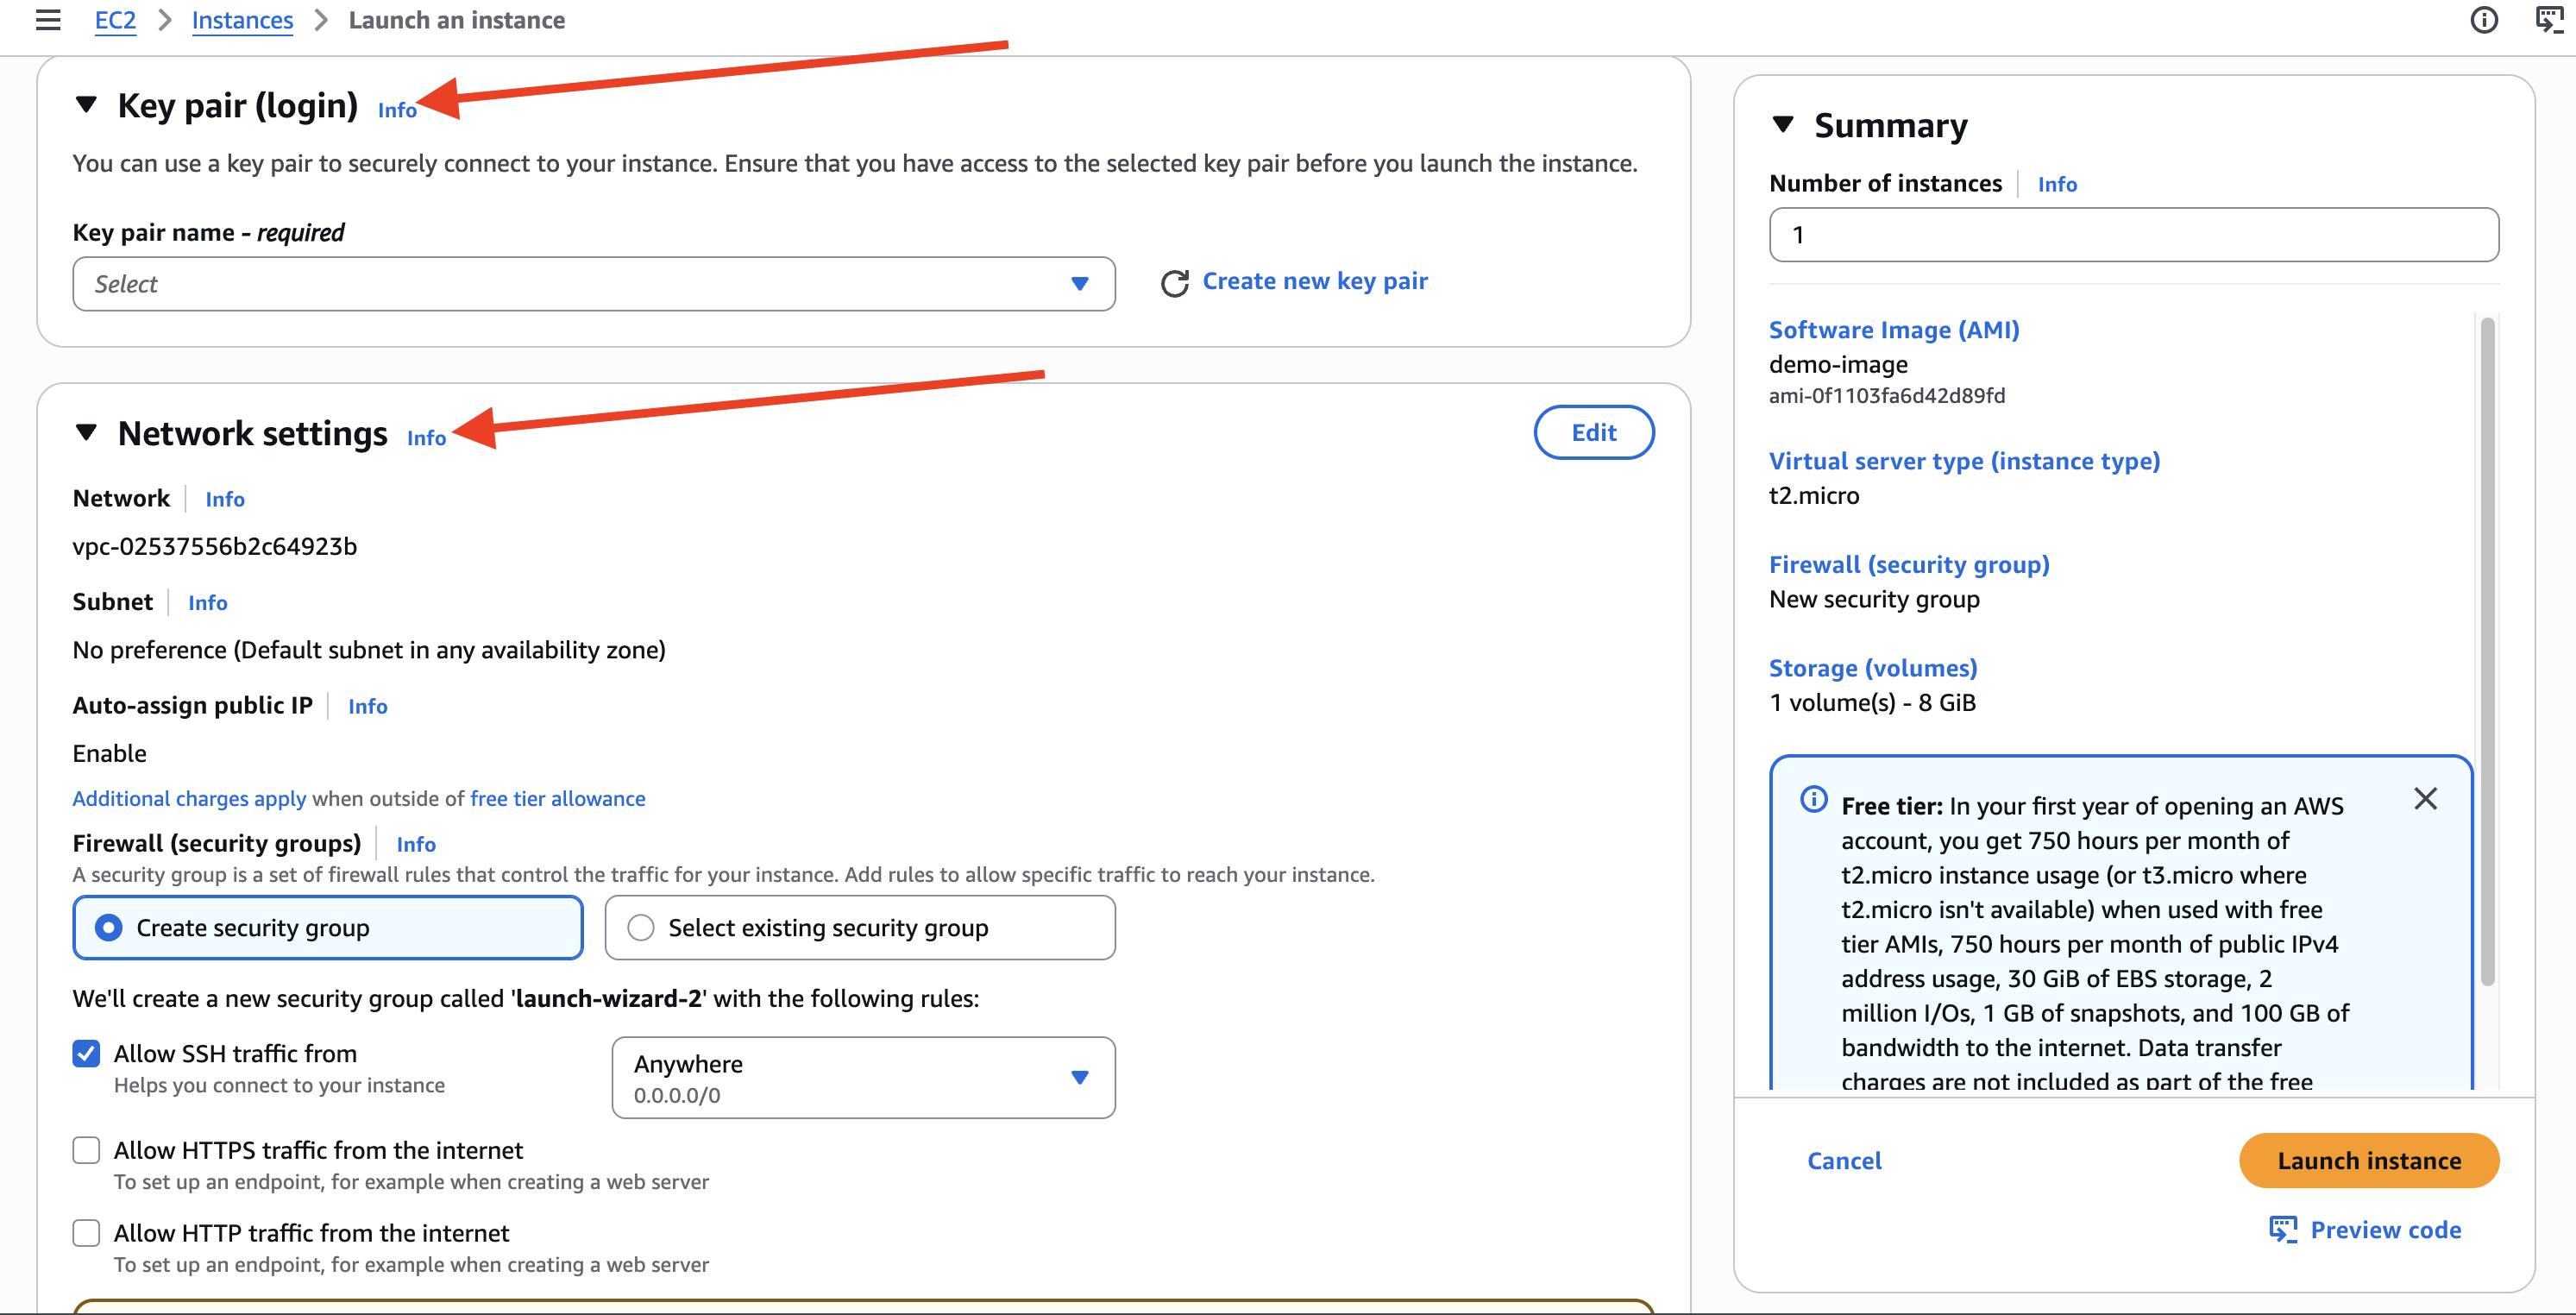
Select key pair or Create new
Select Existing Security Group from Network Setting or Create new
🔹 6. Add Minimal User Data (HTML Only)
Scroll down to bottom
Go to Advanced Details → User data
Click Launch Instance
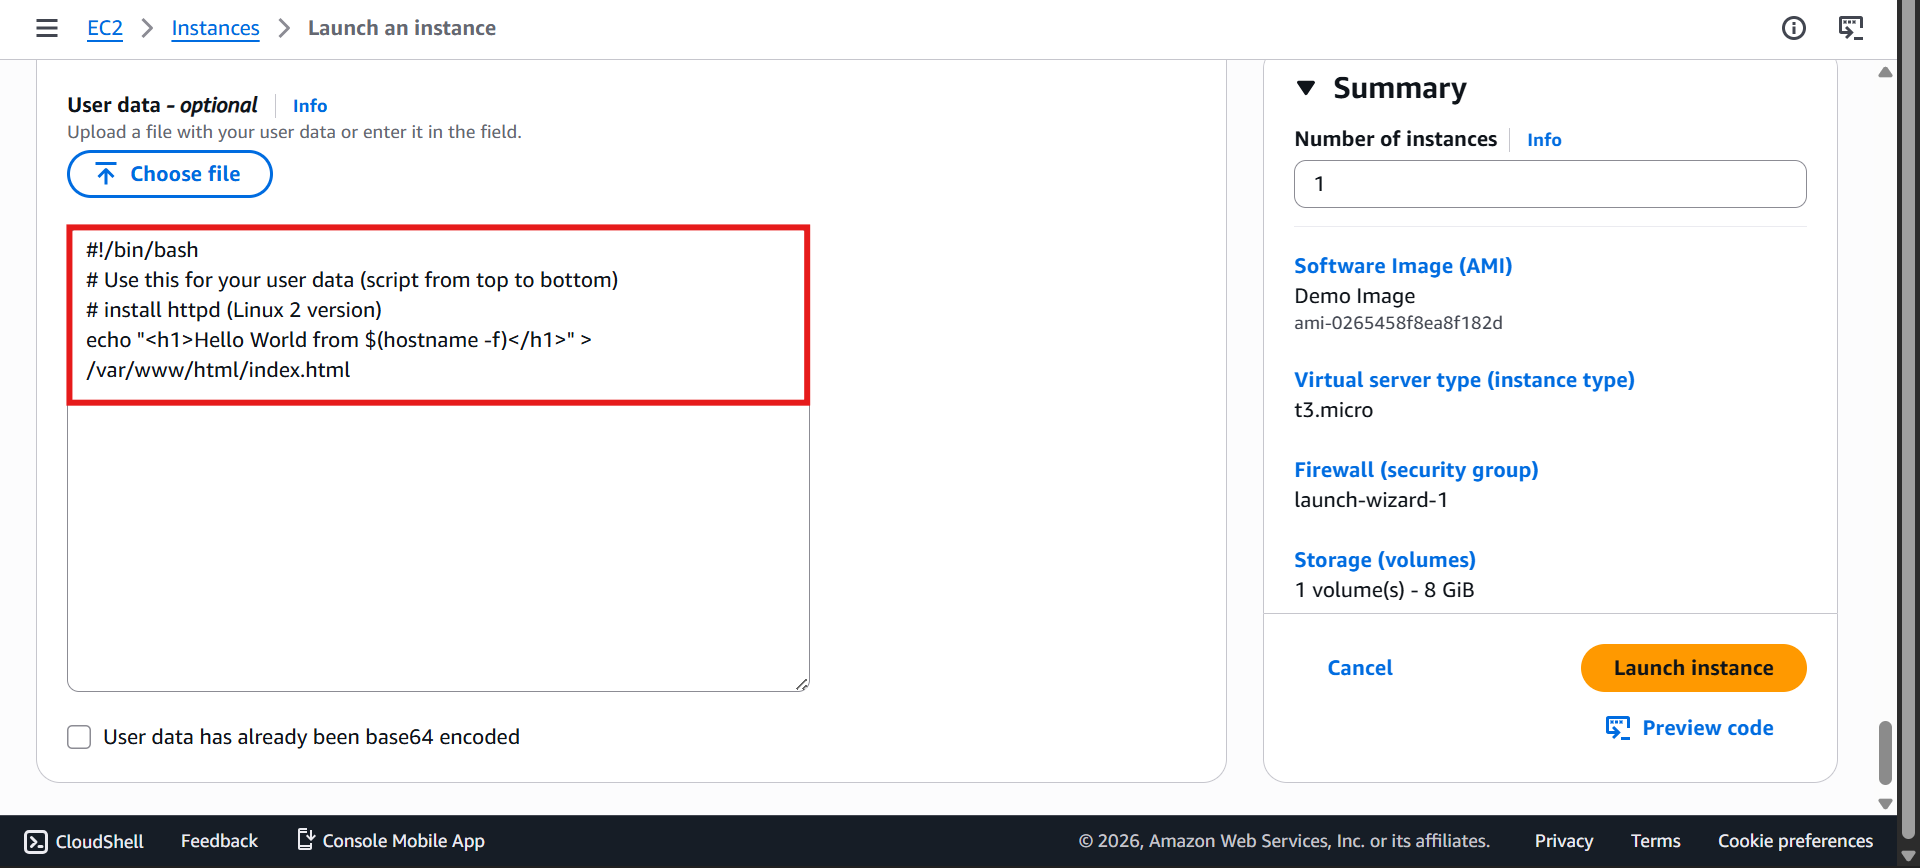
#!/bin/bash
# Use this for your user data (script from top to bottom)
# install httpd (Linux 2 version)
echo "<h1>Hello World from $(hostname -f)</h1>" > /var/www/html/index.html
Notice:
❌ No Apache install needed
✅ Already baked into the AMI
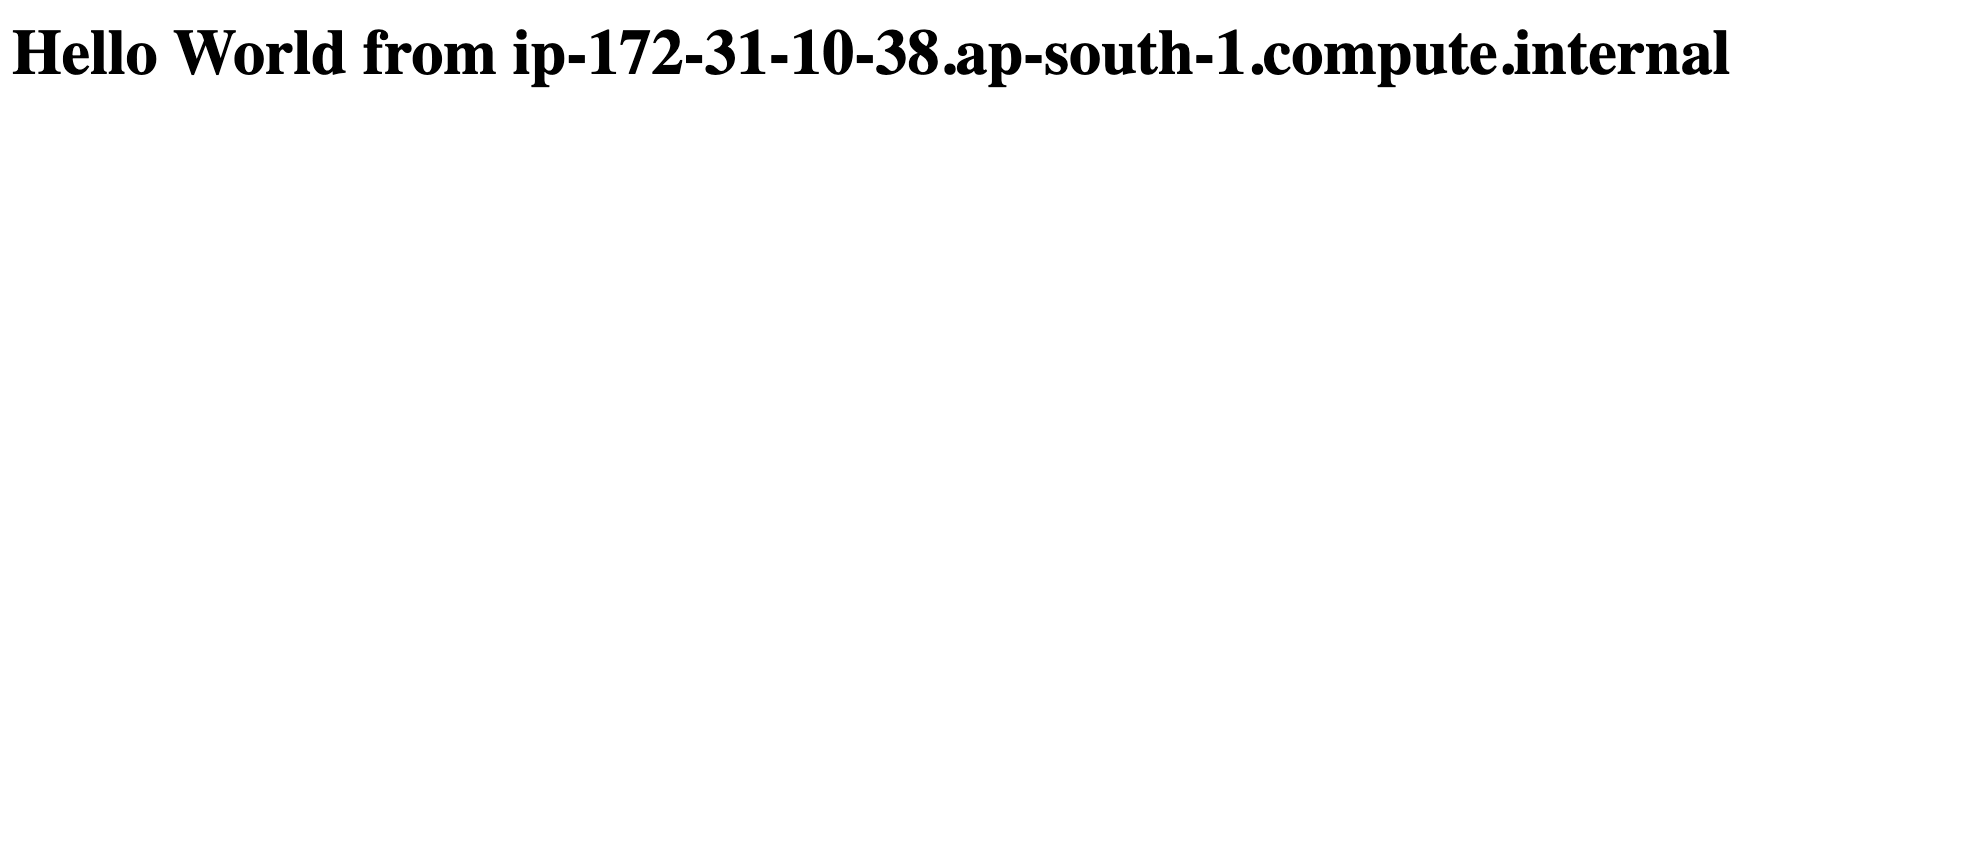
🚀 7. Result
Wait a few minutes for the instance to finish initializing
Select the instance launched from your AMI
Copy its Public IPv4 address
Paste it into your browser to see the result
🔥 Why This Matters
Without AMI | With AMI |
|---|---|
Install Apache every launch ⏳ | Pre-installed ⚡ |
Slower boot | Instant-ready |
🧹 Cleanup
Delete From AMI instance or any other extra insantaces keep one primary instance only
🎯 Key Takeaways
AMIs = pre-configured, reusable environments
Save setup time on every new launch
Improve consistency across instances
Enable fast, repeatable scaling