Let’s explore S3 versioning in action and see how we can safely update and restore files.
1️⃣ Enable Versioning
Go to Properties ⚙️
Scroll to Bucket Versioning 🔄
Click Edit → Enable Versioning ✅
From now on, any file you overwrite will create a new version.
2️⃣ Update Your Website File
Edit
index.htmlto change text from:"I love coffee"→"I REALLY love coffee"✏️(VSCode → Open folder s3 → edit index.html)
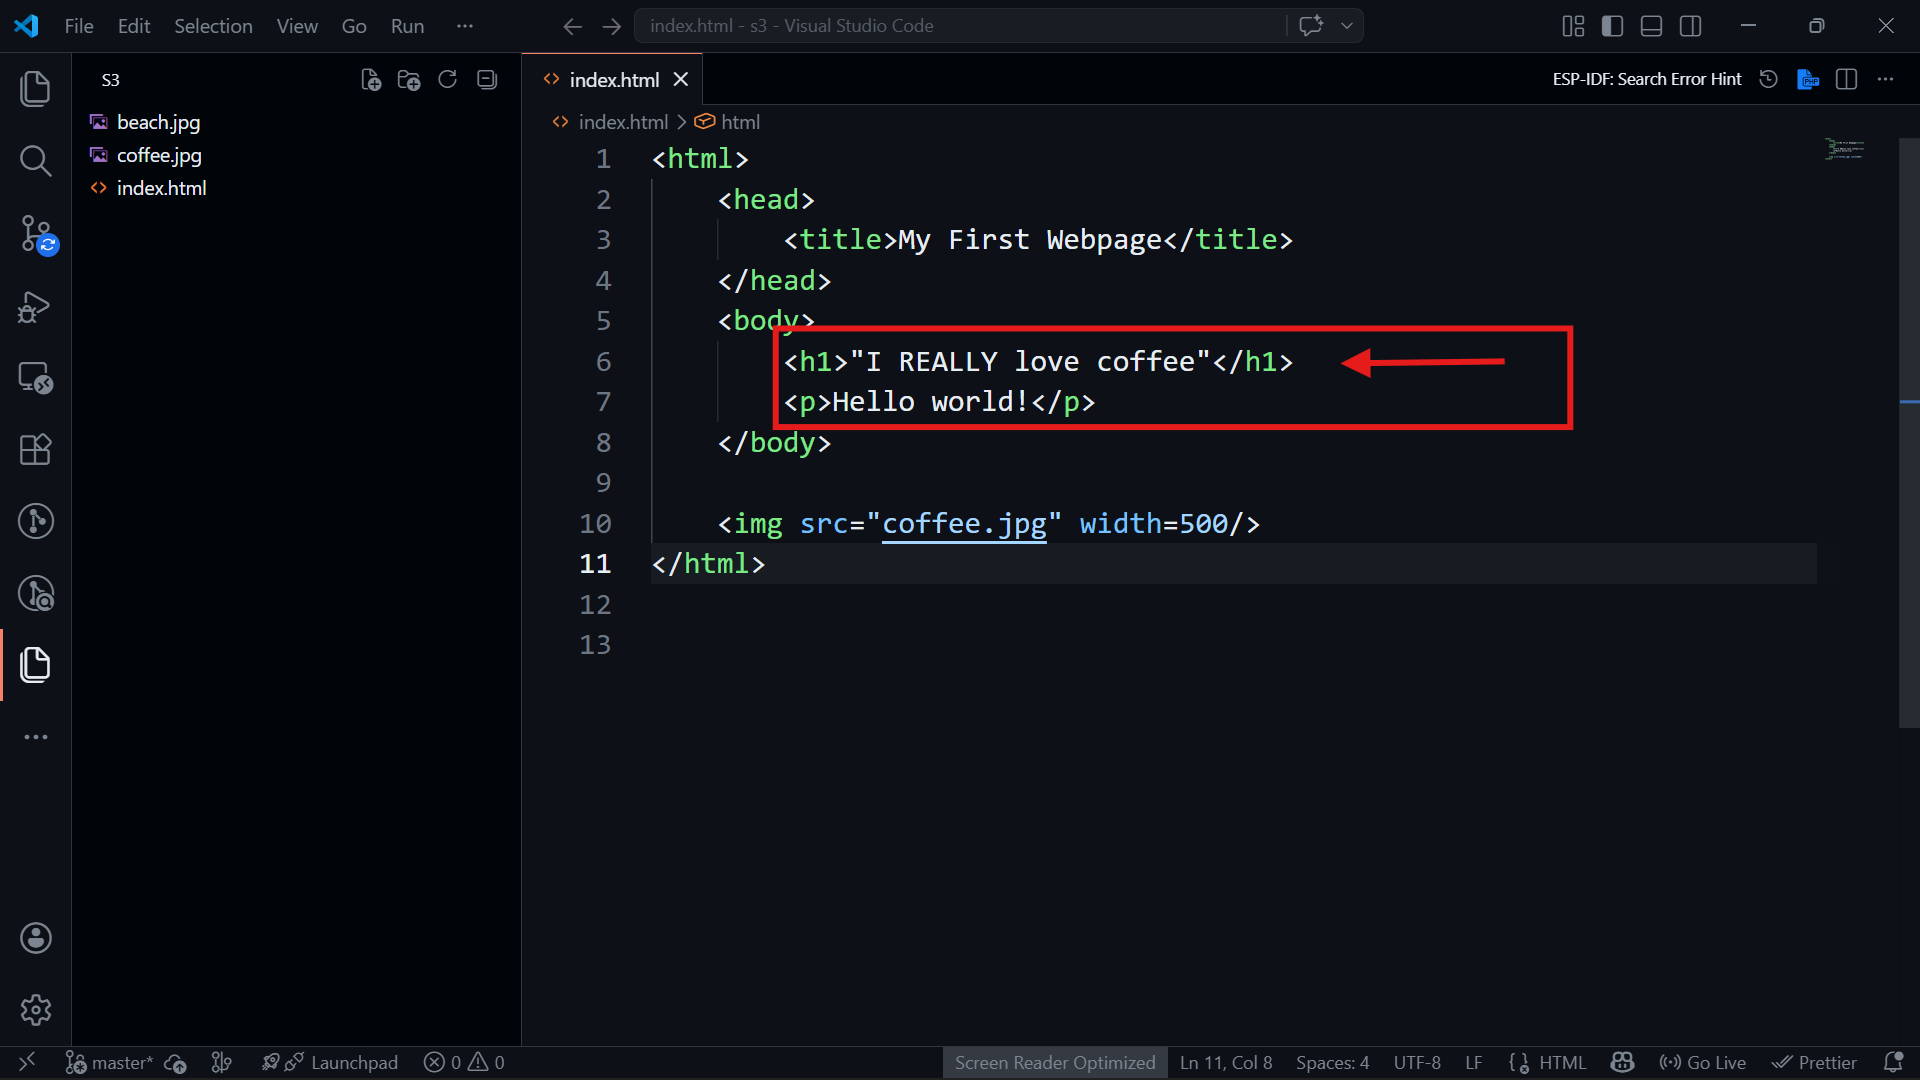
Re-upload the updated
index.htmlfile 📄‼️ You can skip deleting index.html its not necessary anyway it will override
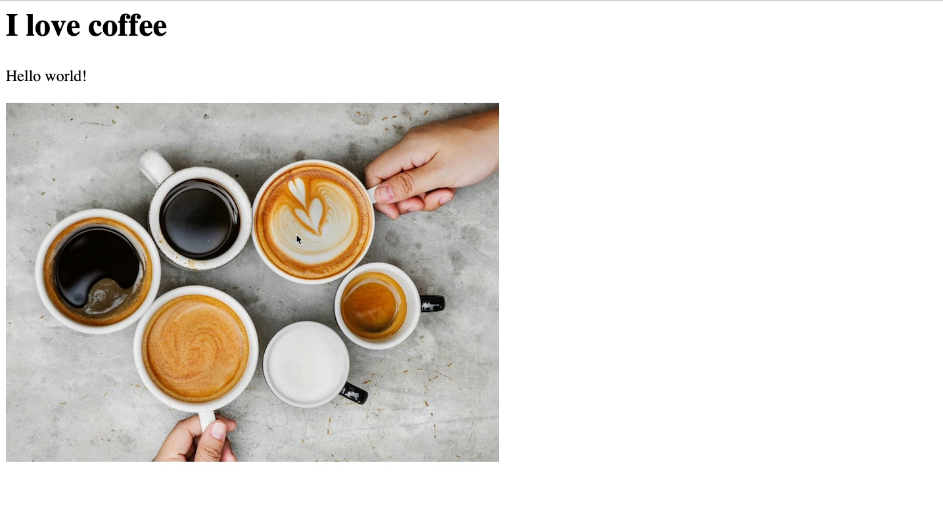
💡Refresh your website → now shows
"I REALLY love coffee"
👈 Before
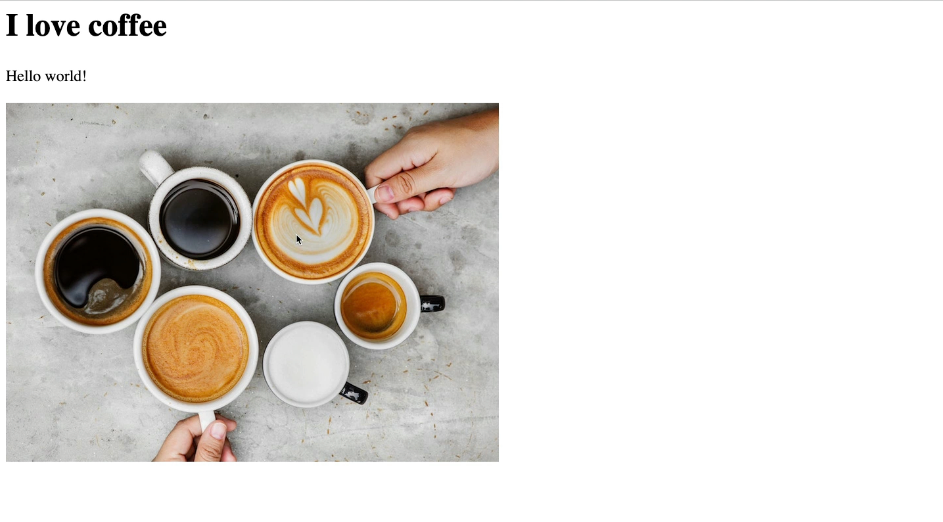
👉 After

3️⃣ Check Versions
Go to your S3 bucket → Objects
Enable Show Versions toggle 🔍
You will see:
Files uploaded before versioning → version ID = null 🟢
Updated files → new version ID 🆕
Example:
index.htmlhas 2 versions now
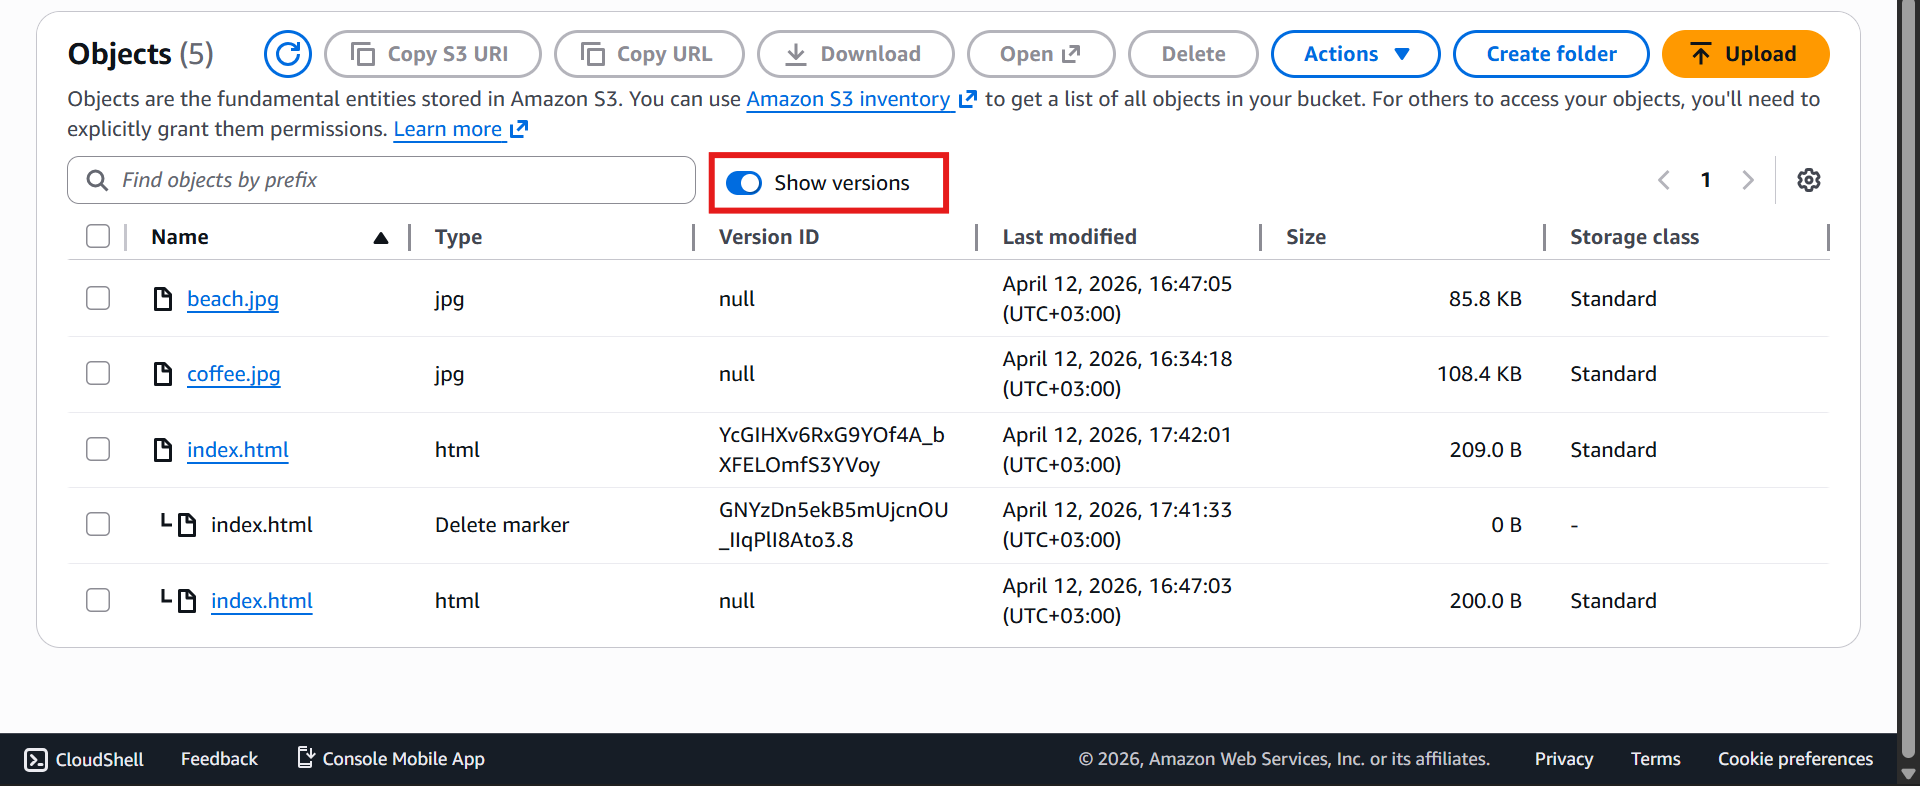
4️⃣ Rollback to Previous Version
Select the version you want to Delete
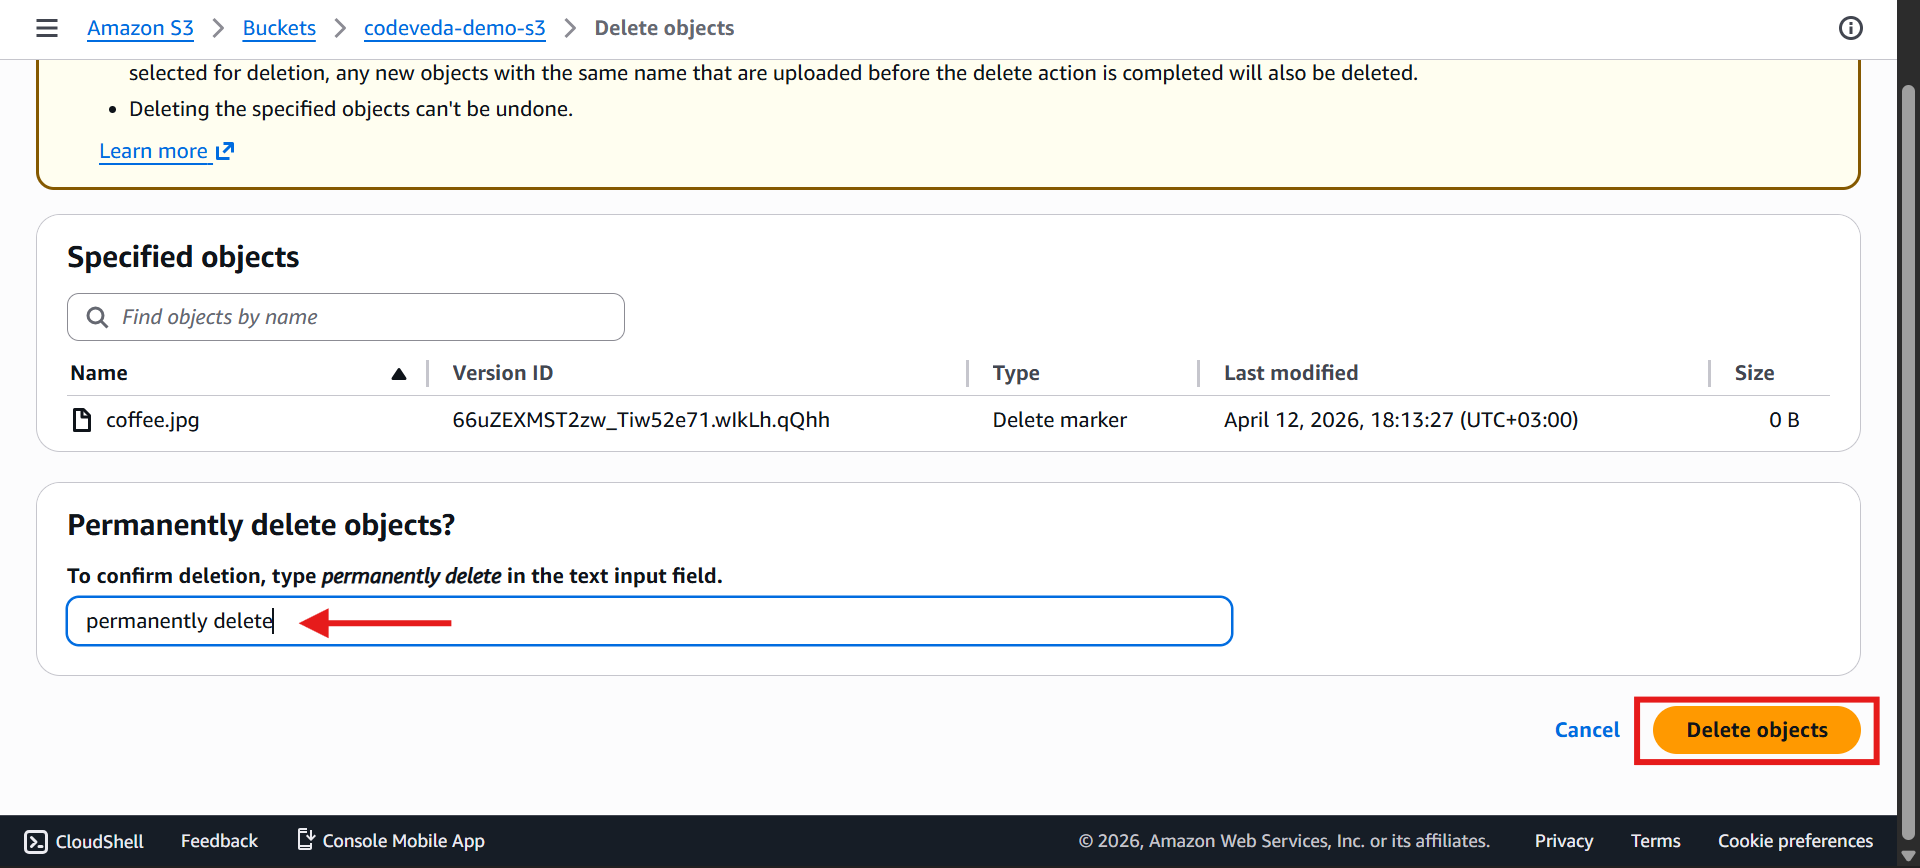
Confirm with permanently delete ✅
Refresh website → content goes back to
"I love coffee"
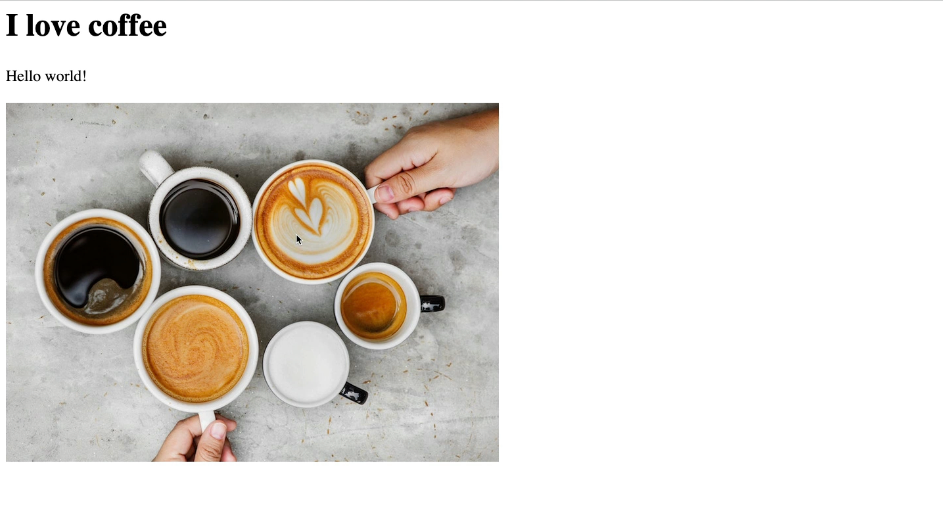
5️⃣ Delete with Delete Marker
Disable Show Versions
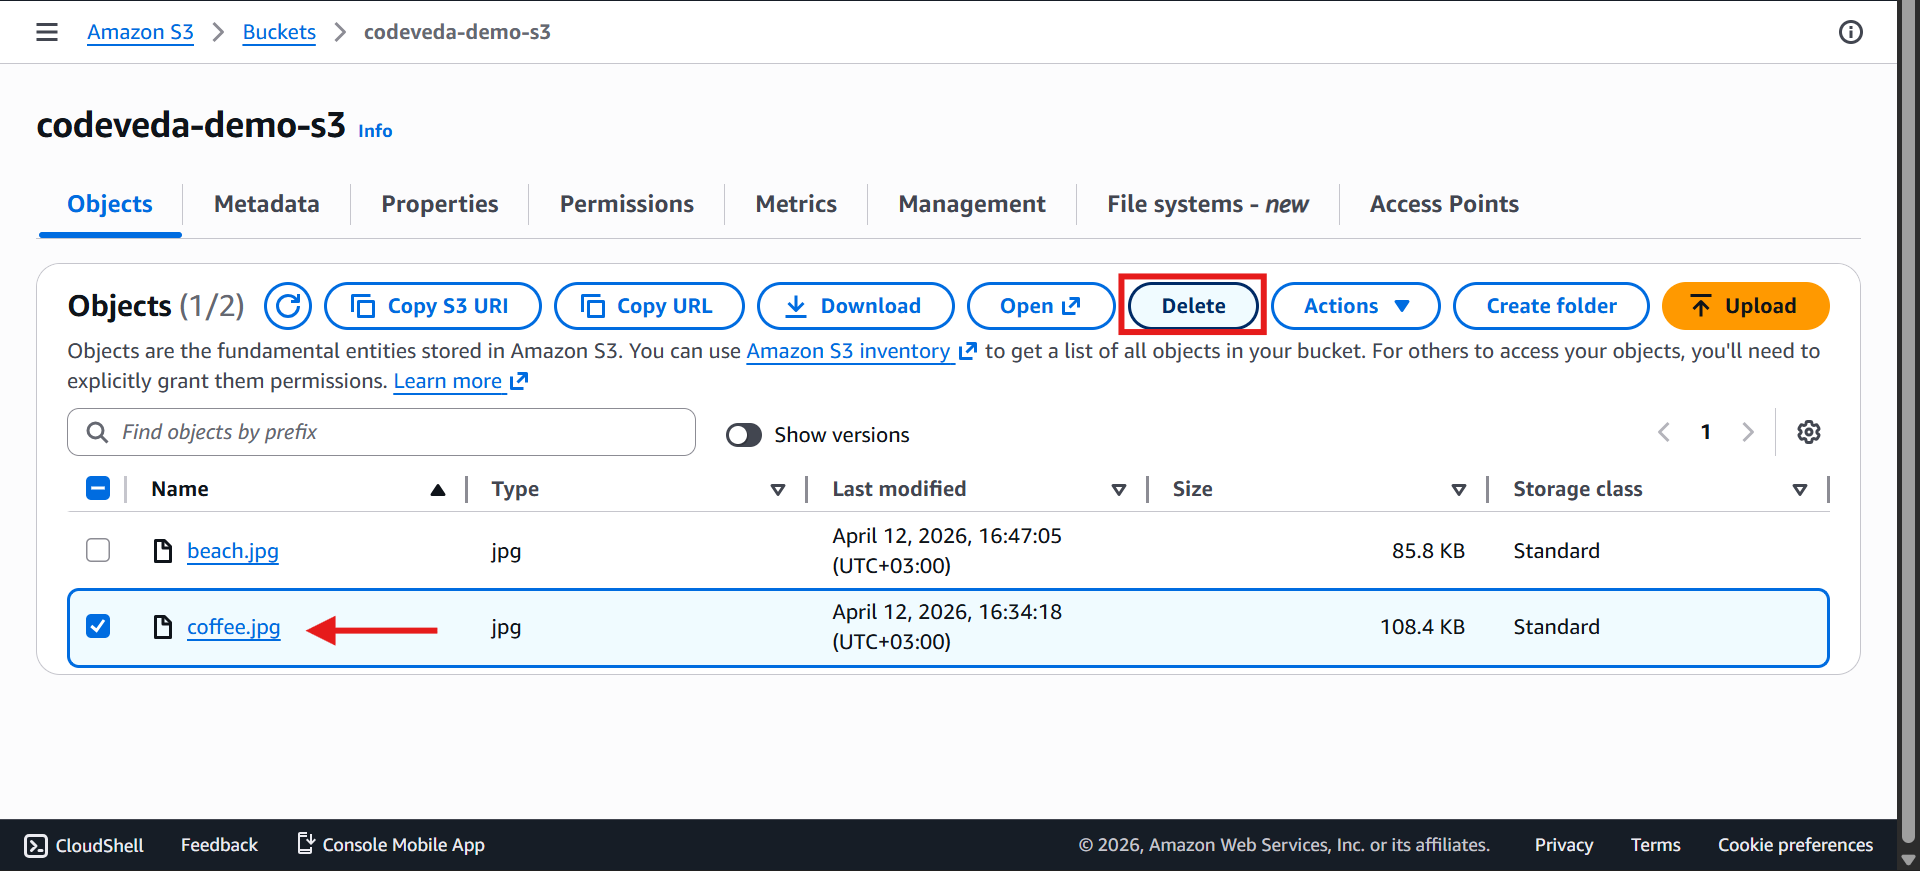
Delete an object (e.g.,
coffee.jpg) ❌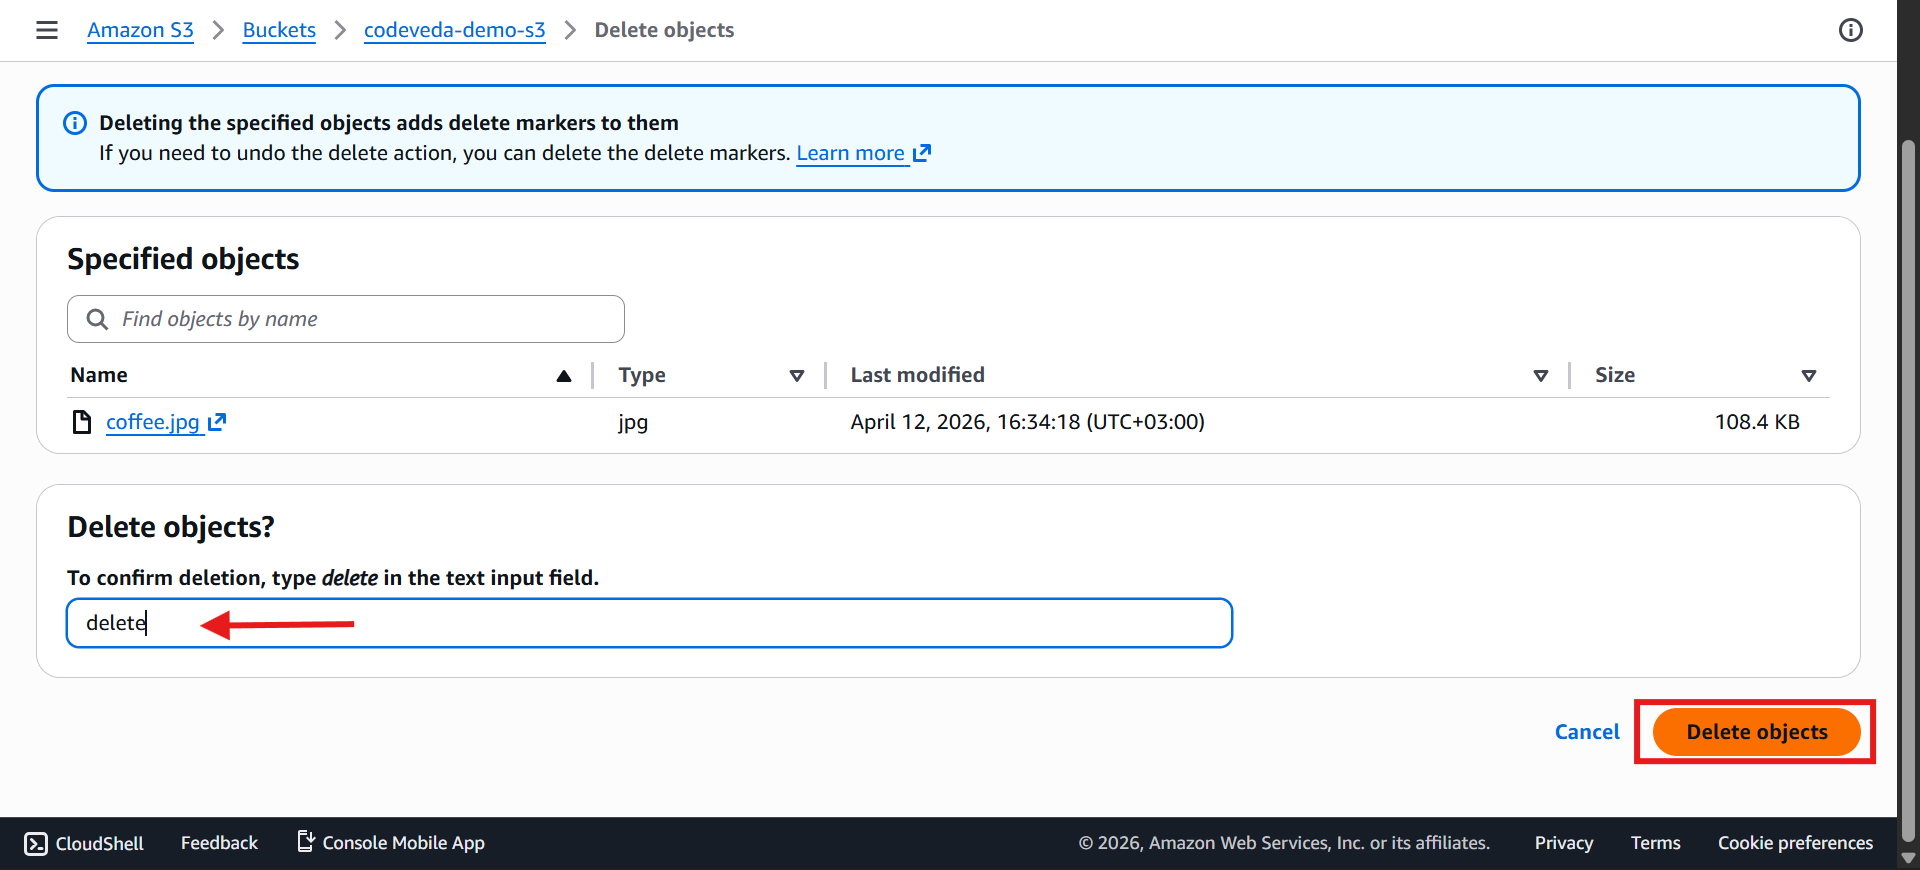
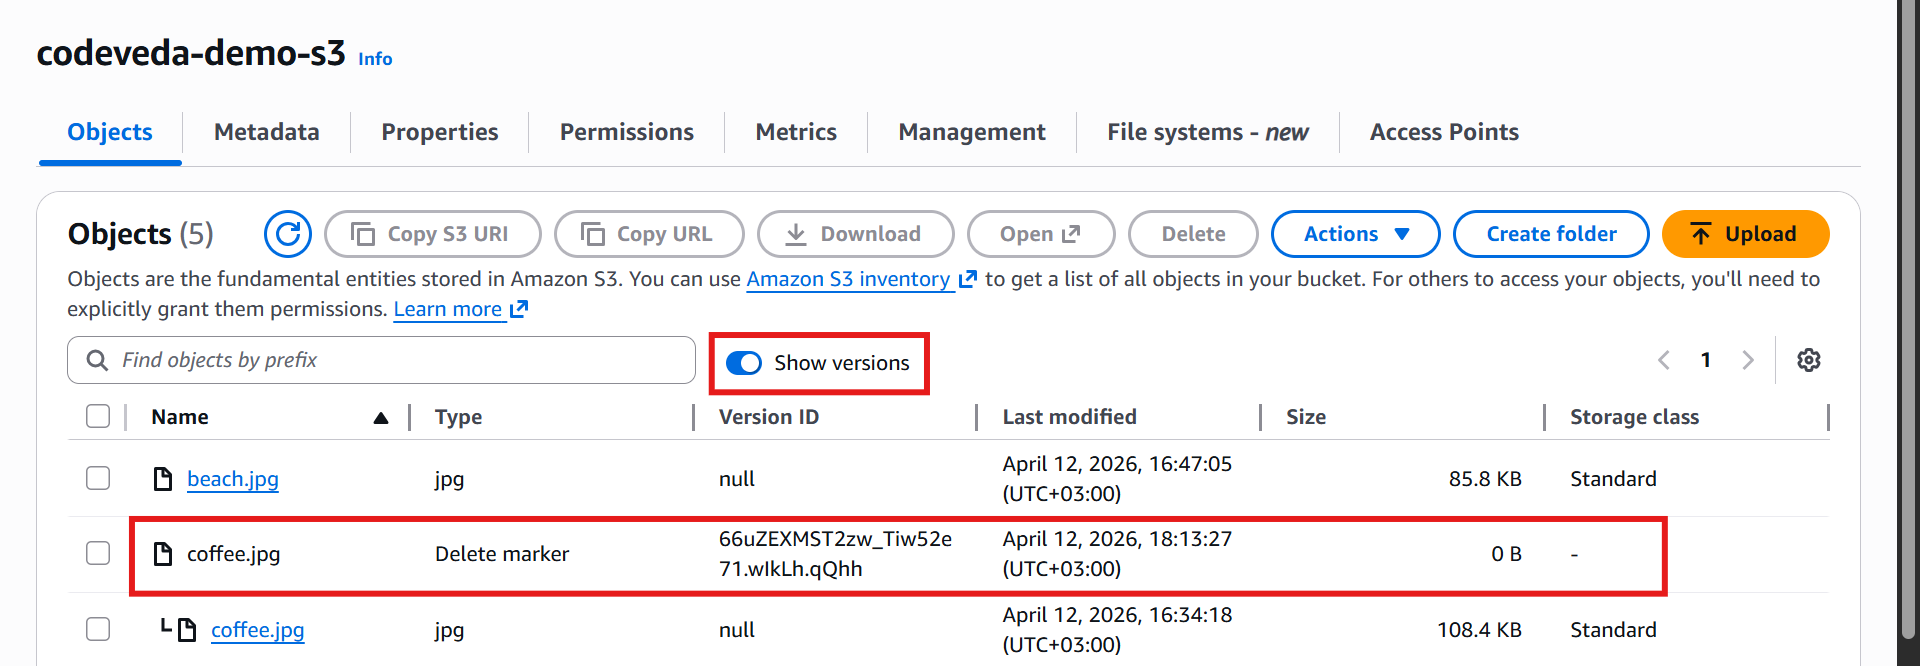
This adds a delete marker instead of removing the file permanently
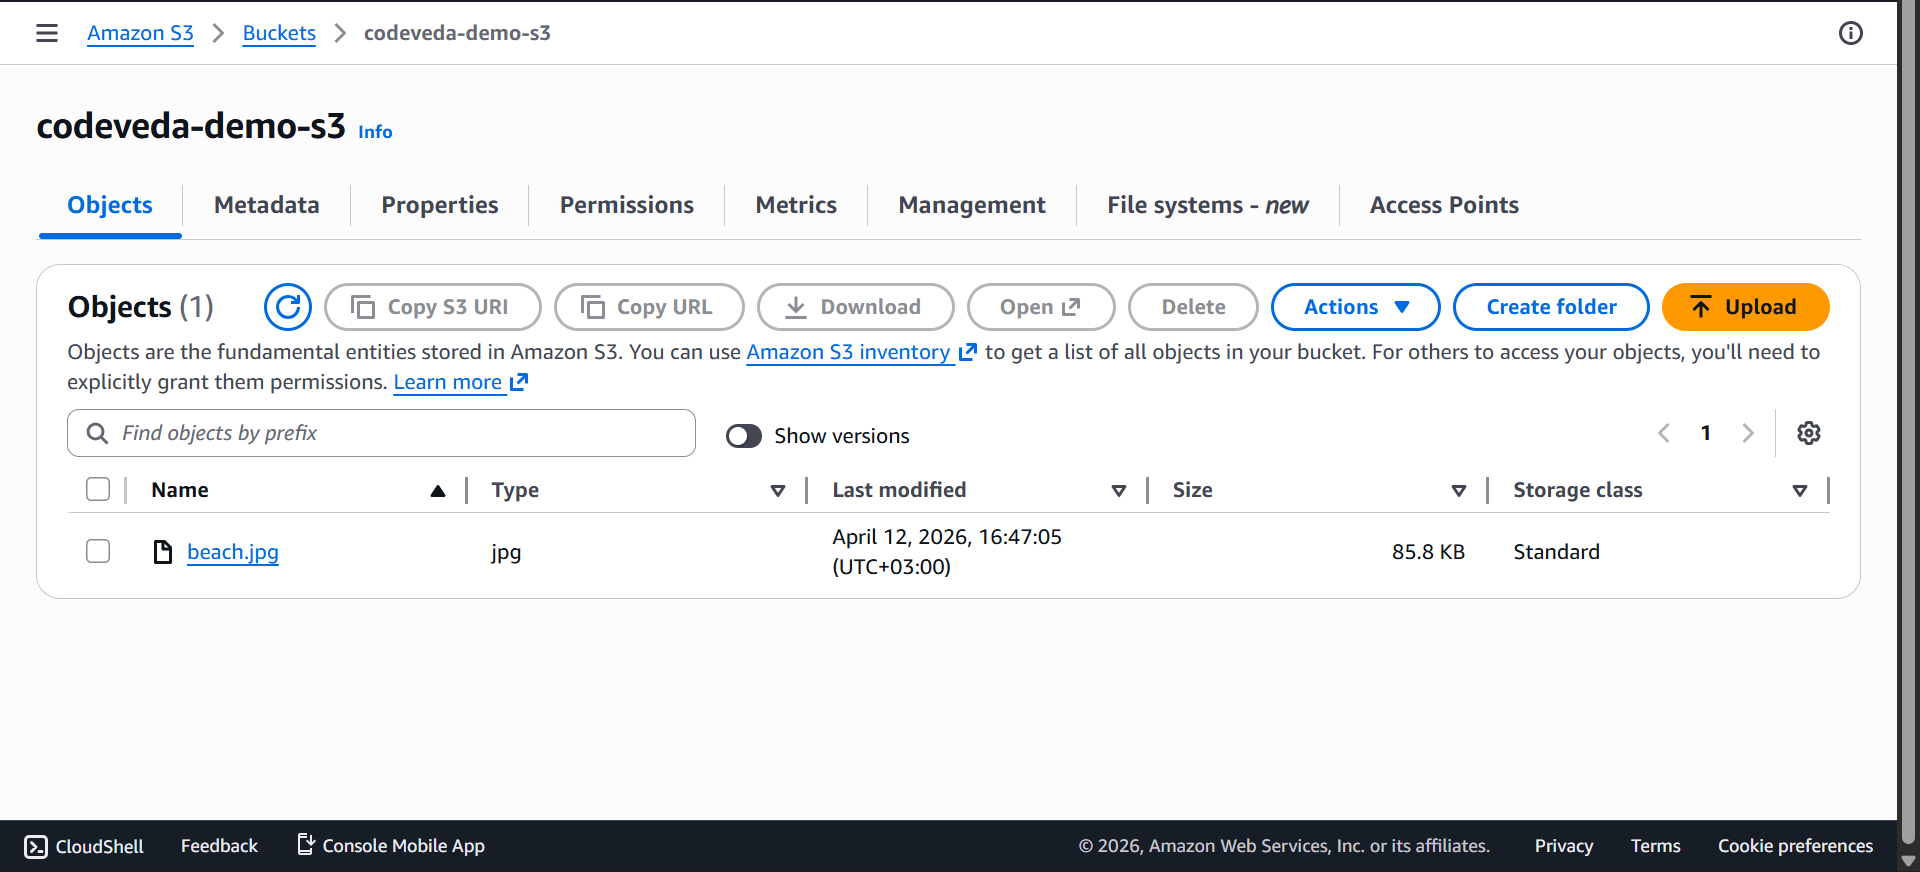
Object appears gone on the console and website
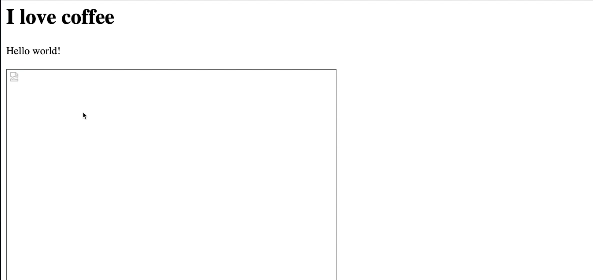
6️⃣ Restore Deleted Object
Enable Show Versions 🔍
Find the delete marker for your object ⚠️
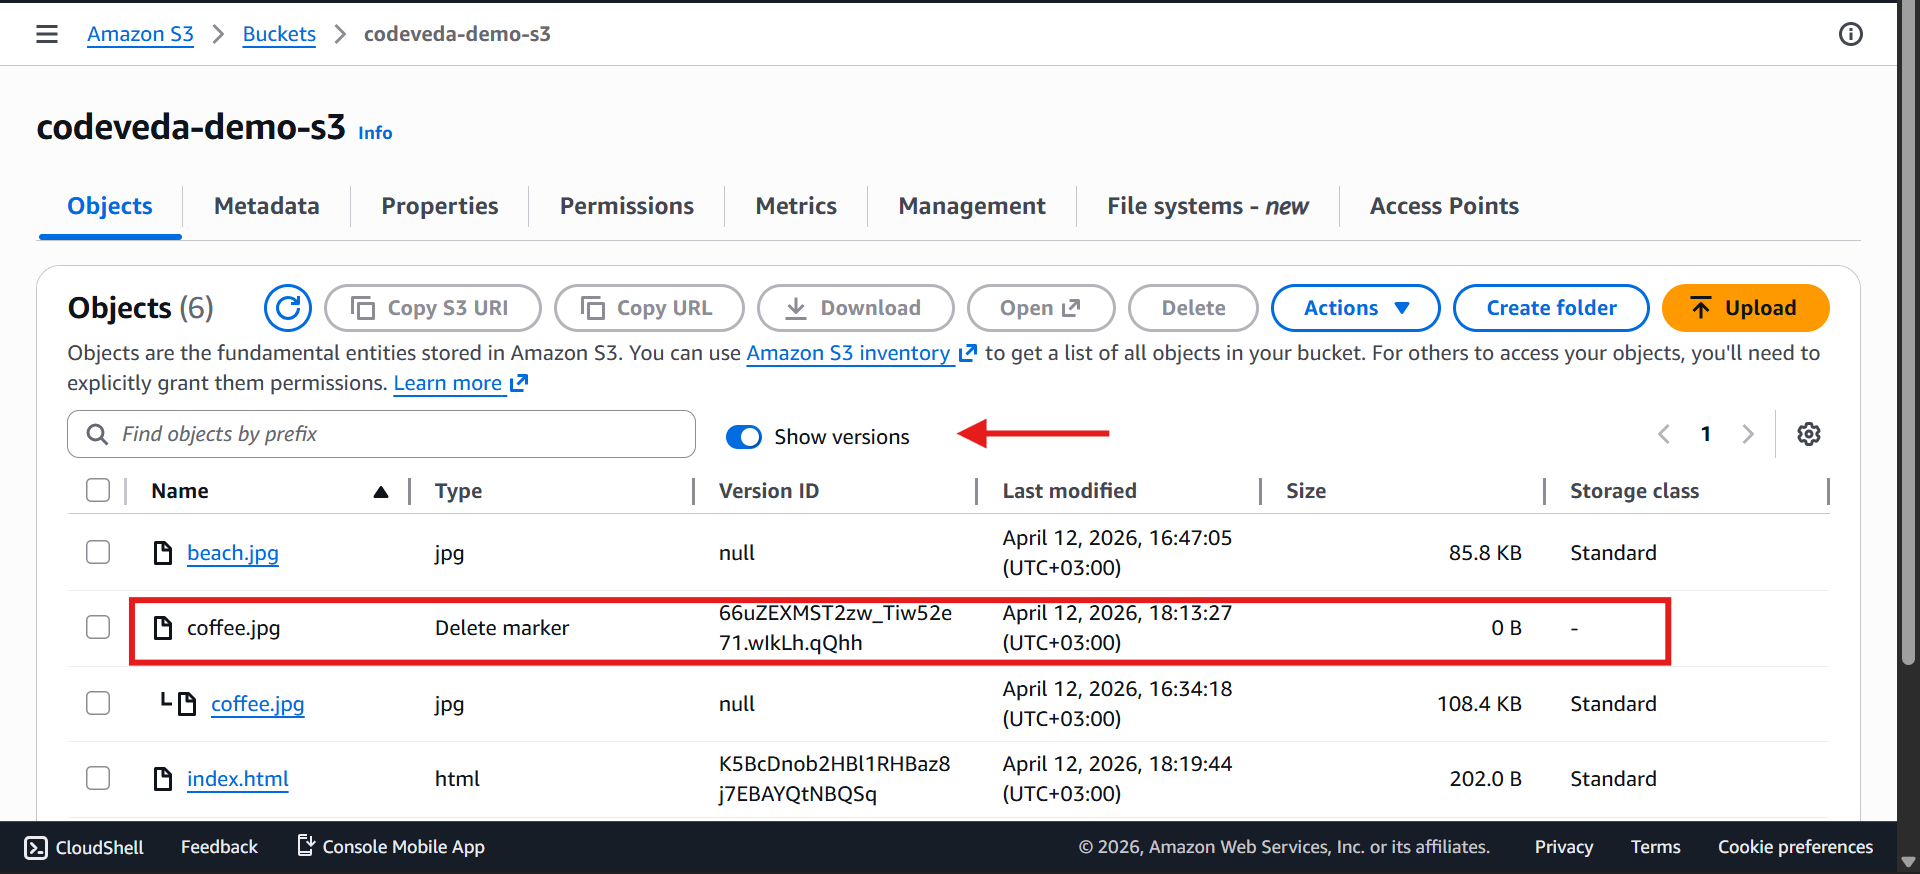
Permanently delete the delete marker ✅
Previous version is restored → object is visible again 📸
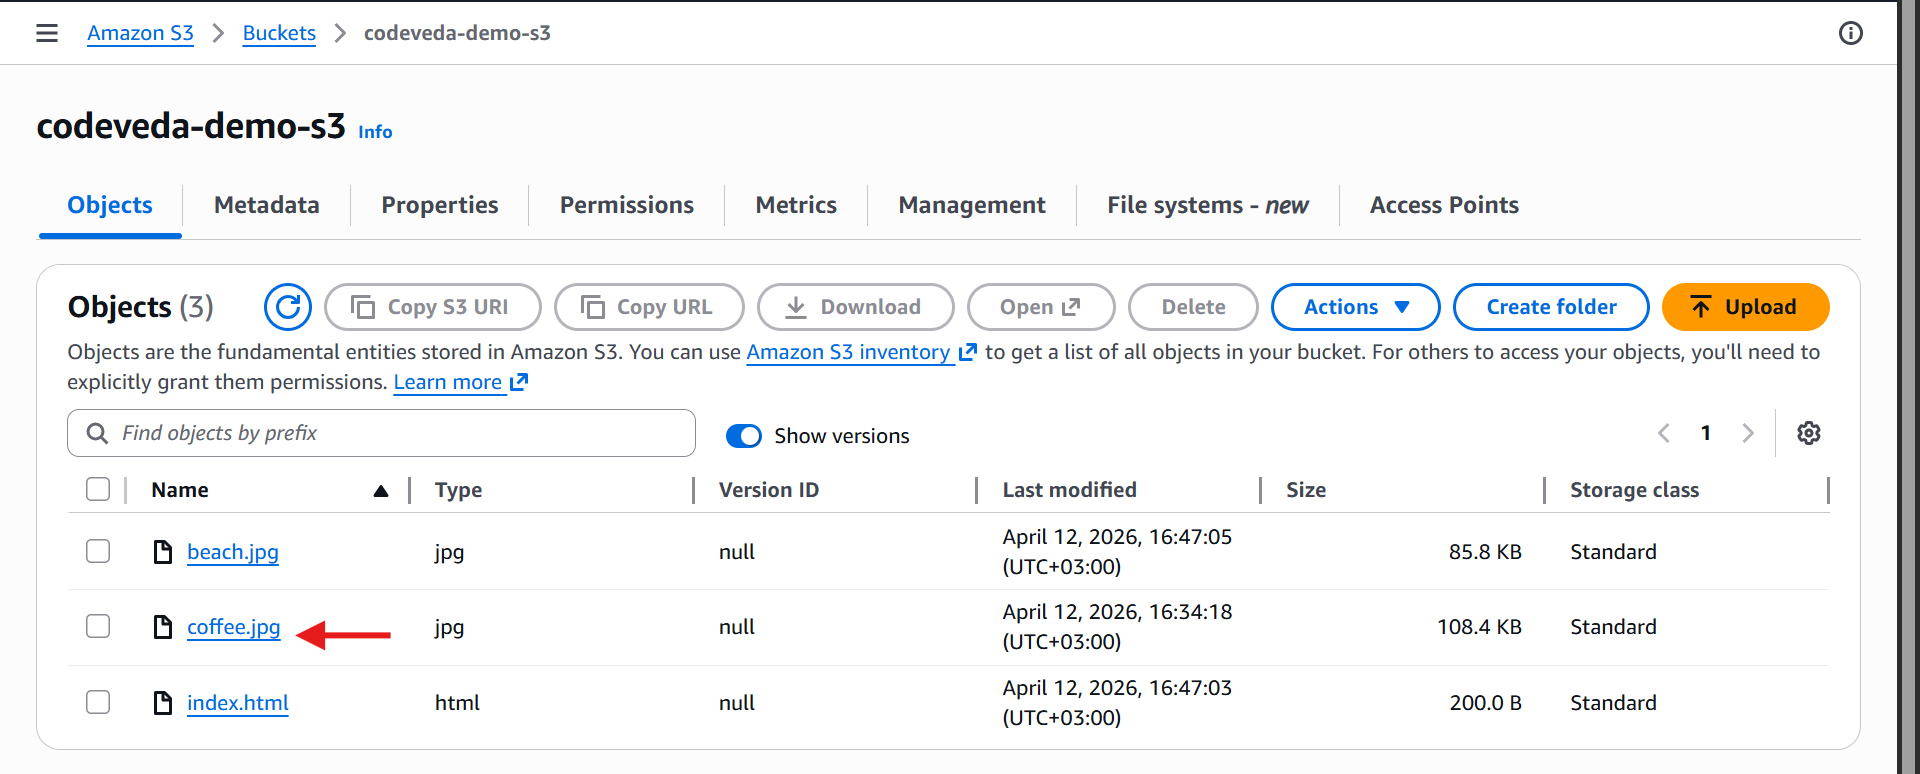
Refresh website → image appears again
🚀 Tips & Best Practices
Play around by uploading multiple versions 🆕
Use delete markers carefully ⚠️
Always enable versioning for production buckets 🌐
Rollbacks allow safe website updates and recovery 🛡️
With versioning, S3 becomes a robust tool for safely managing website content and important files.